1. Introduction
This manual provides essential instructions for the installation, operation, and maintenance of the ROBERTSHAW 802 Line Voltage Thermostat. This thermostat is designed for heat-only systems and features a double-pole, single-throw switch. It offers the performance and accuracy typically associated with low voltage controls, making it a suitable universal replacement for many existing electric heat thermostats.
2. Safety Information
WARNING: Before installation or servicing, ensure that power to the heating system is disconnected at the main circuit breaker or fuse box. Failure to do so may result in electrical shock, property damage, or personal injury.
- All wiring must conform to local electrical codes and ordinances.
- This thermostat operates on line voltage (120/240/277 VAC). Exercise extreme caution.
- Installation should only be performed by a qualified electrician or HVAC technician.
- Do not use this thermostat for applications other than those specified.
- Keep the thermostat dry and away from direct water exposure.
3. Product Features
- Universal Replacement: Designed to retrofit most existing electric heat thermostats.
- Vertical Mount: Features a convenient temperature display for at-a-glance comfort level viewing.
- Bimetal Temperature Sensing: Provides improved thermal performance.
- Mercury-Free: Eliminates the need for leveling or special disposal procedures.
- J-Box Compatible: Ensures compliance with electrical codes and simplifies installation.
- Positive-Off: Guarantees assured shutdown of the HVAC system when turned off.
- Double-Pole Single-Throw Switch: Specifically for heat-only applications.
4. Installation
This section outlines the general steps for installing the ROBERTSHAW 802 thermostat. Refer to the detailed wiring diagram included with your product packaging for specific connections.
- Power Disconnection: Turn off power to the heating system at the main circuit breaker. Verify power is off using a voltage tester.
- Remove Old Thermostat: Carefully remove the existing thermostat from the wall. Note the wiring connections before disconnecting.
- Mounting: The ROBERTSHAW 802 is J-box compatible. Mount the new thermostat base securely to the electrical box.
- Wiring: Connect the line voltage wires to the appropriate terminals on the thermostat as indicated in the wiring diagram. Ensure all connections are tight and secure. This model features a double-pole single-throw switch for heat-only systems.
- Attach Cover: Once wiring is complete and secure, attach the thermostat cover.
- Restore Power: Turn on power to the heating system at the main circuit breaker.
- Test Operation: Test the thermostat's functionality by adjusting the temperature setting.
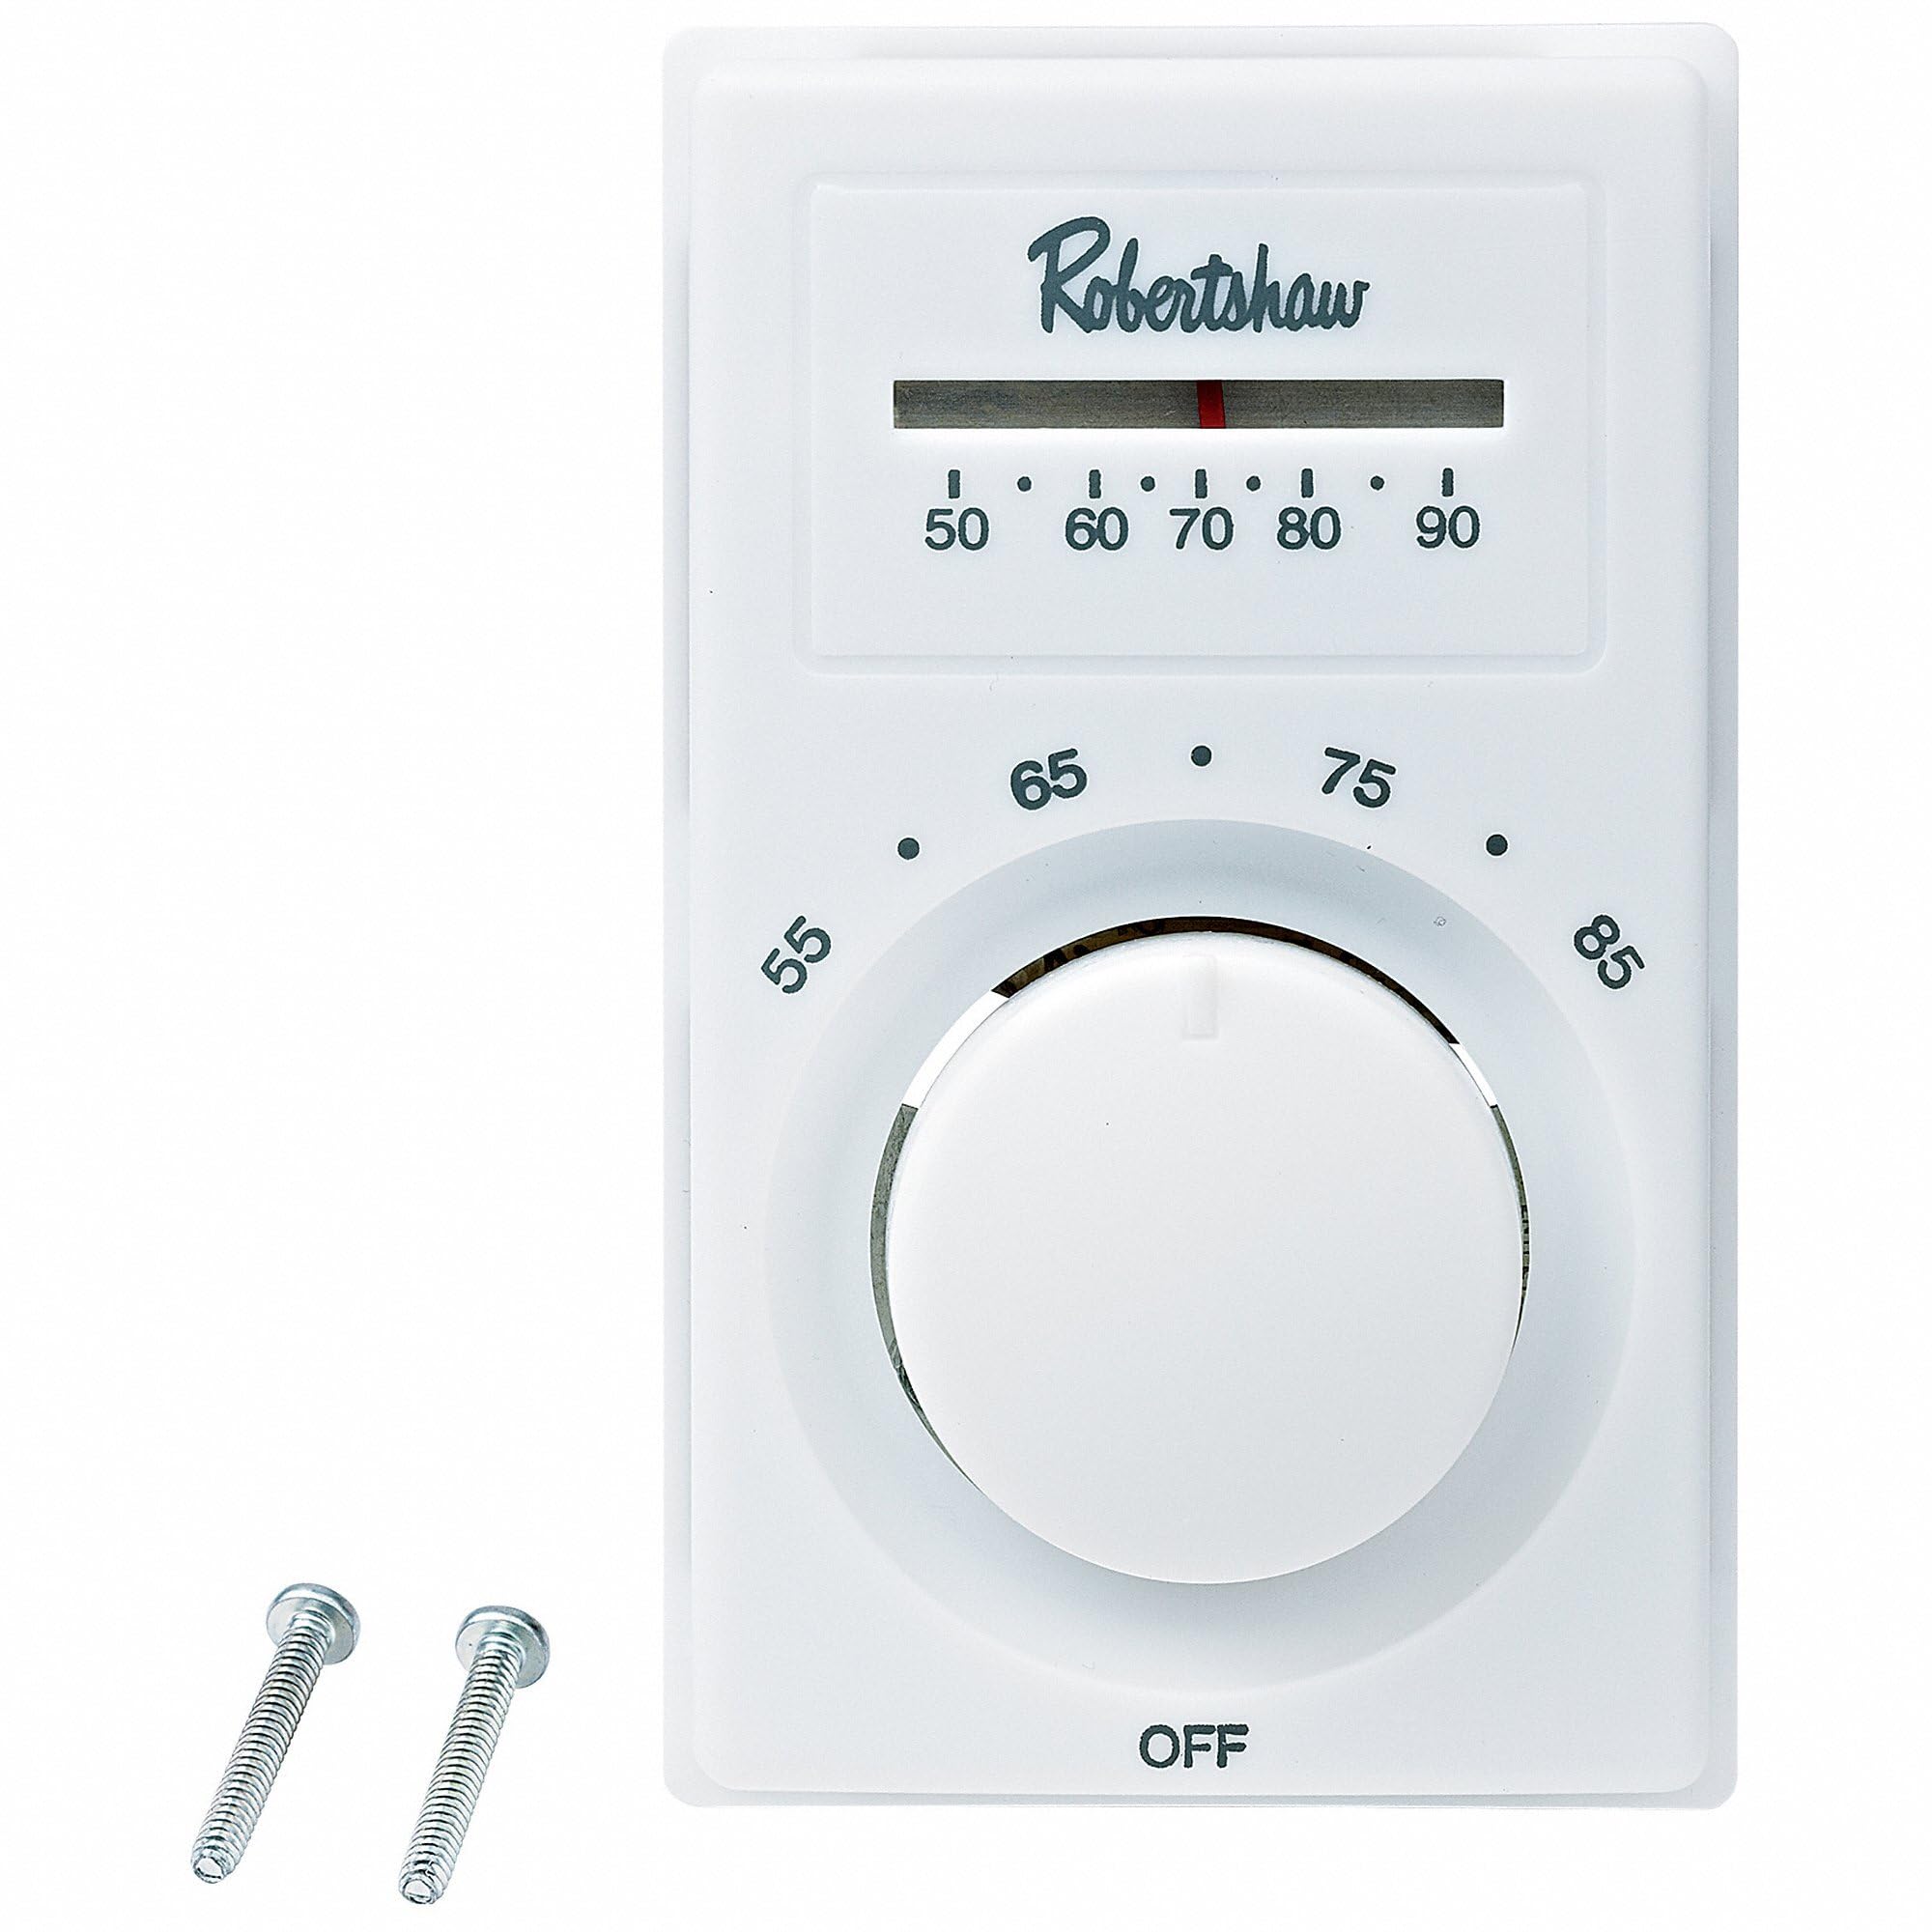
Figure 1: Front view of the ROBERTSHAW 802 Line Voltage Thermostat. This image shows the vertical mount design with the temperature display and control dial.
5. Operation
The ROBERTSHAW 802 thermostat is designed for straightforward operation.
- Temperature Control: Adjust the dial on the front of the thermostat to set your desired room temperature. The control range is 50°F to 90°F (10°C to 32°C).
- Temperature Display: The integrated display provides a clear view of the current comfort level.
- Positive-Off Switch: Ensure the thermostat is set to the "OFF" position for complete shutdown of the heating system.
- Bimetal Sensing: The internal bimetal sensor accurately detects ambient temperature to maintain your set point.
6. Maintenance
The ROBERTSHAW 802 thermostat requires minimal maintenance to ensure optimal performance.
- Cleaning: Periodically wipe the exterior of the thermostat with a soft, damp cloth. Do not use abrasive cleaners or solvents.
- Avoid Obstructions: Ensure that furniture, curtains, or other objects do not block the thermostat, as this can affect its ability to accurately sense room temperature.
- No User Serviceable Parts: Do not attempt to open or repair the thermostat yourself. Refer servicing to qualified personnel.
7. Troubleshooting
If you experience issues with your ROBERTSHAW 802 thermostat, consult the following common troubleshooting steps.
| Problem | Possible Cause | Solution |
|---|---|---|
| Thermostat not turning on/off heating system. |
|
|
| Inaccurate temperature reading or inconsistent heating. |
|
|
| Heating system runs continuously. |
|
|
If these steps do not resolve the issue, contact Robertshaw customer support or a qualified HVAC professional.
8. Specifications
| Feature | Detail |
|---|---|
| Model Number | 802 |
| Electrical Rating | 18-25 Amp, 120/240/277 VAC Non-Inductive |
| Horsepower Rating | 1/4 HP (120 VAC), 1/3 HP (240 VAC) |
| Pilot Duty | 125 VA |
| Temperature Control Range | 50°F to 90°F (10°C to 32°C) |
| Accuracy | +/-2°F |
| Color | White |
| Dimensions | 3 x 3.2 x 5 inches |
| Item Weight | 6.7 ounces |
| Material | Alloy Steel, Aluminum, Metal |
| Controller Type | Push Button |
| Special Feature | Temperature Display |
9. Warranty and Support
For warranty information, please refer to the documentation included with your product at the time of purchase or visit the official Robertshaw website.
For technical assistance, troubleshooting not covered in this manual, or to inquire about replacement parts, please contact Robertshaw customer support.
Robertshaw Official Website: www.robertshaw.com


