SYLVANIA HRK.BX
SYLVANIA Headlight Restoration Kit - Instruction Manual
Model: HRK.BX
1. Introduction
This manual provides detailed instructions for using the SYLVANIA Headlight Restoration Kit (Model HRK.BX). This kit is designed to restore clarity and light output to hazy, yellowed, or dull vehicle headlight lenses, improving visibility and the aesthetic appearance of your vehicle. Please read all instructions carefully before beginning the restoration process.
2. Safety Information
WARNING: This product contains chemicals known to the State of California to cause cancer and birth defects or other reproductive harm. Always use in a well-ventilated area and wear appropriate personal protective equipment, including gloves and eye protection.
- Avoid contact with skin and eyes. In case of contact, rinse thoroughly with water.
- Keep out of reach of children and pets.
- Do not ingest. If swallowed, seek immediate medical attention.
- Ensure adequate ventilation during use.
3. What's in the Box
The SYLVANIA Headlight Restoration Kit includes the following components:
- Surface Activator (Step 1)
- Clarifying Compound (Step 2)
- Exclusive UV Block Clear Coat (Step 3)
- Premium Sandpaper (various grits: e.g., 400, 1000, 2000)
- Applicator Cloths/Pads
- Protective Gloves
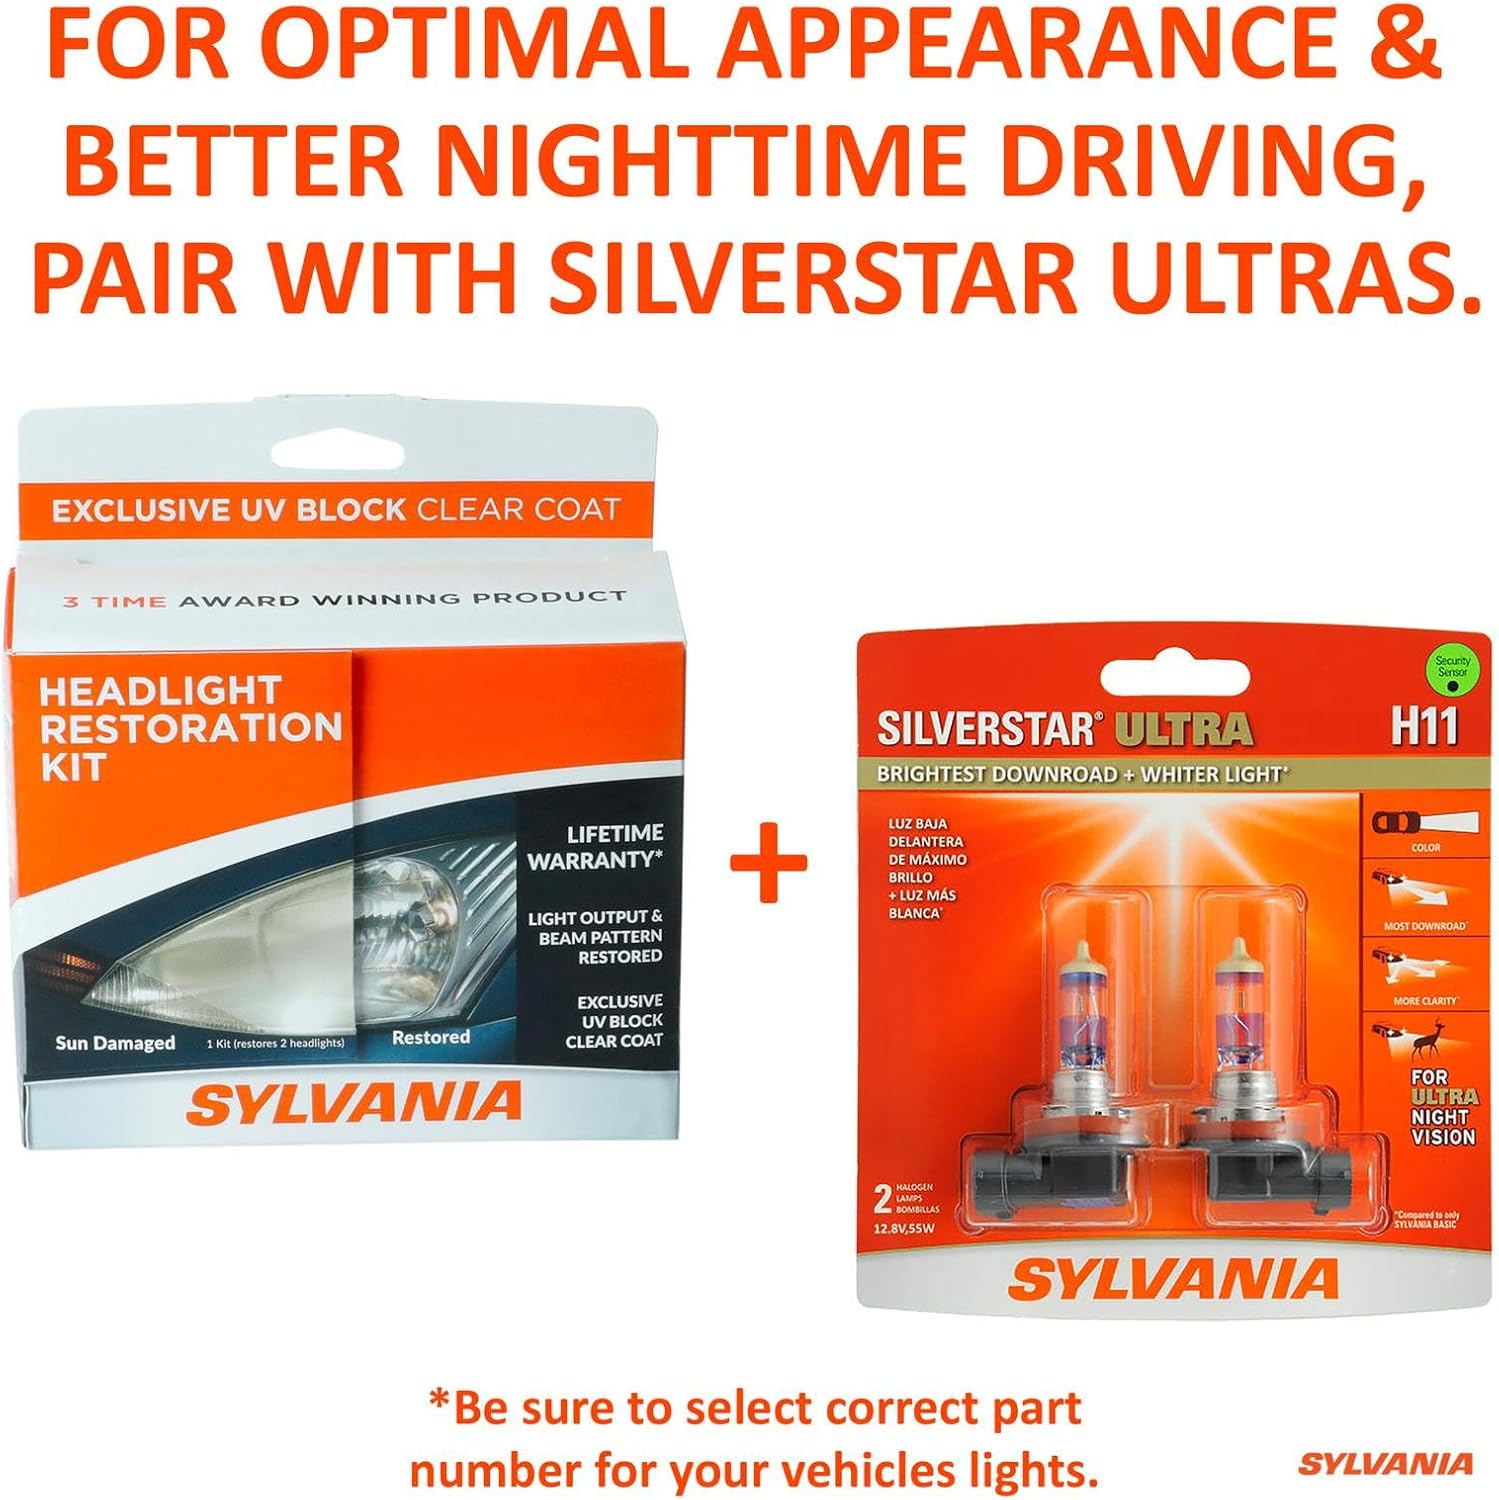
Image: The complete contents of the Sylvania Headlight Restoration Kit, including bottles of Surface Activator and UV Block Clear Coat, a packet of Clarifying Compound, sandpaper sheets, and applicator cloths.
4. Setup
- Clean Headlights: Thoroughly wash and dry the headlight lenses and surrounding areas to remove any dirt, dust, or debris.
- Mask Surrounding Areas: Apply painter's tape around the perimeter of the headlight lens to protect the vehicle's paint from accidental contact with the restoration chemicals or sanding.
- Prepare Work Area: Ensure you are working in a well-ventilated area, preferably outdoors or in a garage with open doors.
- Wear Protective Gear: Put on the provided protective gloves before handling any chemicals.
5. Operating Instructions (Step-by-Step)
Follow these steps for each headlight lens:
Step 1: Apply Surface Activator
Spray the Surface Activator evenly over the entire headlight lens. Allow it to sit for the recommended time (refer to product packaging for specific duration) to begin breaking down the oxidized layer. Do not let it dry on the surface.

Image: A person applying the Surface Activator to a car headlight lens, which appears hazy.
Step 2: Sand & Polish
After the activator has worked, proceed with the sanding process. Start with the coarsest grit sandpaper provided, keeping the lens and sandpaper wet with water. Sand in a consistent pattern (e.g., horizontal strokes) until the lens appears uniformly frosted. Progress to finer grits (e.g., 1000, then 2000), changing sanding direction with each grit (e.g., vertical for the next grit). Ensure all previous sanding marks are removed before moving to the next grit. Once sanding is complete, apply the Clarifying Compound to an applicator cloth and polish the lens in small, circular motions until clear. Wipe off any residue.

Image: A person sanding a car headlight lens with a sanding pad, removing the hazy layer.
Video: A review demonstrating the steps of the SYLVANIA Headlight Restoration Kit, including sanding and polishing.
Step 3: Apply UV Block Clear Coat
Once the lens is clear and dry, apply the Exclusive UV Block Clear Coat. Apply a generous amount to a clean applicator cloth and wipe it onto the headlight lens in a single, even, overlapping motion from one edge to the other. Do not rub back and forth. Apply in one direction, lifting the cloth at the end of each pass. Allow the coating to dry completely for 4-6 hours without touching it. This step is crucial for long-lasting protection against future yellowing and hazing.
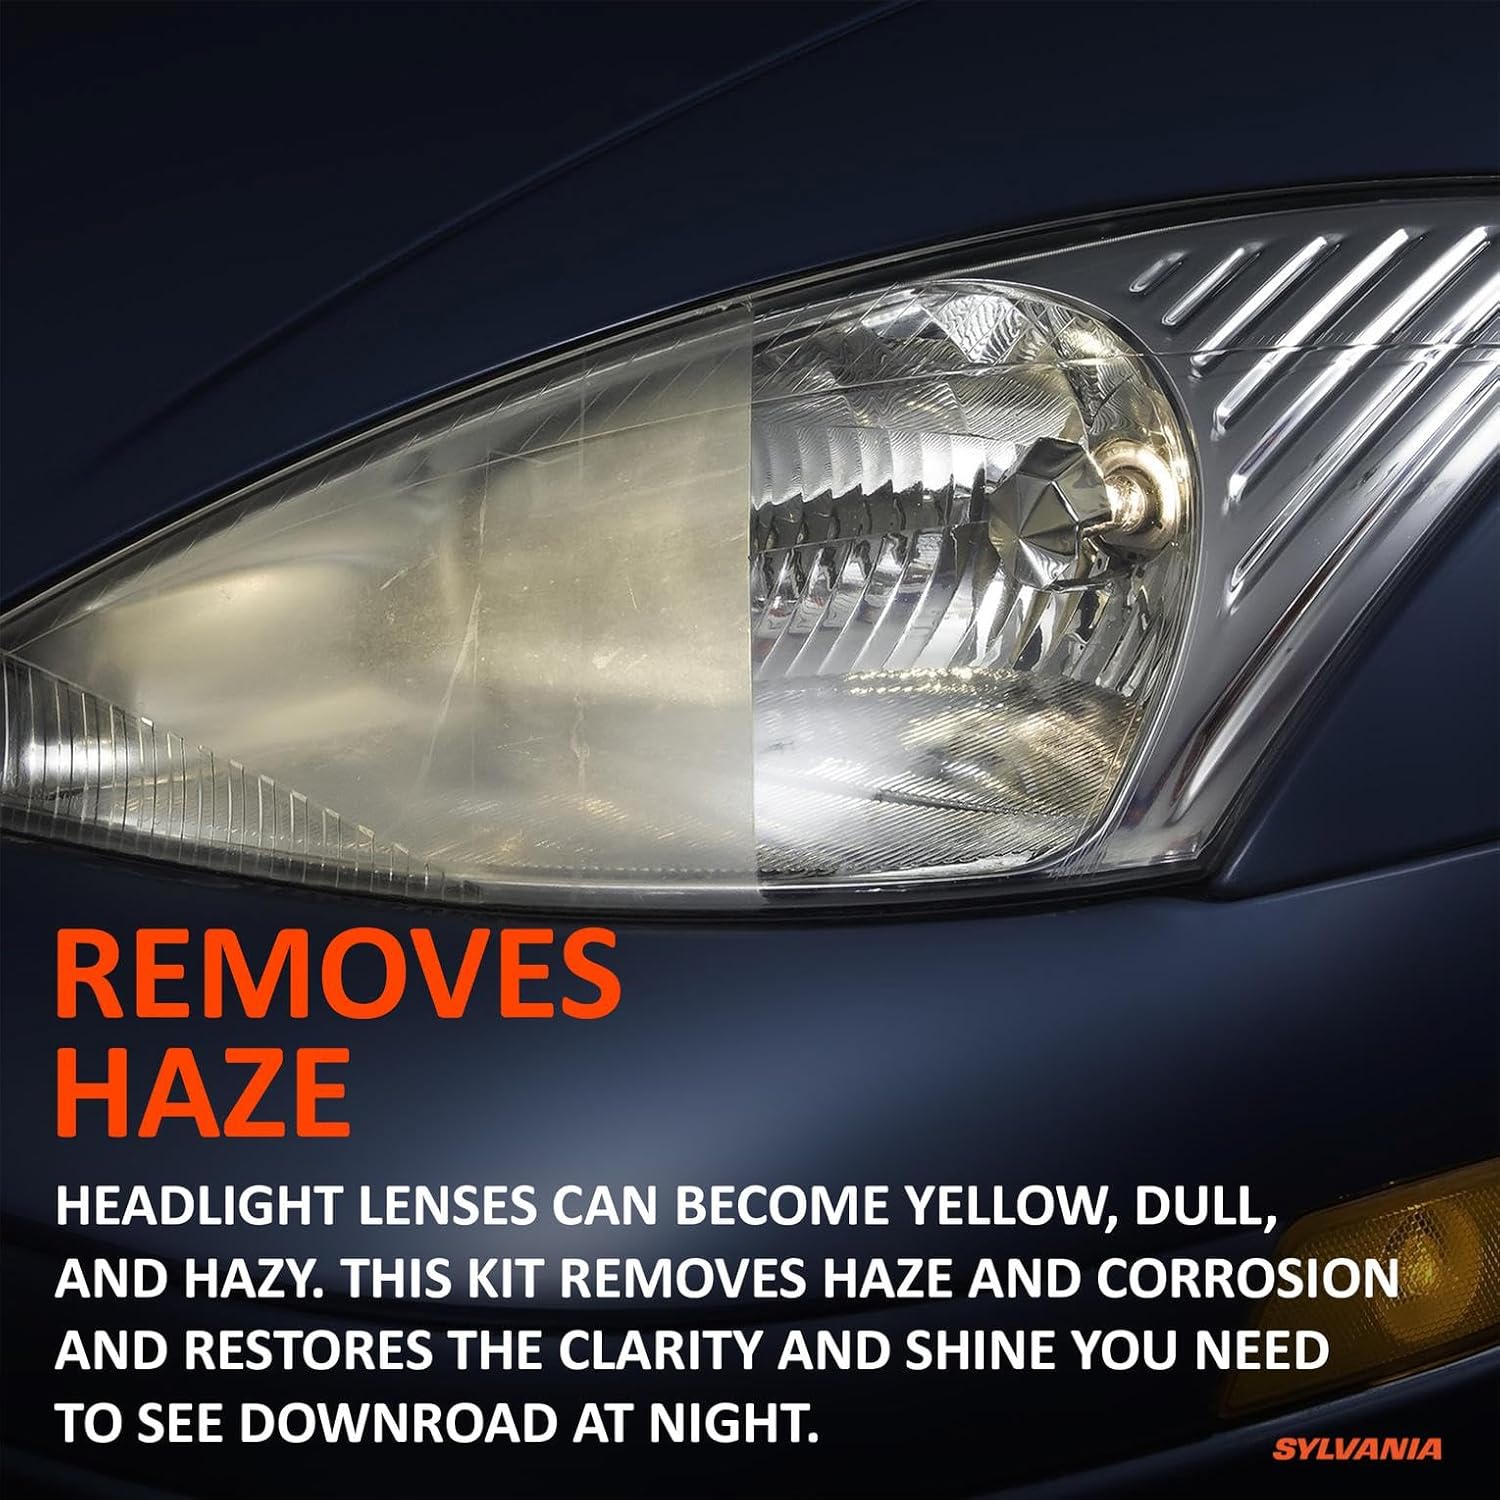
Image: A person applying the UV Block Clear Coat to a now clear car headlight lens.
Video: A demonstration showing the application of the UV Block Clear Coat for great results on faded headlights.
6. Maintenance
To maintain the clarity and protection of your restored headlights:
- Regularly clean your headlights with mild car soap and water.
- Avoid using harsh chemicals or abrasive cleaners on the restored lenses.
- The exclusive UV Block Clear Coat is designed for long-lasting protection, helping to prevent re-oxidation and yellowing for an extended period.
7. Troubleshooting
- Haze or Yellowing Persists: If the headlights are not completely clear after the initial process, it may indicate that the sanding steps were not thorough enough. Re-apply painter's tape and repeat the sanding and polishing steps, ensuring sufficient time and pressure with each grit.
- Uneven Clear Coat Application: If the UV Block Clear Coat appears streaky or uneven, it may be due to inconsistent application. While difficult to correct once dry, careful re-sanding and re-application of the clear coat might be necessary.
8. Specifications
| Attribute | Detail |
|---|---|
| Manufacturer | SYLVANIA |
| Model | HRK.BX (38772) |
| Item Weight | 4.8 ounces |
| Product Dimensions | 8 x 2 x 6 inches |
| Voltage (related to vehicle compatibility) | 12 Volts |
9. Warranty & Support
The SYLVANIA Headlight Restoration Kit comes with a Lifetime Warranty (as indicated on product packaging). For warranty claims, technical support, or any product-related inquiries, please refer to the contact information provided on the product packaging or visit the official SYLVANIA website.
Related Documents - HRK.BX
 |
Huarui Kang NGS Clean Beads Kit User Manual User manual for the Huarui Kang NGS Clean Beads Kit, providing instructions for DNA purification and fragment size selection in Next-Generation Sequencing library preparation. Details product contents, storage, experimental procedures, and precautions. |
 |
XORO Digital Receiver User Manual: HRII 7670 TWIN, HRK 7670 TWIN, HRK 7672 TWIN, HRK 7672 HDD Comprehensive user manual for XORO digital receivers, covering installation, operation, features like PVR and Media Player, troubleshooting, and specifications. Includes models HRII 7670 TWIN, HRK 7670 TWIN, HRK 7672 TWIN, and HRK 7672 HDD. |
 |
Nissan TechMate HRK Connector Repair Parts Transition Guide This document outlines the transition of Nissan TechMate HRK connector repair parts to Nissan Service Parts, providing a comprehensive reference chart for re-labeling existing inventory and ordering new parts. |
 |
XBA-HRK9(HRK5+EUR4) Option Switch Settings and Currency Configuration Detailed guide to configuring the XBA-HRK9 bill acceptor, including HRK and EUR currency settings, pulse and MDB interface options, and DIP switch functions for various models like HRK5, EUR4, ICT104U, and ICT104V. |
 |
Roughneck 30-Gallon Fuel Caddy Owner's Manual & Operating Instructions Comprehensive owner's manual for the Roughneck 30-Gallon Fuel Caddy (Item #20632). Includes assembly, operating instructions, safety warnings, maintenance, troubleshooting, and warranty information for gasoline-compatible fuel transfer. |
 |
HRK Fast HotStart Mix PCR Kit - High-Performance DNA Amplification Detailed information on the HRK Fast HotStart Mix PCR Kit, featuring a novel protein-engineered DNA polymerase for rapid amplification, high specificity, and strong resistance to interference. Includes product specifications, ordering details, and performance data. |
Ask a question about this manual
Ask about setup, troubleshooting, compatibility, parts, safety, or missing instructions. Manuals+ will review the question and use this page’s manual context to help answer it.