
1. Introduction
This manual provides essential information for the installation, operation, and maintenance of your Raymarine ST1000+ Tiller Pilot. The ST1000+ is designed to provide reliable automatic steering for tiller-steered yachts up to 3.3 tons displacement. Please read these instructions carefully before using the product to ensure safe and optimal performance.

Figure 1: Raymarine ST1000+ Tiller Pilot. This image shows the main unit of the tiller pilot, featuring its control panel with a digital display and various buttons for operation, and the tiller pin extending from one end.
2. Package Contents
Verify that all components listed below are present in your package. If any items are missing or damaged, contact your Raymarine dealer.

Figure 2: Diagram illustrating the components included with the ST1000+ Tiller Pilot. The diagram shows the main tiller pilot unit, a tiller pin, a mounting socket, self-tapping screws, a cable clip and cable clamp, a tiller pilot socket, a gasket, and a rubber cap.
- Raymarine ST1000+ Tiller Pilot Unit
- Tiller Pin
- Mounting Socket
- Self-tapping Screws (No 6 x 3/4 in, x6)
- Cable Clip and Cable Clamp
- Tiller Pilot Socket
- Gasket
- Rubber Cap
3. Product Overview and Features
The Raymarine ST1000+ Tiller Pilot is a robust autopilot system designed for ease of use and reliable performance on tiller-steered vessels. Key features include:
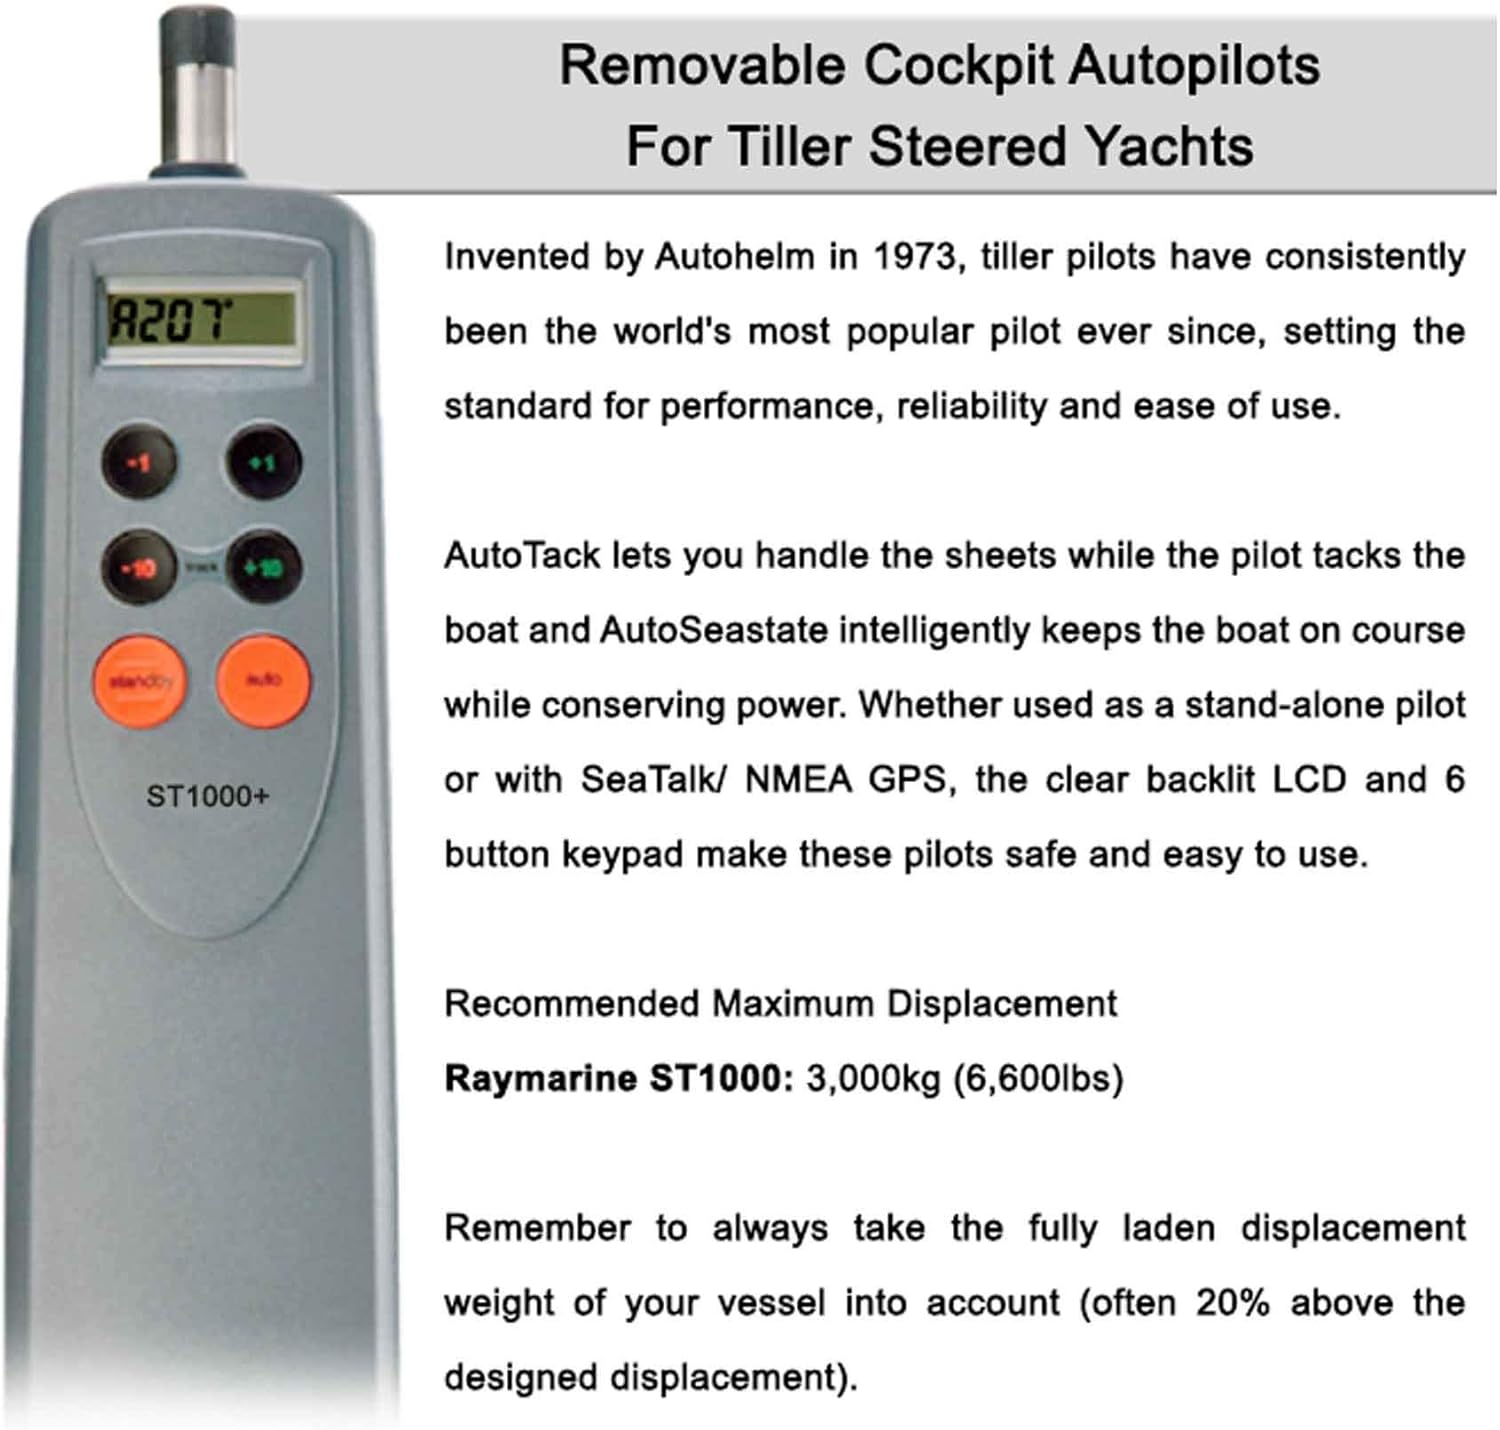
Figure 3: Image highlighting key features and recommended displacement for the ST1000+ Tiller Pilot. The image shows the tiller pilot unit alongside text describing its capabilities like AutoTack and AutoSeastate, and its clear backlit LCD and 6-button keypad.
- AutoTack: Allows for hands-free tacking maneuvers, freeing the operator to manage sails.
- AutoSeastate: Intelligently maintains the vessel's course, conserving power by adapting to sea conditions.
- Clear Backlit LCD: Provides easy readability of course information and settings, day or night.
- 6-Button Keypad: Intuitive control for setting course, engaging/disengaging autopilot, and adjusting parameters.
- Integrated Fluxgate Compass: Ensures accurate heading data.
- Recommended Maximum Displacement: 3,000 kg (6,600 lbs). Always consider the fully laden displacement weight of your vessel, which can be up to 20% above the designed displacement.
4. Setup and Installation
Proper installation is crucial for the performance of your ST1000+ Tiller Pilot. Refer to the detailed installation guide provided with your product for specific instructions. A general overview of the process includes:
- Mounting Location: Select a suitable location on the cockpit coaming or a strong bulkhead for the mounting socket. Ensure the tiller pilot can connect to the tiller arm with the tiller pin and has a clear range of motion.
- Secure Mounting: Use the provided self-tapping screws to securely fasten the mounting socket. Ensure the mounting surface is robust enough to withstand the forces exerted by the tiller pilot.
- Tiller Pin Installation: Install the tiller pin onto the tiller arm at the appropriate distance from the rudder stock, as specified in the full installation manual, to achieve the correct leverage.
- Power Connection: Connect the tiller pilot to a 12V DC power supply. Ensure the wiring is correctly polarized and adequately fused.
- Cable Management: Use the cable clip and clamp to secure the power cable, preventing strain and damage.

Figure 4: Diagram showing the dimensions of the Raymarine ST1000+ Tiller Pilot. The diagram provides measurements for length, width, and height, including the stroke length, which are critical for planning installation space.
5. Operating Instructions
The ST1000+ Tiller Pilot features a user-friendly interface. Familiarize yourself with the control panel before operation.

Figure 5: Close-up view of the Raymarine ST1000+ Tiller Pilot control panel. The image clearly displays the digital LCD screen and the six control buttons: -1, +1, -10, +10, Standby, and Auto.
5.1 Control Panel Functions
- LCD Display: Shows current heading, set course, and other operational information.
- -1 / +1 Buttons: Adjust the set course by 1 degree increments.
- -10 / +10 Buttons: Adjust the set course by 10 degree increments.
- STANDBY Button (Red): Disengages the autopilot, allowing manual steering.
- AUTO Button (Green): Engages the autopilot, steering the vessel to the current heading or a pre-set course.
5.2 Basic Operation
- Power On: Ensure the tiller pilot is correctly connected to power.
- Engage Autopilot: Steer the vessel to your desired heading manually. Press the AUTO button. The tiller pilot will now maintain this course.
- Adjust Course: Use the -1, +1, -10, or +10 buttons to fine-tune your course.
- Disengage Autopilot: To take manual control, press the STANDBY button.
- AutoTack: While in AUTO mode, press both -10 and +10 buttons simultaneously to initiate an AutoTack maneuver. The pilot will turn the vessel through a pre-set angle (typically 100-110 degrees).
6. Maintenance
Regular maintenance ensures the longevity and reliable operation of your ST1000+ Tiller Pilot.
- Cleaning: Periodically wipe the unit with a damp cloth. Avoid abrasive cleaners or solvents.
- Inspection: Regularly check the tiller pin, mounting socket, and power cable for signs of wear, corrosion, or damage.
- Lubrication: Ensure the moving parts of the tiller pilot, particularly the drive shaft, are clean and free from debris. Refer to the full manual for any specific lubrication requirements.
- Storage: When not in use for extended periods, especially in harsh conditions, remove the tiller pilot from its mounting and store it in a dry, protected environment.
7. Troubleshooting
This section provides solutions to common issues. For more complex problems, consult the full product manual or contact Raymarine support.
| Problem | Possible Cause | Solution |
|---|---|---|
| Pilot does not power on. | No power, blown fuse, faulty wiring. | Check power connections, inspect fuse, verify wiring integrity. |
| Pilot steers erratically. | Incorrect calibration, magnetic interference, mechanical obstruction. | Perform compass calibration, check for nearby magnetic objects, ensure free movement of tiller. |
| Pilot struggles to hold course in rough seas. | Sensitivity settings too low, vessel displacement exceeds limit. | Adjust sensitivity settings (refer to full manual), ensure vessel displacement is within ST1000+ limits. |
8. Specifications
Technical specifications for the Raymarine ST1000+ Tiller Pilot.
| Feature | Detail |
|---|---|
| Model Name | Raymarine Tiller Pilot, ST1000+ |
| Brand | Raymarine |
| Maximum Displacement | 3.3 tons (3,000 kg / 6,600 lbs) |
| Power Source | Corded Electric (12V DC) |
| Material | Plastic |
| Item Weight | 0.1 Kilograms (Unit only, without packaging) |
| Operation Mode | Electric |
| Item Dimensions (LxWxH) | 6.69 x 1.97 x 1.97 inches (approximate, main body) |
| Package Dimensions (LxWxH) | 21.18 x 7.32 x 5.28 inches |
| Package Weight | 2.24 Kilograms |
| Part Number | RAY.A12004 |
| UPC | 071020173104, 971478452748, 723193120040, 999993567280, 023193100098, 071030255333 |
9. Warranty and Support
The Raymarine ST1000+ Tiller Pilot comes with a standard manufacturer's warranty. For detailed information regarding warranty terms and conditions, please refer to the warranty documentation included with your product or visit the official Raymarine website.
For technical support, service, or to purchase replacement parts, please contact your authorized Raymarine dealer or Raymarine customer service directly. Contact information can typically be found on the Raymarine website.