
1. Introduction
Thank you for choosing the PHOENIX SAFE Olympian Model 1221. This fireproof safe is designed to provide secure storage for your valuable documents, digital media, and personal belongings. It features a 1-hour fire rating for paper, 30-minute digital protection, water resistance, and impact resistance. This manual provides essential information for the proper setup, operation, and maintenance of your safe. Please read it thoroughly before use.
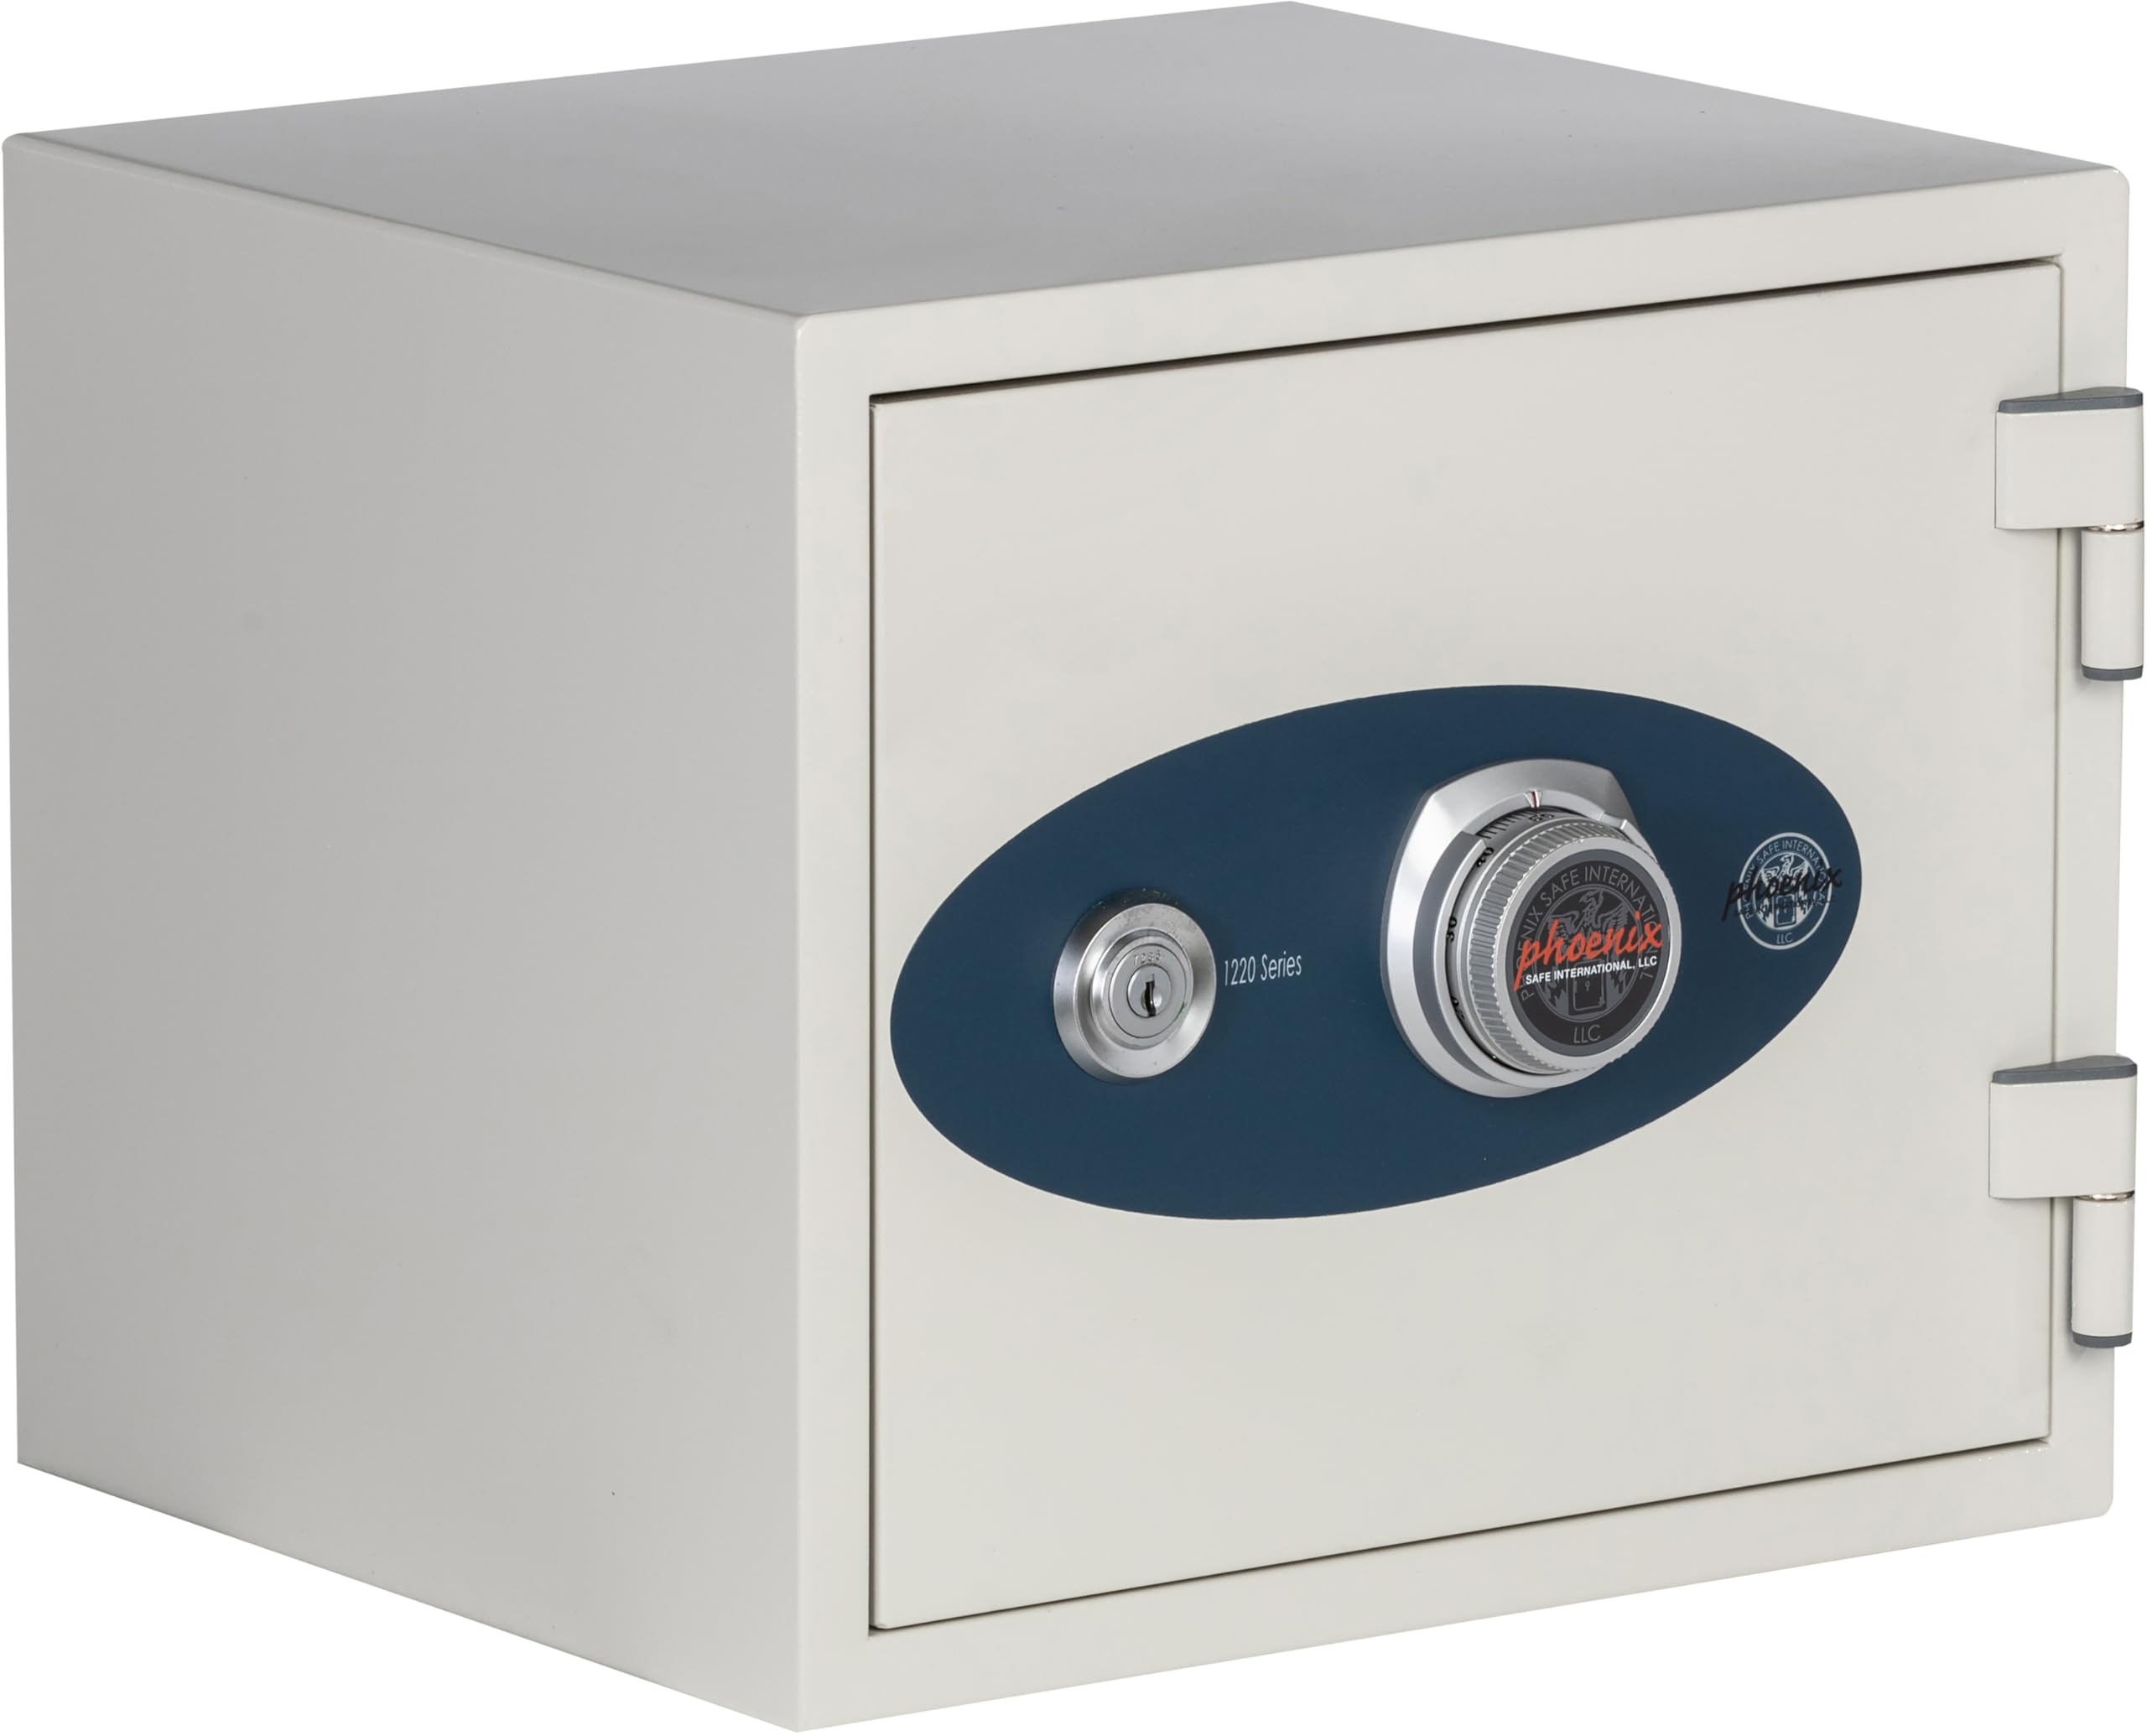
Figure 1: PHOENIX SAFE Olympian Model 1221 Fireproof Safe (closed).
Data Security Considerations
While cloud storage offers convenience, physical security for critical data and documents remains paramount. This safe provides an on-site, robust solution against fire, water, and physical theft, complementing your digital security measures.
Video 1: Discussion on the importance of secure data storage, both cloud and physical, for business and personal information.
2. Safety Information
- Always keep the safe key and combination in a secure location, separate from the safe itself.
- Do not store flammable liquids or pressurized containers inside the safe.
- Ensure the safe is placed on a level, stable surface.
- When bolting down the safe, follow all instructions carefully to prevent injury or damage.
- Keep children away from the safe, especially when open.
3. Setup
3.1 Unpacking
Carefully remove the safe from its packaging. Inspect for any signs of damage. Retain packaging for future transport if needed.
3.2 Initial Access
Your safe comes with a dual control dial and key lock. Both the key and the combination are required to open the safe initially. The factory combination is typically set to a standard code, which can be found in a sealed envelope or on a tag attached to the safe.

Figure 2: Dual Control Dial and Key Lock mechanism.
3.3 Bolt-Down Installation
For enhanced security, the safe includes a bolt-down kit to secure it to the floor.
- Choose a suitable location for the safe, ensuring it is level and stable.
- Open the safe door and locate the pre-drilled holes in the bottom of the safe.
- Mark the drilling points on the floor through these holes.
- Move the safe aside and drill pilot holes into the floor using an appropriate drill bit for your floor type (concrete, wood, etc.).
- Insert the plastic anchors (if applicable for your floor type) into the drilled holes.
- Position the safe over the holes.
- Place the washers over the bolts and insert the bolts through the safe's bottom holes and into the floor.
- Tighten the bolts securely. Do not overtighten.

Figure 3: Bolt-down kit components for securing the safe.
4. Operating Instructions
4.1 Opening the Safe
To open the safe, both the correct combination must be entered on the dial and the key must be used.
- Insert the key into the keyhole and turn it to the open position.
- Enter the correct combination using the dial. (Refer to your safe's specific combination instructions for dialing sequence, usually involving turning the dial left/right a certain number of times to specific numbers).
- Once the combination is entered and the key is turned, the handle can be rotated to open the door.

Figure 4: Safe interior with door open, showing internal locking mechanism.
4.2 Closing and Locking the Safe
To ensure the safe is securely locked:
- Close the safe door firmly.
- Rotate the handle to engage the locking bolts.
- Turn the key to the locked position and remove it.
- Spin the combination dial a few turns to scramble the combination, preventing unauthorized access.

Figure 5: Detail of the robust steel locking bolts.
4.3 Changing the Combination
Instructions for changing the combination are typically provided in a separate document or directly inside the safe upon purchase. It is highly recommended to change the factory combination immediately after initial setup. Always test the new combination with the door open several times before closing and locking the safe.
5. Maintenance
- Cleaning: Wipe the exterior of the safe with a soft, damp cloth. Avoid abrasive cleaners or solvents.
- Lock Mechanism: The lock mechanism is designed for long-term reliability and generally does not require lubrication. If you experience any issues, contact customer support.
- Door Seal: Periodically inspect the door seal for any damage or wear to ensure continued fire and water resistance.
6. Troubleshooting
- Safe will not open:
- Ensure the key is fully inserted and turned to the open position.
- Verify the combination is entered correctly, following the exact dialing sequence.
- If the combination is forgotten, contact PHOENIX SAFE customer support for assistance.
- Door does not close properly:
- Check for any obstructions preventing the door from closing flush with the frame.
- Ensure the locking bolts retract fully when the handle is turned.
7. Specifications
| Feature | Detail |
|---|---|
| Brand | PHOENIX SAFE |
| Model Number | 1221 |
| Product Dimensions (External) | 14.33"D x 16.25"W x 14.2"H |
| Interior Dimensions | 10.5"H x 12.5"W x 8.875"D |
| Capacity | 0.66 Cubic Feet |
| Lock Type | Dual Control Key Combination |
| Color | Off-White |
| Material | Alloy Steel |
| Item Weight | 58 Pounds |
| Fire Rating (Documents) | 1-Hour at 1700°F (Class 350) |
| Fire Rating (Digital Media) | 30 Minutes (MTC Class B) |
| Water Resistance | Yes |
| Impact Rated | Yes |
| Mounting Type | Floor Mount (Bolt-down kit included) |

Figure 6: External dimensions of the safe.
8. Warranty & Support
8.1 Product Warranty
Your PHOENIX SAFE Olympian Model 1221 comes with a 3-Year Parts and Labor Warranty covering defects in materials and workmanship.
8.2 Lifetime After-a-Fire Replacement Warranty
In the event your fireproof safe is ever damaged in a fire, PHOENIX SAFE will replace it at no charge for the lifetime of your ownership.

Figure 7: Lifetime After-a-Fire Replacement Warranty details.
8.3 Customer Support
For warranty claims, technical assistance, or any questions regarding your safe, please contact PHOENIX SAFE customer support. Refer to the contact information provided with your purchase or visit the official PHOENIX SAFE website.


