
SINGER 230421112.DI
SINGER Heavy Duty 4411 Sewing Machine User Manual
Model: 230421112.DI

Figure 1: SINGER Heavy Duty 4411 Sewing Machine Overview
1. Introduction
The SINGER Heavy Duty 4411 sewing machine is engineered for durability and performance, offering enhanced power and speed for a wide range of sewing projects. Its robust construction and versatile features make it suitable for both beginners and experienced sewers tackling various fabric types.
Key features include:
- Powerful Motor: 50% more power for handling tough fabrics like denim, canvas, and leather, with enhanced piercing capability.
- High-Speed Stitching: Achieve up to 1,100 stitches per minute for efficient project completion.
- 69 Stitch Applications: A wide selection of basic, stretch, and decorative stitches for diverse sewing techniques.
- Full Metal Frame: Ensures stability and long-lasting durability, minimizing vibration during operation.
- Top Drop-In Bobbin: Convenient and jam-proof bobbin system with a clear cover for easy thread monitoring.
- 4-Step Buttonhole: Simplifies the creation of professional-looking buttonholes.
- LED Lighting: Illuminates the sewing area for improved visibility.
- Stainless Steel Bed Plate: Allows for smooth fabric feeding.

Figure 2: Included Accessories with SINGER Heavy Duty 4411
2. Safety Instructions
Always follow basic safety precautions when using electrical appliances to reduce the risk of burns, fire, electric shock, or injury to persons.
- Read all instructions before using the sewing machine.
- Keep fingers away from all moving parts. Special care is required around the sewing machine needle.
- Always unplug the sewing machine from the electrical outlet when removing covers, lubricating, or when making any other user servicing adjustments mentioned in the instruction manual.
- Never operate the sewing machine with any air openings blocked. Keep ventilation openings of the sewing machine and foot controller free from the accumulation of lint, dust, and loose cloth.
- Do not operate where aerosol (spray) products are being used or where oxygen is being administered.
- Use this appliance only for its intended use as described in this manual. Use only attachments recommended by the manufacturer as contained in this manual.
3. Setup
3.1 Power Connection
Connect the foot controller plug into the machine's power input. Ensure the machine is placed on a stable, flat surface before connecting to a power outlet. The machine operates on 120V, 60Hz (84 Watts).
3.2 Threading the Machine
Proper threading is crucial for optimal stitch quality. Follow the numbered guides on the machine for correct upper thread path. The machine features easy threading guides to simplify this process.
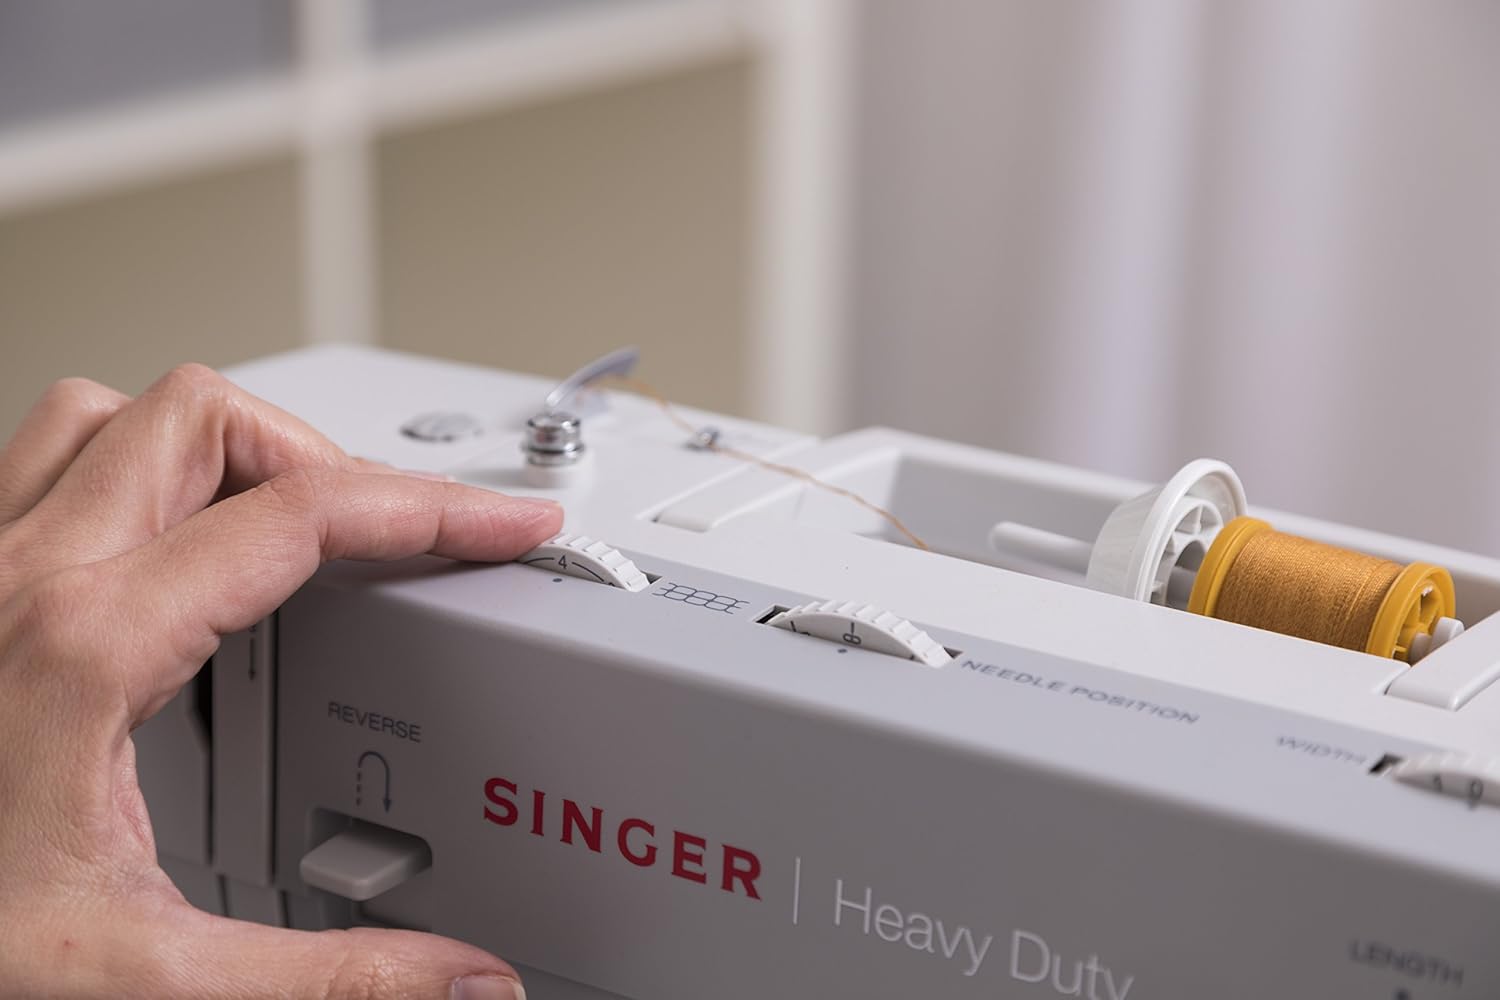
Figure 3: Top Drop-In Bobbin System for easy monitoring.
3.3 Winding the Bobbin
Place an empty bobbin onto the bobbin winding spindle. Guide the thread from the spool through the bobbin winding tension disc and around the bobbin. Push the spindle to the right to engage the winding mechanism, then gently press the foot controller to wind the thread evenly onto the bobbin. Once full, push the spindle back to the left and trim the thread.

Figure 4: Bobbin Winding Process
3.4 Inserting the Bobbin
The SINGER 4411 features a convenient top drop-in bobbin system. Open the bobbin cover plate, insert the wound bobbin, ensuring the thread unwinds in the correct direction as indicated by the machine's markings. Pull the thread through the tension spring and replace the cover.
4. Operating the Machine
4.1 Stitch Selection
Turn the stitch selector dial to choose from 69 stitch applications, including basic, stretch, and decorative stitches. Refer to the stitch chart on the machine for visual guidance.

Figure 5: Stitch Selection Dial
4.2 Adjusting Stitch Length and Width
Use the dedicated dials to adjust stitch length and width according to your fabric and project needs. Longer stitches are suitable for basting or gathering, while shorter stitches provide stronger seams. Adjusting width is important for zigzag and decorative stitches.

Figure 6: Stitch Length Adjustment Dial

Figure 7: Stitch Width Adjustment Dial
4.3 Presser Foot Pressure
The adjustable presser foot pressure allows for optimal fabric feeding, whether you are sewing very lightweight fabrics or multiple layers of heavy materials. Adjust as needed to prevent puckering or stretching.
4.4 4-Step Buttonhole
To create a buttonhole, attach the buttonhole foot. Select the 4-step buttonhole setting on the stitch selector dial and follow the machine's instructions for each of the four steps to achieve a perfectly sized buttonhole.

Figure 8: Close-up of 4-Step Buttonhole
4.5 Sewing Thick Fabrics
Thanks to its powerful motor and heavy-duty metal frame, the 4411 excels at sewing thick fabrics like denim and canvas. Ensure you use the appropriate needle size (e.g., 90/14 for denim) and adjust tension as necessary for best results.

Figure 9: Needle Piercing Thick Fabric
5. Maintenance
5.1 Cleaning the Machine
Regular cleaning helps maintain your machine's performance. Always unplug the machine before cleaning. Use the included lint brush to remove lint and dust from the bobbin area and feed dogs. The stainless steel bed plate can be wiped clean with a soft cloth.

Figure 10: Internal Metal Frame for Durability

Figure 11: Stainless Steel Bed Plate
5.2 Lubrication
Refer to the detailed user manual for specific lubrication points and frequency. Proper lubrication ensures smooth operation and extends the life of your machine.
6. Troubleshooting
| Problem | Possible Cause | Solution |
|---|---|---|
| Skipped Stitches | Incorrect needle, improper threading, bent needle. | Change needle, re-thread machine, replace bent needle. |
| Thread Breaking | Incorrect tension, poor quality thread, needle too small. | Adjust tension, use good quality thread, use correct needle size. |
| Fabric Puckering | Tension too high, incorrect stitch length, wrong presser foot pressure. | Decrease tension, adjust stitch length, adjust presser foot pressure. |
| Machine Not Feeding Fabric | Feed dogs lowered, lint accumulation. | Raise feed dogs, clean feed dog area. |
For more detailed troubleshooting, please refer to the full user manual.
7. Specifications
- Product Dimensions: 15.5 x 6.25 x 12 inches (machine)
- Item Weight: 14.6 pounds
- Manufacturer: Singer
- Model Number: 230421112.DI
- Country of Origin: Vietnam
- Power: Watts (84); Volts (120); Hz (60)
- Stitch Applications: 69
- Stitches Per Minute: Up to 1,100
- Frame: Heavy-Duty Metal
- Bobbin System: Top Drop-In
- Buttonhole: 4-Step
- Included Components: Four Presser Feet (General Purpose Foot, Zipper Foot, Buttonhole Foot, Button Sewing Foot), Edge/Quilting Guide, Pack of Needles, Bobbins (Class 15 transparent), Spool Caps, Auxiliary Spool Pin, Spool Pin Felt, Screwdriver, Seam Ripper/Lint Brush and Soft Dust Cover.
8. Warranty & Support
8.1 Warranty Information
The SINGER Heavy Duty 4411 comes with a comprehensive warranty:
- 25-Year Limited Warranty: Covers the sewing machine head for manufacturing defects.
- 2-Year Limited Warranty: Covers Motors, light assembly, wiring, switches, speed control, and electronic components.
- 90-Day Warranty: Covers adjustments, belts, rings, bulbs, and attachments.
For full warranty details and terms, please refer to the official warranty documentation included with your product or available online.
8.2 Additional Support
For further assistance, tutorials, and resources, please visit the official SINGER support website or download the Creativate App.
- Official User Manual (PDF): Download Here
- SINGER Support Website: singer.com/support
- Creativate App: Unlock full potential with tutorials, troubleshooting, and designs.

Figure 12: Unlock potential with the Creativate App
Related documents230421112.DI


Ask a question about this manual
Ask about setup, troubleshooting, compatibility, parts, safety, or missing instructions. Manuals+ will review the question and use this page’s manual context to help answer it.