1. Introduction
Thank you for choosing the Makita HG651CK/2 Heat Gun. This powerful 2000W, 240V corded electric heat gun is designed for a variety of tasks, including paint stripping, bending plastic, thawing pipes, and more. Its lightweight design ensures comfortable use. Please read this manual thoroughly before operation to ensure safe and effective use of your tool.
2. Safety Instructions
WARNING: Read all safety warnings and instructions. Failure to follow the warnings and instructions may result in electric shock, fire, and/or serious injury.
2.1 General Safety
- Always wear appropriate personal protective equipment, including safety glasses and gloves.
- Ensure your work area is well-ventilated to prevent the accumulation of hazardous fumes.
- Keep children and bystanders away while operating the heat gun.
- Do not operate power tools in explosive atmospheres, such as in the presence of flammable liquids, gases, or dust.
2.2 Heat Gun Specific Safety
- The nozzle and accessories become very hot during use. Allow them to cool before touching or storing.
- Do not direct the hot air stream at people or animals.
- Be aware of hidden areas such as behind walls, ceilings, and floors, as flammable materials may be present.
- Do not block the air intake or output nozzles.
- Always place the heat gun on a stable, heat-resistant surface when not holding it.
- Never use the heat gun as a hair dryer.
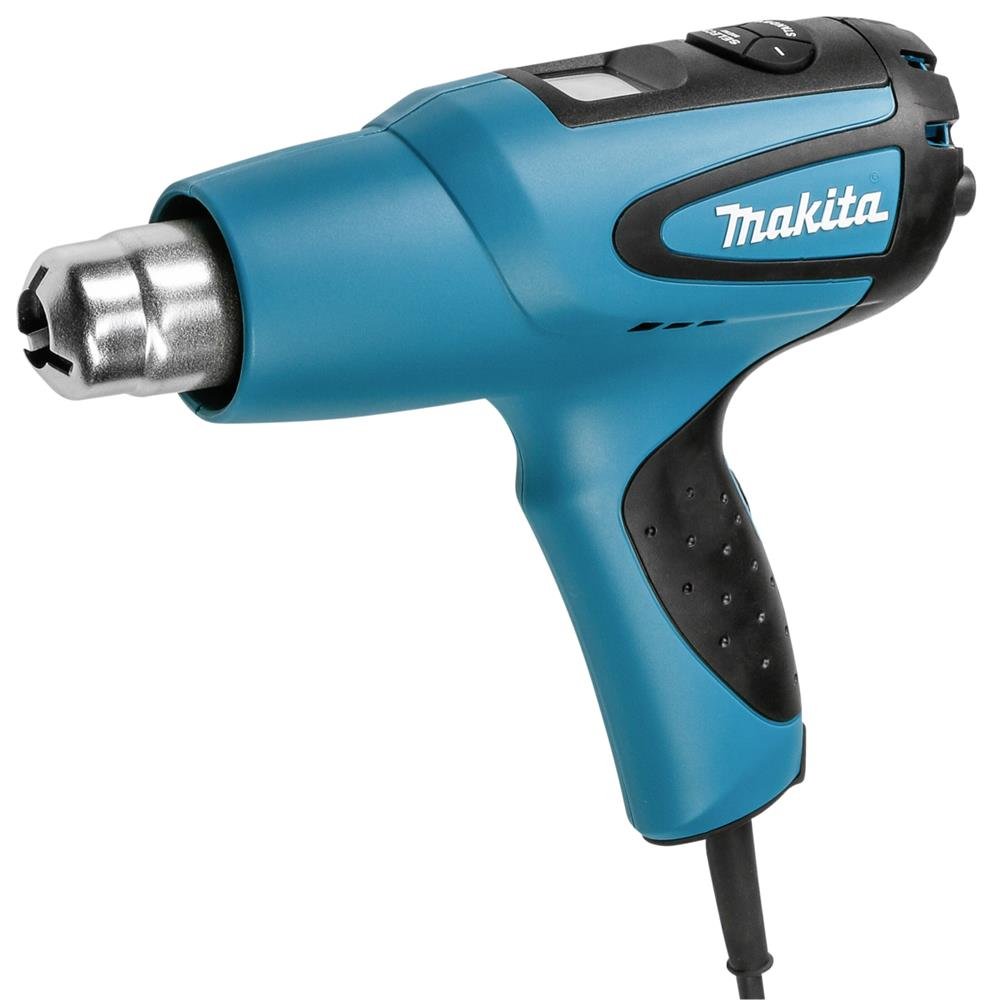
3. Components and Features
The Makita HG651CK/2 Heat Gun features a robust design for professional and DIY applications. Key components include the main body, heating element, motor, air intake, air output nozzle, and power cord.
3.1 Special Features
- Lightweight Design: Enhances user comfort and reduces fatigue during extended use.
- Corded Electric Power: Provides consistent power for demanding tasks.
- Forced Air Heating: Efficiently delivers hot air for various applications.
4. Setup
Before using your Makita HG651CK/2 Heat Gun, ensure proper setup for safety and optimal performance.
- Unpacking: Carefully remove the heat gun and any accessories from its packaging. Inspect for any damage.
- Nozzle Attachment: Select the appropriate nozzle for your task. Align the nozzle with the heat gun's output and push it firmly into place. Ensure it is securely attached before operation.
- Power Connection: Connect the heat gun's grounding plug to a suitable 240V power outlet. Ensure the power cord is not damaged and is positioned to avoid tripping hazards or contact with hot surfaces.
- Work Area Preparation: Clear your work area of any flammable materials. Ensure adequate ventilation.
5. Operating Instructions
Follow these steps for safe and effective operation of your heat gun.
- Power On: Plug the heat gun into a grounded electrical outlet. Turn on the heat gun using the power switch, typically located on the handle.
- Temperature and Airflow Adjustment: The HG651CK/2 model may feature variable temperature and airflow settings. Refer to the controls on your specific unit to adjust these settings according to your application. Start with lower settings and increase as needed.
- Application: Direct the hot air stream towards the workpiece. Maintain a safe distance to prevent scorching or damage. Move the heat gun steadily to ensure even heating.
- Recommended Uses: This heat gun is suitable for tasks such as paint and varnish removal, bending and welding plastics, shrinking heat-shrink tubing, thawing frozen pipes, and drying. It is recommended for indoor use in environments like garages, homes, offices, greenhouses, and workshops.
- Power Off: After use, turn off the heat gun. Allow it to cool down completely before storing. Many heat guns have a 'cool-down' function that runs the fan without heat to protect components.
6. Maintenance
Regular maintenance ensures the longevity and safe operation of your heat gun.
- Cleaning: After each use, ensure the heat gun is unplugged and cool. Wipe the exterior with a soft, damp cloth. Keep the air intake and output nozzles free from dust and debris. Do not use abrasive cleaners or solvents.
- Storage: Store the heat gun in a dry, secure location, out of reach of children. Ensure the power cord is neatly coiled and not kinked.
- Inspection: Periodically inspect the power cord, plug, and housing for any signs of damage. If damage is found, do not use the tool and have it repaired by a qualified service technician.
7. Troubleshooting
If you encounter issues with your Makita HG651CK/2 Heat Gun, refer to the following common problems and solutions.
| Problem | Possible Cause | Solution |
|---|---|---|
| Heat gun does not turn on. | No power supply, faulty switch, damaged cord. | Check power outlet and plug. Ensure switch is in 'ON' position. Inspect cord for damage. If cord is damaged, seek professional repair. |
| Insufficient heat output. | Blocked air intake/output, incorrect temperature setting. | Clear any obstructions from air vents. Adjust temperature setting to a higher level. |
| Overheating and automatic shutdown. | Blocked air vents, prolonged use at high temperature. | Allow the tool to cool down. Clear air vents. Reduce operating time or temperature. |
If the problem persists after attempting these solutions, contact Makita customer service or a qualified service center.
8. Specifications
Detailed technical specifications for the Makita HG651CK/2 Heat Gun.
| Specification | Detail |
|---|---|
| Manufacturer | Makita |
| Model Number | HG651CK/2 |
| Part Number | HG651CK/2 |
| Item Weight | 780 g |
| Product Dimensions | 9.5 x 29.5 x 30 cm (Depth x Width x Height) |
| Color | Blue |
| Power Source Type | Corded Electric |
| Voltage | 240 Volts |
| Wattage | 2000 Watts |
| Number of Pieces | 1 |
| Plug Type | Grounding Plug |
| Special Features | Lightweight |
| Included Components | Heat gun |
| Batteries Required | No |
| Indoor/Outdoor Use | Indoor |
| Heating Method | Forced Air |
| Recommended Uses | Garage, Home, Office, Greenhouse, Workshop |
| Mounting Type | Floor Mount / Stand-alone |
| Date First Available | August 13, 2023 |
9. Warranty and Support
For warranty information, please refer to the warranty card included with your product or visit the official Makita website. For technical support, spare parts, or service, contact your local Makita authorized service center. Keep your purchase receipt as proof of purchase for warranty claims.
You can find more information and contact details on the official Makita website: www.makita.com