Introduction
The Mitutoyo 201-103 Dial Snap Gauge is a precision measuring instrument designed for quick and accurate external diameter measurements within a 50-75mm range. It is primarily used for comparative measurements, requiring an external indicator (not included) for display. This manual provides essential information for the proper setup, operation, and maintenance of your gauge to ensure optimal performance and longevity.
Package Contents
Carefully unpack the box and ensure all items are present and undamaged.
- Mitutoyo 201-103 Dial Snap Gauge (50-75mm Range)
- Note: A compatible dial indicator is not included and must be purchased separately.
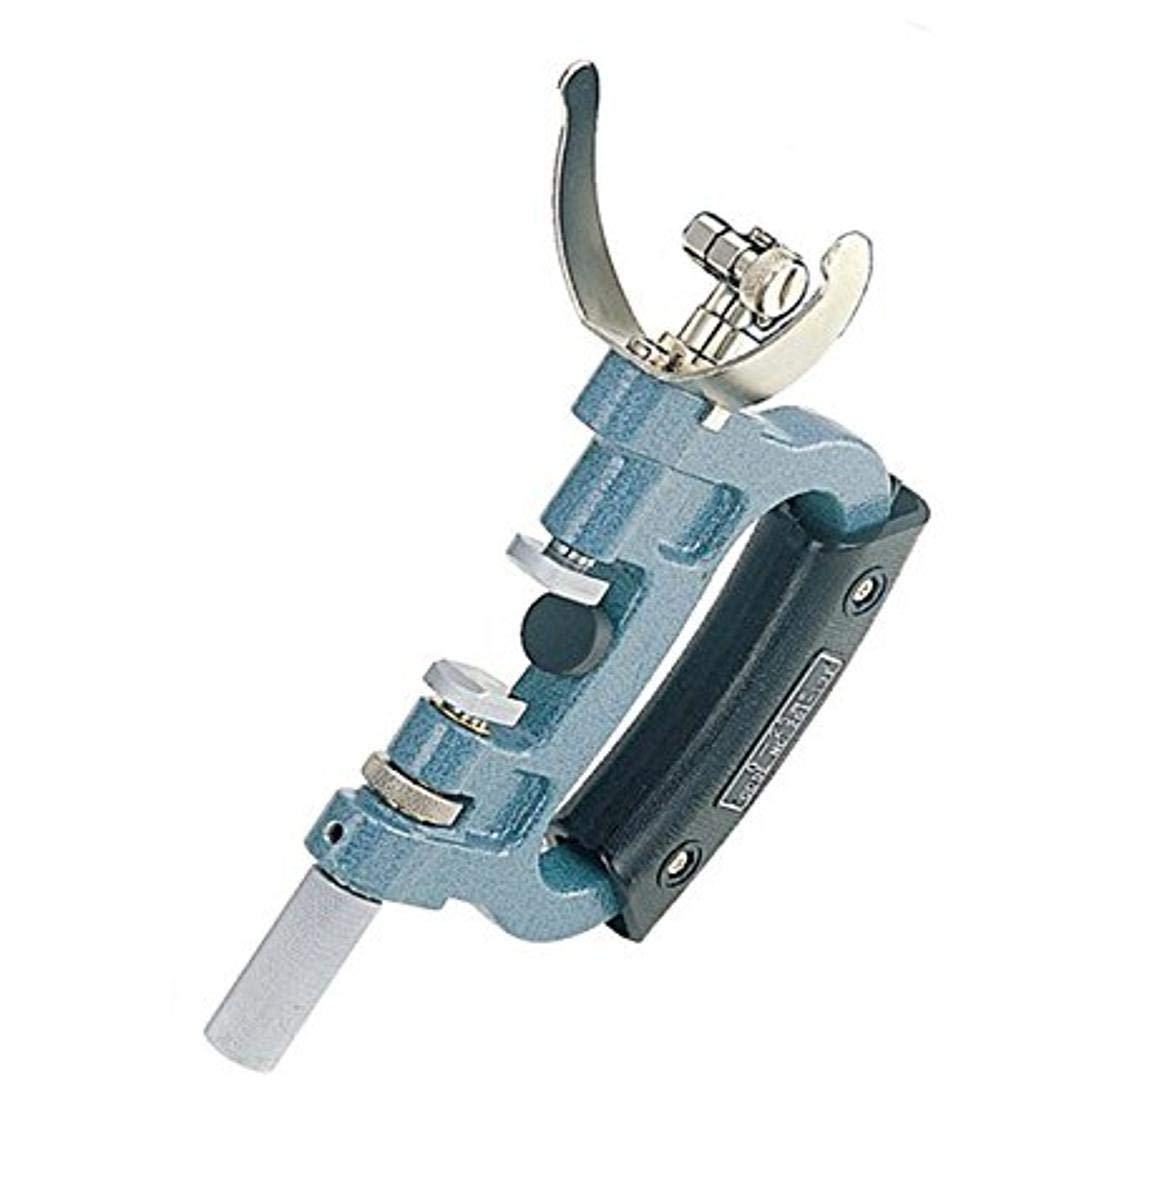
Image: The Mitutoyo 201-103 Dial Snap Gauge, illustrating its main body and measuring anvils.
Setup
- Unpacking: Remove the gauge from its protective packaging.
- Cleaning: Gently wipe all measuring surfaces with a clean, lint-free cloth. Avoid using harsh solvents that could damage the finish.
- Indicator Attachment:
- The 201-103 gauge requires a compatible dial indicator (not supplied) for measurement display.
- Carefully insert the stem of the dial indicator into the mounting hole on the gauge.
- Secure the indicator using the clamping screw, ensuring it is firm but not overtightened to avoid damaging the indicator stem.
- Zero Setting:
- Before use, the gauge must be set to zero using a master setting ring or gauge blocks corresponding to the desired nominal measurement.
- Place the master standard between the measuring anvils.
- Adjust the indicator's bezel or fine adjustment screw until the needle points precisely to zero.
Operating Instructions
- Holding the Gauge: Hold the gauge firmly by the frame, ensuring your hand does not interfere with the measuring anvils or the indicator's movement.
- Positioning the Workpiece: Carefully insert the workpiece between the measuring anvils. Ensure the workpiece is clean and free of burrs or contaminants.
- Taking a Measurement:
- Apply light, consistent pressure to the movable anvil until it makes firm contact with the workpiece.
- Observe the reading on the attached dial indicator. The indicator will show the deviation from the set zero point.
- For accurate readings, ensure the workpiece is positioned perpendicular to the measuring anvils.
- Reading the Indicator: Interpret the indicator's reading according to its scale. Positive or negative deviations indicate whether the workpiece is larger or smaller than the master standard used for zero setting.
Maintenance
- Cleaning: After each use, wipe the measuring surfaces and the gauge body with a clean, dry, lint-free cloth. If necessary, use a small amount of instrument cleaning fluid, then wipe dry immediately.
- Lubrication: Periodically apply a thin film of rust-preventative oil to all unpainted metal surfaces, especially the measuring anvils, to prevent corrosion.
- Storage: Store the gauge in its original protective case in a clean, dry environment, away from direct sunlight, extreme temperatures, and vibrations.
- Calibration: Regular calibration by qualified personnel is recommended to maintain accuracy. The frequency depends on usage, environmental conditions, and quality control requirements.
- Handling: Avoid dropping or subjecting the gauge to impact, as this can damage its precision components and affect accuracy.
Troubleshooting
| Problem | Possible Cause | Solution |
|---|---|---|
| Inaccurate Readings | Improper zero setting, dirty anvils, worn anvils, gauge damage, incorrect indicator attachment. | Re-zero the gauge with a master standard. Clean anvils thoroughly. Inspect for damage. Ensure indicator is securely attached. Consider professional calibration if issues persist. |
| Indicator Movement Stiff | Dirt or debris in the mechanism, lack of lubrication. | Clean the gauge thoroughly. Apply light instrument oil to moving parts if accessible, or consult a service technician. |
| Gauge Not Holding Zero | Loose indicator, temperature fluctuations, internal mechanism issue. | Tighten indicator clamping screw. Allow gauge to acclimate to ambient temperature. If problem persists, seek professional service. |
Specifications
- Model: 201-103
- Measuring Range: 50 - 75mm
- Parallelism: 5µm
- Measuring Force: 15N ± 3N
- Country of Origin: Japan
- Item Weight: Approximately 700 g
- Product Dimensions (LxWxH): Approximately 20 x 20 x 20 cm
- Required Accessory: Dial Indicator (not included)
Warranty and Support
Mitutoyo products are manufactured to high standards of quality and precision. For specific warranty information, please refer to the documentation provided with your purchase or visit the official Mitutoyo website.
For technical support, service, or spare parts, please contact your authorized Mitutoyo distributor or service center. They can provide expert assistance and ensure your gauge receives proper care.
Mitutoyo Official Website: www.mitutoyo.com


