
Introduction
This instruction manual provides detailed guidance for the installation, operation, and maintenance of your Claber 90764 Drip Irrigation Kit. This kit is designed to efficiently water up to 20 potted plants, ensuring optimal hydration with minimal effort. Please read these instructions carefully before beginning installation to ensure proper setup and long-term performance.
Product Components
The Claber 90764 Drip Irrigation Kit includes the following components:
- Main distribution tubing
- Adjustable drippers (20 units)
- Connectors and fittings (e.g., T-connectors, end caps)
- Ground stakes for securing tubing
- Pressure reducer for water source connection

An overhead view of all components included in the Claber 90764 Drip Irrigation Kit. This includes a roll of main tubing, numerous adjustable drippers, connectors, end caps, and ground stakes.
Setup and Installation
Follow these steps to set up your drip irrigation system:
- Connect to Water Source: Attach the pressure reducer to your outdoor faucet. Then, connect the main distribution tubing to the pressure reducer. Ensure all connections are tight to prevent leaks.
- Lay Out Tubing: Unroll the main distribution tubing and lay it out to reach all your potted plants. You may need to cut the tubing to appropriate lengths and use T-connectors or elbow connectors to navigate around obstacles.
- Install Drippers: At each potted plant, cut a small section of the main tubing and insert an adjustable dripper. Alternatively, you can use a punch tool (if included or purchased separately) to create holes in the main tubing and insert the drippers directly.
- Position Drippers: Place each dripper near the base of the plant in the pot. Use the provided ground stakes to secure the tubing and drippers in place, ensuring they remain stable and directed towards the plant's root zone.
- Seal End of Tubing: Use an end cap to seal the terminal end of the main distribution tubing. This ensures proper water pressure throughout the system.
- Test the System: Slowly turn on the water supply to check for leaks and proper water flow from each dripper. Adjust the drippers as needed to achieve the desired flow rate for each plant.

Drip irrigation tubing laid out in a garden bed, demonstrating how the system delivers water directly to the base of plants. Two different types of plants are shown receiving water.

A close-up view of a Claber adjustable dripper installed on the irrigation tubing, with a single water drop visible at the outlet, illustrating its function.
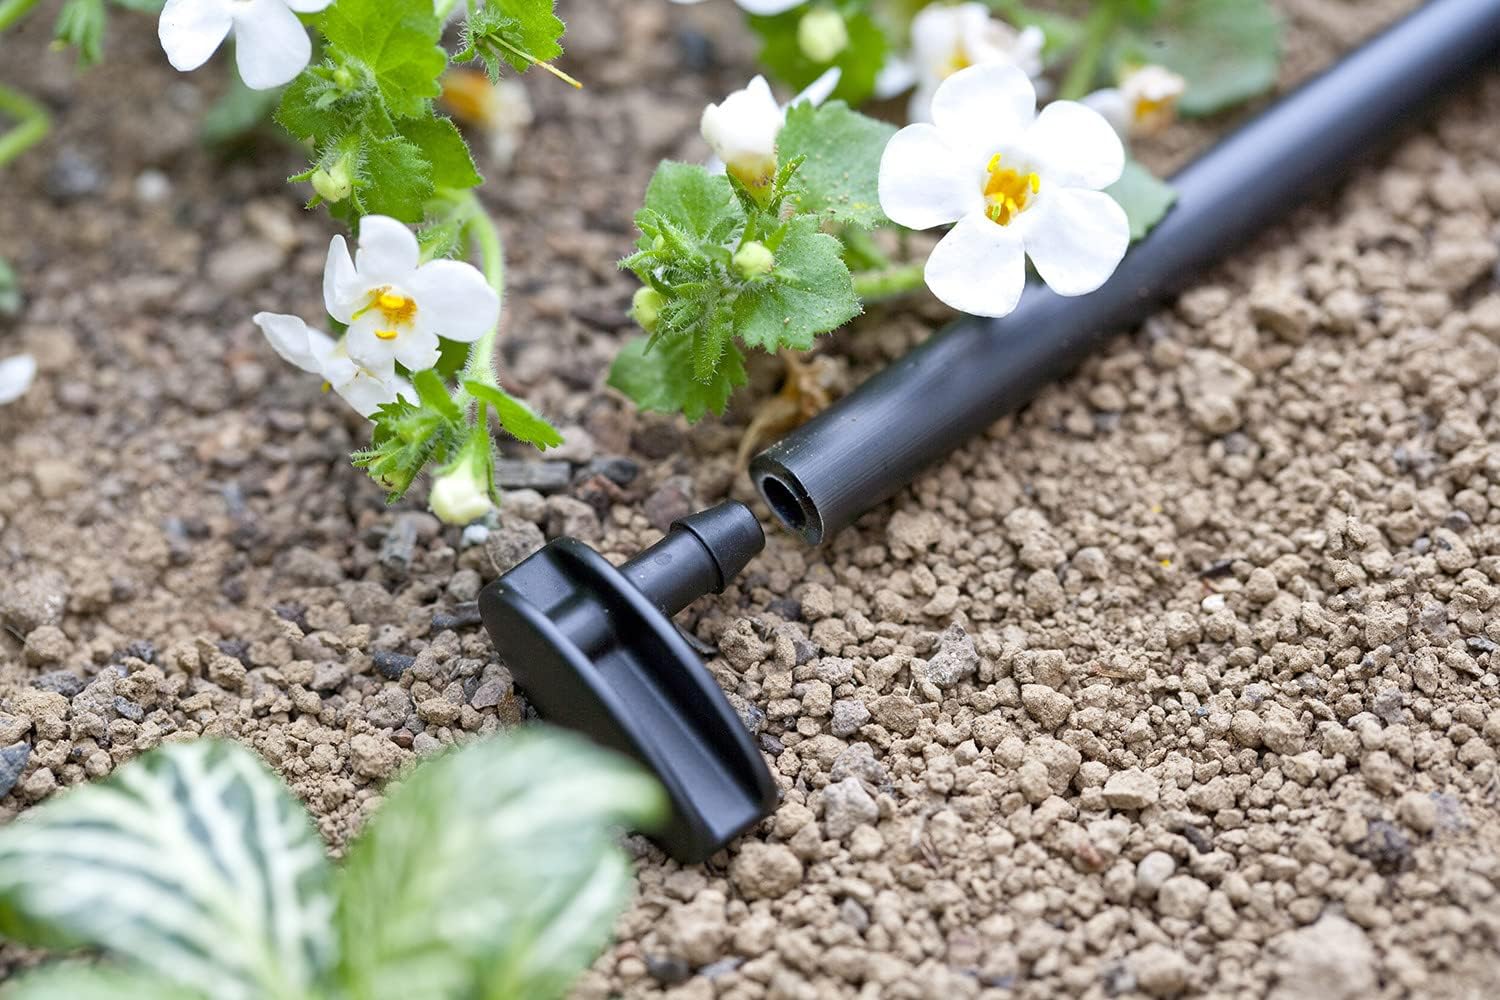
A connection point in the drip irrigation system, showing how two sections of tubing are joined, ensuring a secure and leak-free connection.

A Claber dripper positioned in a potted plant, demonstrating direct and efficient watering at the plant's root zone.
Operating Instructions
Once installed, operating your Claber Drip Irrigation Kit is straightforward:
- Water Flow Adjustment: Each dripper features an adjustable cap. Rotate the orange cap to increase or decrease the water flow to individual plants. This allows for customized watering based on each plant's specific needs.
- Watering Schedule: Manually turn on your faucet for the desired duration. For automated watering, you can connect a compatible irrigation timer (not included) to your faucet before the pressure reducer.
- Monitoring: Periodically check your plants and the soil moisture levels to ensure the system is delivering adequate water. Adjust dripper settings or watering duration as necessary.

A detailed image of the adjustable flow mechanism on a Claber dripper, showing the orange cap used to control water output.
Maintenance
Regular maintenance will extend the life and efficiency of your drip irrigation system:
- Inspect for Leaks: Periodically check all connections and tubing for any signs of leaks. Tighten connections or replace damaged components as needed.
- Clean Drippers: Over time, drippers may become clogged with sediment or mineral deposits. If a dripper's flow is reduced or stopped, carefully remove it and clean it under running water. A small brush or needle can help clear blockages.
- Winterization: Before the first frost, disconnect the system from the water source. Drain all water from the tubing and drippers to prevent freezing and cracking. Store components in a dry, protected area during winter months.
- Tubing Care: Keep tubing free from kinks or sharp bends that can restrict water flow. Protect tubing from direct sunlight exposure for prolonged periods if possible, to prevent material degradation.
Troubleshooting
Here are solutions to common issues you might encounter:
- No Water Flow / Low Pressure:
- Ensure the water source is fully open.
- Check for kinks in the tubing.
- Verify that the end cap is securely in place.
- Inspect drippers for clogs and clean them if necessary.
- Leaks at Connections:
- Tighten all connections.
- Ensure tubing is fully inserted into fittings.
- Check for damaged O-rings or washers in the pressure reducer connection.
- Uneven Watering:
- Adjust individual drippers to balance flow rates.
- Ensure the main tubing is laid out as evenly as possible to minimize pressure differences.
Specifications
| Brand | Claber |
| Model Number | D90764000 |
| Item Dimensions (L x W x H) | 3.94 x 3.94 x 3.94 inches |
| Item Weight | 1.78 pounds (0.81 Kilograms) |
| Power Source | Water Pressure-driven |
| Special Feature | Adjustable Drippers |
| Number of Pieces | 1 (Kit) |
| Material | ABS Plastic |
| UPC | 088243907645 |
Important Safety Information
Please observe the following safety guidelines:
- Always ensure the kit is properly connected to a water source to prevent leaks and water damage.
- Handle ABS plastic components with care to avoid damage or injury.
- Use the adjustable features as instructed to prevent misuse or damage to the kit.
- Do not use the system with water temperatures exceeding 40°C (104°F).
- Keep out of reach of children when not in use.
Warranty and Support
For warranty information, please refer to the documentation included with your product packaging or visit the official Claber website. For technical support or inquiries, please contact Claber customer service through their official channels.
