1. Introduction
This manual provides detailed instructions for the safe and effective installation and use of your MENABO Dozer XL Roof Bars. These aluminum roof bars are designed for vehicles equipped with open roof railings, offering a robust and secure solution for transporting additional cargo. Please read all instructions carefully before installation and use to ensure proper function and safety.

Figure 1: MENABO Dozer XL Roof Bars (Set of 2)
2. Components
The MENABO Dozer XL Roof Bar set includes the following components:
- 2 x Aluminum Roof Bars: The main load-bearing bars.
- 4 x Mounting Feet: Assemblies for attaching the bars to your vehicle's roof railings.
- 4 x Anti-Theft Locks with Keys: Integrated locking mechanism for security.
- Rubber Strips: For insertion into the bar grooves to reduce wind noise and protect cargo.
- Hex Key (Allen Wrench): Tool for tightening mounting bolts.
- Instruction Manual: This document.
3. Setup and Installation
Before beginning installation, ensure your vehicle is parked on a level surface and the engine is off. Always refer to your vehicle's owner's manual for any specific instructions regarding roof load capacity or roof railing usage.
- Unpack Components: Carefully remove all components from the packaging and verify that all parts listed in Section 2 are present.
- Assemble Mounting Feet: Attach the mounting feet to the aluminum bars. Ensure the feet are oriented correctly to clamp onto your vehicle's open roof railings. The clamps should be fully open to facilitate placement.
- Position Bars on Vehicle: Place the assembled roof bars onto your vehicle's open roof railings. Adjust the position of the mounting feet along the bars to match the width of your vehicle's railings. Ensure the bars are parallel to each other and evenly spaced for optimal load distribution.
- Secure Clamps: Using the provided hex key, tighten the bolts on each mounting foot to secure the clamps firmly onto the roof railings. Tighten gradually and evenly on both sides to ensure a balanced and secure fit. Do not overtighten.
- Insert Rubber Strips: Cut the provided rubber strips to the appropriate length and insert them into the upper and lower grooves of the aluminum bars. These strips are crucial for reducing wind noise and protecting the bars and your cargo. Ensure they are fully seated in the grooves.
- Engage Anti-Theft System: Lock the anti-theft caps on each mounting foot using the provided keys. This secures the bars to your vehicle and prevents unauthorized removal.
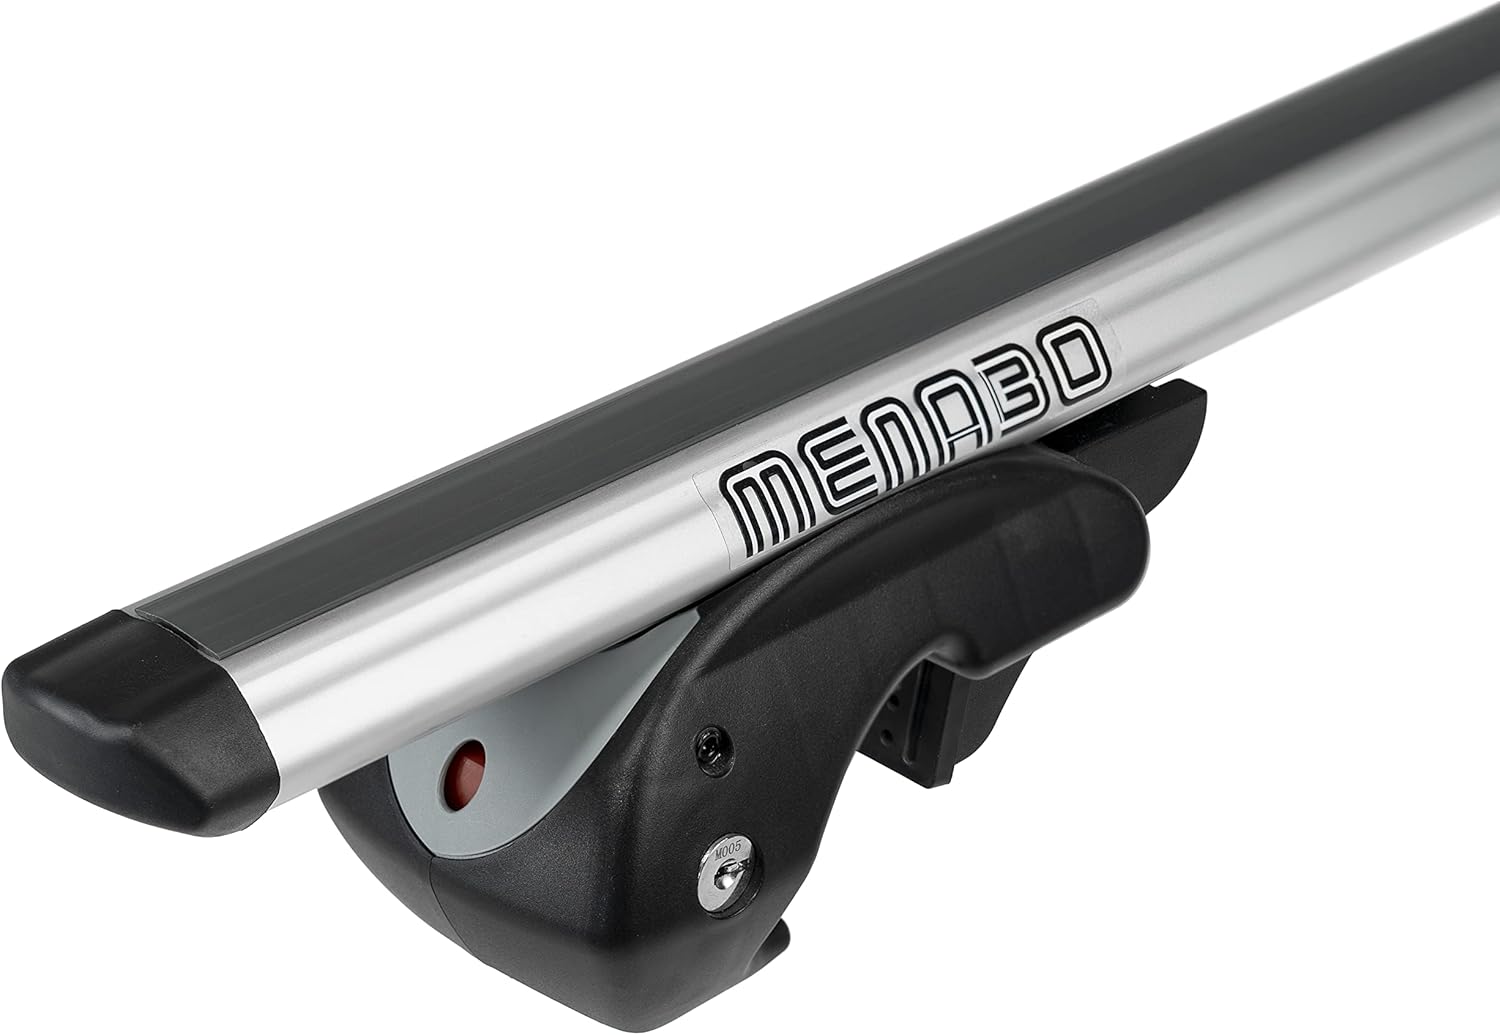
Figure 2: Close-up of the mounting foot and anti-theft lock.

Figure 3: MENABO Dozer XL Roof Bars installed on a vehicle.
4. Operating Instructions
Once installed, your MENABO Dozer XL Roof Bars are ready for use. Observe the following guidelines for safe operation:
- Load Capacity: The maximum load capacity for these roof bars is 90 kg (198 lbs). This includes the weight of the bars themselves and any accessories (e.g., roof box, bike rack). Never exceed this limit.
- Weight Distribution: Distribute the load evenly across both bars and secure it properly to prevent shifting during transit.
- Securing Cargo: Always use appropriate straps, nets, or other securing devices to firmly attach your cargo to the roof bars. Ensure there is no movement of the cargo before driving.
- Driving Considerations: Be aware that adding cargo to your roof will affect your vehicle's handling, braking, and fuel consumption. Drive at reduced speeds, especially in windy conditions or when cornering. Avoid sudden maneuvers.
- Height Clearance: Remember that the overall height of your vehicle will increase with the roof bars and any mounted cargo. Be mindful of low clearances, such as garages, carports, and drive-thrus.
5. Maintenance
Regular maintenance ensures the longevity and safe operation of your roof bars:
- Regular Inspection: Periodically check all mounting bolts, clamps, and the anti-theft locks for tightness and security, especially before long journeys or after driving on rough terrain.
- Cleaning: Clean the aluminum bars and plastic components with mild soap and water. Avoid abrasive cleaners or solvents that could damage the finish.
- Rubber Strips: Ensure the rubber strips remain securely in their grooves. Replace them if they become damaged or dislodged.
- Storage: If the roof bars are not in use for an extended period, it is recommended to remove them from the vehicle and store them in a dry, protected area to prevent wear and tear from weather exposure.
6. Troubleshooting
Here are solutions to common issues you might encounter:
- Whistling Noise at Speed:
Solution: This is typically caused by air turbulence. Ensure that the rubber strips are correctly and fully inserted into both the upper and lower grooves of the aluminum bars. Missing or improperly installed rubber strips are the most common cause of wind noise.
- Bars Feel Loose After Installation:
Solution: Re-check the tightness of all mounting bolts using the provided hex key. Ensure that the clamps are securely gripping the vehicle's roof railings. If the issue persists, verify that the bars are compatible with your specific vehicle model and its roof railing type.
- Difficulty Attaching Mounting Feet to Railings:
Solution: Ensure the mounting clamps are fully opened before attempting to position them on the railings. Sometimes, it helps to attach the feet to the bars first, then place the entire assembly onto the railings, adjusting the width as needed.
- Keys Not Working for Anti-Theft Locks:
Solution: Ensure you are using the correct keys provided with your specific set of roof bars. Check for any debris or obstruction in the lock mechanism. If the lock is stiff, a small amount of graphite lubricant can be applied.
7. Specifications
| Attribute | Value |
|---|---|
| Brand | MENABO |
| Model | Dozer XL (000015100000) |
| Dimensions (L x W x H) | 135 x 9 x 11 cm |
| Item Weight | 3.74 kg |
| Load Capacity | 90 kg |
| Material | Aluminum |
| Mounting Type | For vehicles with open roof railings |
8. Warranty and Support
For warranty information, product registration, or technical support, please refer to the manufacturer's official website or contact your authorized MENABO dealer. Keep your proof of purchase for any warranty claims.


