
Gymstick POSRW40
Gymstick Poseidon RW40 Rower User Manual
Model: POSRW40 | Brand: Gymstick
1. Important Safety Information
Please read all instructions carefully before assembling or using the Gymstick Poseidon RW40 Rower. Retain this manual for future reference.
- Consult a physician before starting any exercise program.
- Keep children and pets away from the equipment during use.
- Place the rower on a flat, stable surface with adequate clearance around it.
- Inspect the equipment for worn or loose parts before each use. Do not use if damaged.
- Ensure all bolts and nuts are securely tightened before use.
- Wear appropriate exercise clothing and footwear.
- Stop exercising immediately if you feel faint, dizzy, or experience pain.
2. Product Overview
The Gymstick Poseidon RW40 Rower is designed for effective cardiovascular and strength training. It features a robust design with a back drive system and an innovative upright rowing arm for versatile workouts.
Key Features:
- Back drive Home trainer with rowing arm/handlebar
- Versatile machine with an extra upright rowing arm feature
- LCD 3 inch monitor displaying Time, Distance, Speed, and Pulse
- Poly V belt transmission for smooth operation
- 8-position adjustable magnetic brake system for varied resistance
- 1:10 Transmission ratio
- Rotating mass: 7 kg
- 3-piece bottom bracket with ball bearings
- Pedals with toe clips for secure foot placement
- Integrated transport wheels for easy relocation
Product Components and Views:
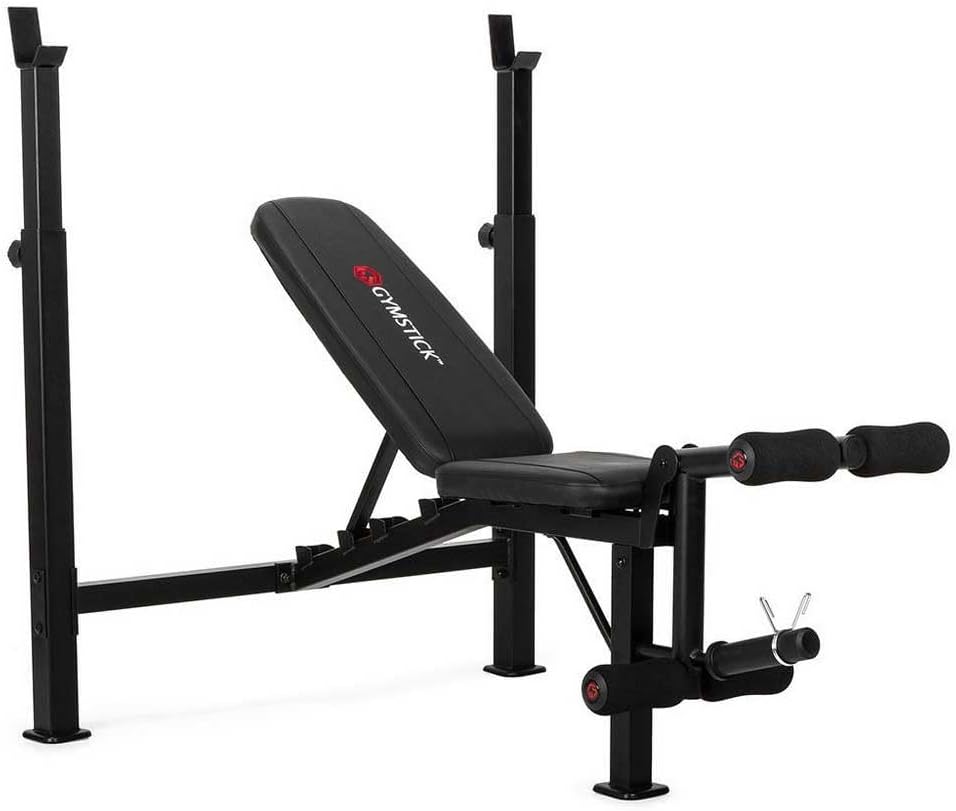
Figure 2.1: Overall view of the Gymstick Poseidon RW40 Rower, showcasing its main frame and components.

Figure 2.2: Front perspective of the rower, highlighting the stability and base structure.

Figure 2.3: Close-up of the ergonomically designed seat and the smooth-gliding rail system.

Figure 2.4: Detail of the adjustable footrests equipped with secure toe clips for optimal foot placement during exercise.

Figure 2.5: View of the console area and the mechanism for adjusting the magnetic resistance levels.
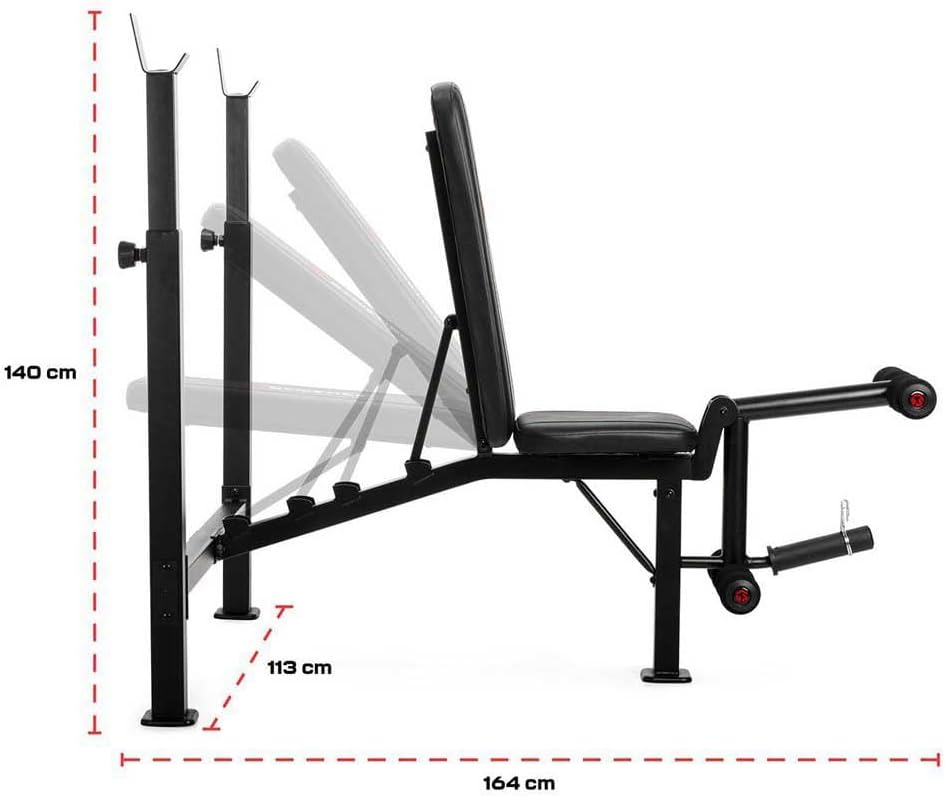
Figure 2.6: Diagram illustrating the overall dimensions of the Gymstick Poseidon RW40 Rower for space planning.
3. Setup and Assembly
Assembly of the Gymstick Poseidon RW40 Rower typically involves a few straightforward steps. It is recommended to have another person assist with assembly due to the size and weight of some components.
- Unpack Components: Carefully remove all parts from the packaging. Lay them out and compare with the parts list (refer to the included assembly diagram, not provided here). Ensure all components are present and undamaged.
- Attach Stabilizers: Secure the front and rear stabilizer bars to the main frame using the provided bolts and washers. Ensure they are firmly tightened to provide a stable base.
- Install Seat and Rail: Slide the seat onto the main rail. Attach the rail assembly to the main frame, ensuring the seat glides smoothly along the rail.
- Connect Handlebar/Rowing Arm: Attach the handlebar or rowing arm assembly to the main unit, connecting it to the resistance mechanism. Follow the specific instructions for securing the Poly V belt if required.
- Mount Console: Secure the LCD monitor console to its designated bracket. Connect any necessary sensor cables from the main unit to the console.
- Attach Pedals: Install the footrests/pedals to the main frame. Ensure they are oriented correctly and securely fastened.
- Final Check: Before first use, double-check all bolts, nuts, and connections to ensure they are tight and secure. Test the seat movement, handlebar pull, and resistance adjustment.
4. Operating Instructions
Using your Gymstick Poseidon RW40 Rower effectively involves understanding its functions and maintaining proper form.
4.1 Adjusting Resistance
The rower features an 8-position adjustable magnetic brake system. Locate the resistance adjustment knob, typically near the front of the machine. Rotate the knob clockwise to increase resistance and counter-clockwise to decrease it. Start with a lower resistance level and gradually increase as your fitness improves.
4.2 Using the LCD Monitor
The 3-inch LCD monitor displays key workout metrics:
- Time: Duration of your workout.
- Distance: Total distance rowed.
- Speed: Current rowing speed.
- Pulse: Your heart rate (requires a compatible heart rate monitor, if applicable, or hand sensors).
Refer to the monitor's specific instructions (not provided here) for details on cycling through displays, resetting values, and setting targets.
4.3 Rowing Technique
Proper rowing technique is crucial for effectiveness and injury prevention:
- The Catch: Sit tall with arms extended forward, knees bent, and shins vertical.
- The Drive: Push off with your legs, then swing your back, and finally pull with your arms. Your core should be engaged throughout.
- The Finish: Lean back slightly, legs extended, and the handlebar pulled to your lower chest/upper abdomen.
- The Recovery: Extend arms forward, then pivot from the hips, and finally bend your knees to return to the catch position.
The unique upright rowing arm feature allows for additional upper body exercises beyond traditional rowing. Experiment with different grips and movements to target various muscle groups.
5. Maintenance
Regular maintenance will ensure the longevity and optimal performance of your Gymstick Poseidon RW40 Rower.
- Cleaning: Wipe down the frame, seat, and rail with a damp cloth after each use to remove sweat and dust. Avoid abrasive cleaners.
- Check Fasteners: Periodically check all bolts, nuts, and screws to ensure they are tight. Re-tighten as necessary.
- Rail Cleaning: Keep the seat rail clean and free of debris to ensure smooth seat movement.
- Belt Inspection: Inspect the Poly V belt for any signs of wear, fraying, or damage.
- Storage: When not in use, store the rower in a clean, dry environment. Utilize the transport wheels to move it easily.
6. Troubleshooting
Here are some common issues and their potential solutions:
| Problem | Possible Cause | Solution |
|---|---|---|
| Monitor not displaying data. | Low or dead batteries; loose sensor connection. | Replace batteries; check and secure all sensor cables. |
| Resistance feels inconsistent or too low/high. | Resistance knob not adjusted correctly; internal mechanism issue. | Adjust the resistance knob; if issue persists, contact customer support. |
| Squeaking or grinding noise. | Loose bolts; dirty rail; worn bearings. | Check and tighten all fasteners; clean the seat rail; contact support if noise persists. |
| Seat does not glide smoothly. | Dirty rail; damaged wheels on seat. | Clean the seat rail thoroughly; inspect seat wheels for damage. |
7. Specifications
Detailed technical specifications for the Gymstick Poseidon RW40 Rower:
| Feature | Detail |
|---|---|
| Model Name | Poseidon |
| Model Number | POSRW40 |
| Resistance Mechanism | Magnetic (8 positions adjustable) |
| Transmission | Poly V belt |
| Transmission Ratio | 1:10 |
| Rotating Mass | 7 kg |
| Bottom Bracket | 3 piece with ball bearings |
| Display Type | LCD (3 inch) |
| Displayed Metrics | Time, Distance, Speed, Pulse |
| Dimensions (Package) | 114 x 57 x 28 cm |
| Weight (Package) | 32 kg |
| GTIN | 06430016901765 |
8. Warranty and Support
Gymstick products are manufactured to high-quality standards. For specific warranty terms and conditions, please refer to the warranty card included with your product or visit the official Gymstick website.
If you encounter any issues not covered in this manual or require technical assistance, please contact Gymstick customer support. Have your model number (POSRW40) and purchase information ready when contacting support.
Note: Warranty terms may vary by region and retailer.
Ask a question about this manual
Ask about setup, troubleshooting, compatibility, parts, safety, or missing instructions. Manuals+ will review the question and use this page’s manual context to help answer it.