Oster CKSTBRTW20
Oster Expressbake Breadmaker User Manual
Model: CKSTBRTW20
Brand: Oster
Introduction
Welcome to the Oster Expressbake Breadmaker user manual. This guide provides essential information for the safe and efficient operation, maintenance, and troubleshooting of your new bread machine.
Please read this manual thoroughly before first use and keep it for future reference.
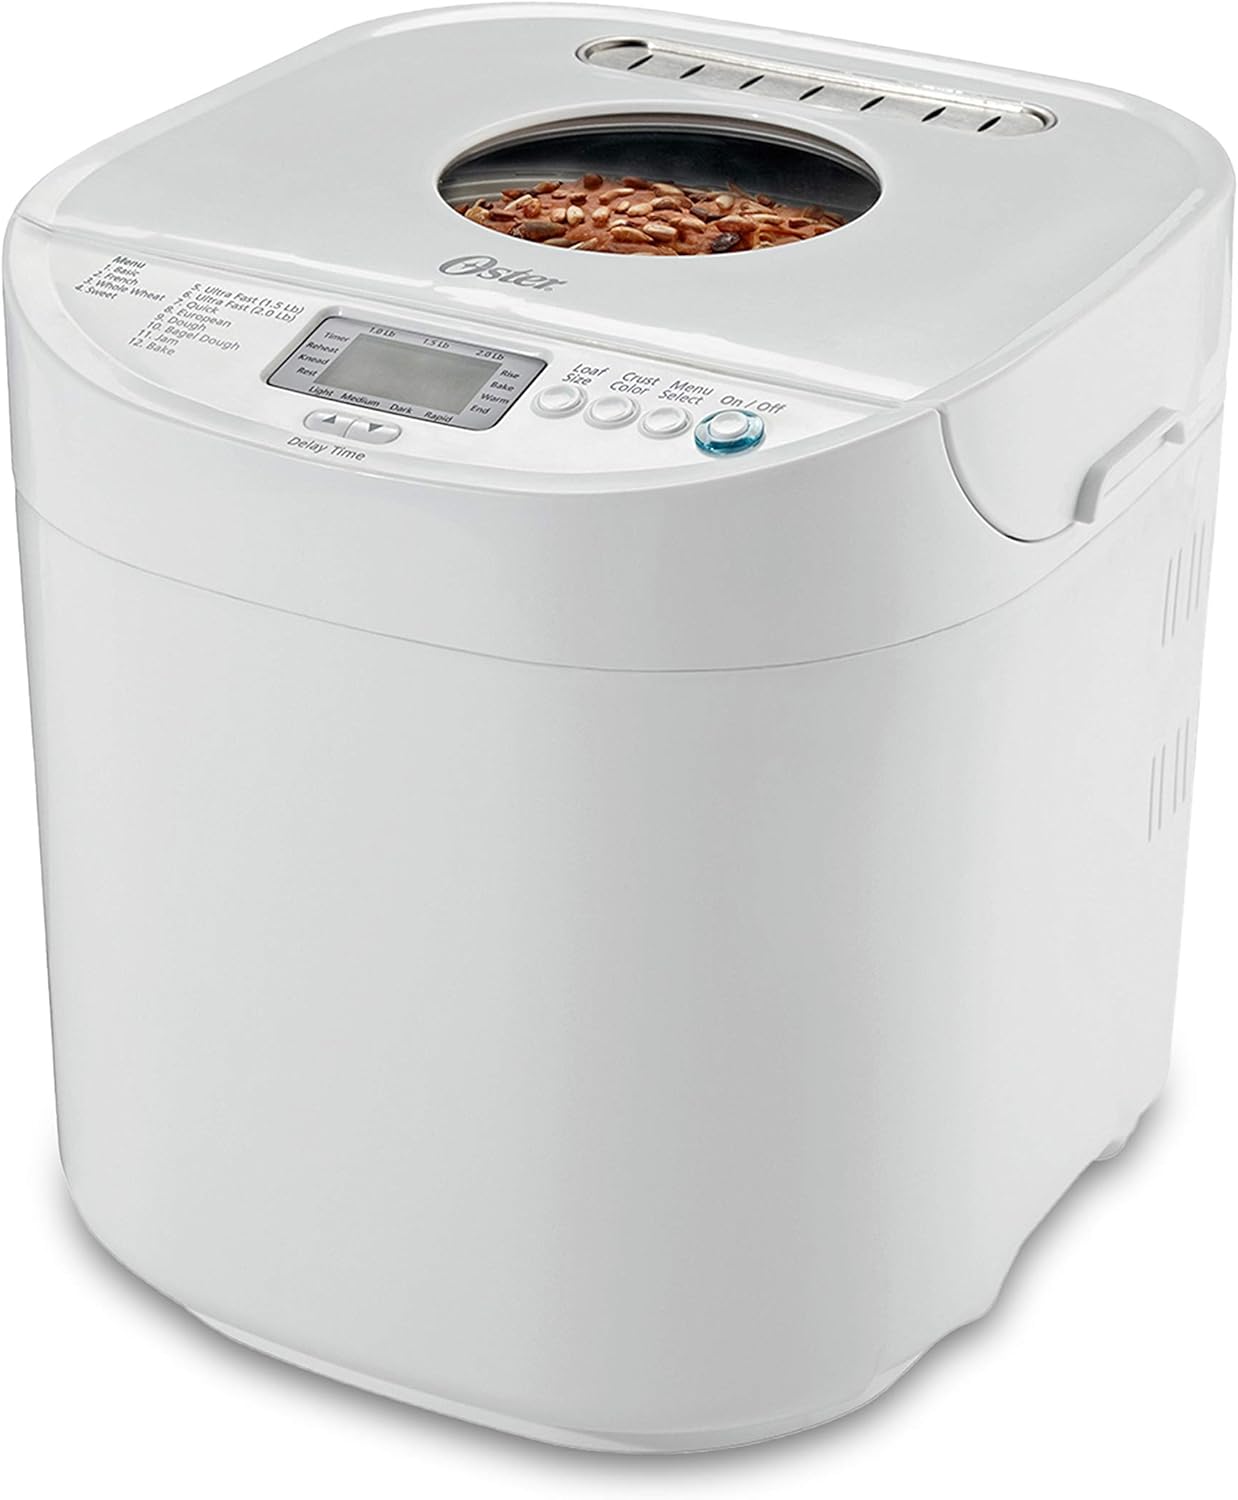
Front view of the Oster Expressbake Breadmaker, showcasing its compact design and the viewing window on top.
Product Components and Features
Familiarize yourself with the key components and features of your Oster Expressbake Breadmaker for optimal use.
- Removable Lid: For easy access and cleaning.
- Nonstick Aluminum Pan: Ensures even heating and easy bread removal.
- Easy-to-read LCD Display: Provides clear information on settings and cycle progress.
- Viewing Window: Allows you to monitor the baking process without opening the lid.
- Control Panel: Intuitive buttons for program selection, crust color, loaf size, and delay timer.
- Kneading Paddle: Detachable for thorough mixing of ingredients.
- Measuring Cup & Spoon: Included for precise ingredient measurement.

Detailed view highlighting the removable lid, nonstick aluminum pan, easy-to-read LCD display, and the viewing window of the breadmaker.

Accessories included: a convenient measuring cup and spoon. The image also illustrates the large capacity pan, the 13-hour programmable timer, and the signal for adding fruits or nuts.
Setup and First Use
- Unpacking: Carefully remove all packaging materials from the breadmaker and its accessories.
- Initial Cleaning: Before first use, wash the bread pan and kneading paddle with warm, soapy water. Rinse thoroughly and dry completely. Wipe the exterior of the breadmaker with a damp cloth.
- Placement: Place the breadmaker on a stable, flat, heat-resistant surface, away from direct sunlight and heat sources. Ensure adequate ventilation around the appliance.
- Power Connection: Plug the power cord into a grounded electrical outlet.
- First Bake Preparation: It is recommended to run an empty "Bake" cycle for about 10 minutes on the first use to burn off any manufacturing residues. Ensure the bread pan is empty during this process. Allow the unit to cool completely afterward.
Operating Instructions
Control Panel Overview

The control panel features an LCD display, loaf size selection, crust color options, menu select, and On/Off button.
- LCD Display: Shows selected program, loaf size, crust color, and remaining time.
- Loaf Size Button: Selects 1.0 lb, 1.5 lb, or 2.0 lb loaf.
- Crust Color Button: Chooses Light, Medium, Dark, or Rapid crust.
- Menu Select Button: Cycles through the 12 available programs.
- On/Off Button: Starts and stops the baking cycle.
- Delay Time Buttons (Up/Down Arrows): Adjusts the delay timer for deferred baking.
Baking Programs
Your breadmaker offers 12 versatile settings to prepare a variety of breads, doughs, and jams.
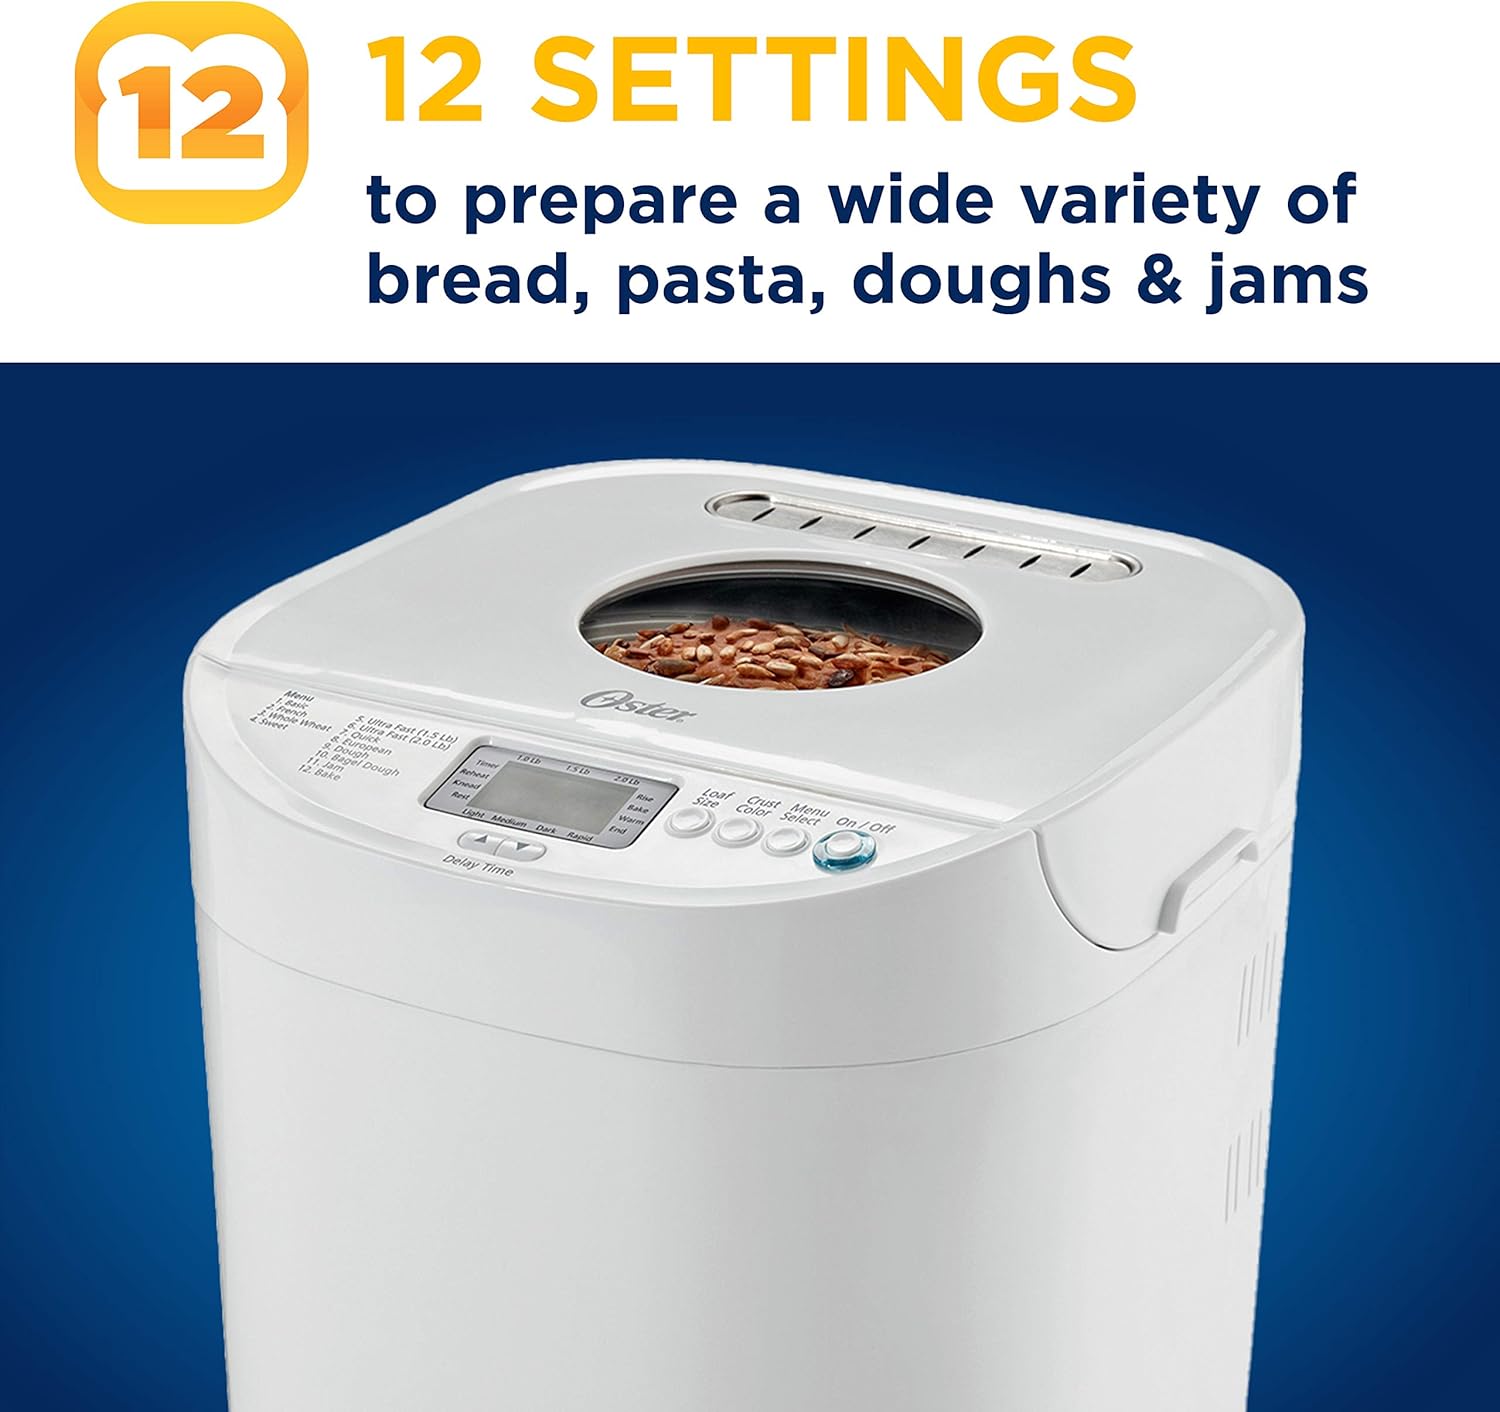
The breadmaker features 12 distinct settings for a wide range of recipes, including various bread types, doughs, and jams.
- Basic: For white and mixed breads.
- French: For light breads with a crispy crust.
- Whole Wheat: For whole wheat breads.
- Sweet: For breads with high sugar content.
- Ultra Fast (1.5 Lb): Quick baking for 1.5 lb loaves.
- Ultra Fast (2.0 Lb): Quick baking for 2.0 lb loaves.
- Quick: For quick breads using baking powder/soda.
- European: For denser, chewier European-style breads.
- Dough: Prepares dough for rolls, pizza, etc., without baking.
- Bagel Dough: Specifically for bagel dough.
- Jam: For making homemade jams.
- Bake: For baking pre-prepared dough or for additional baking time.
Baking Process
The Oster Expressbake Breadmaker automates the kneading, rising, and baking process.
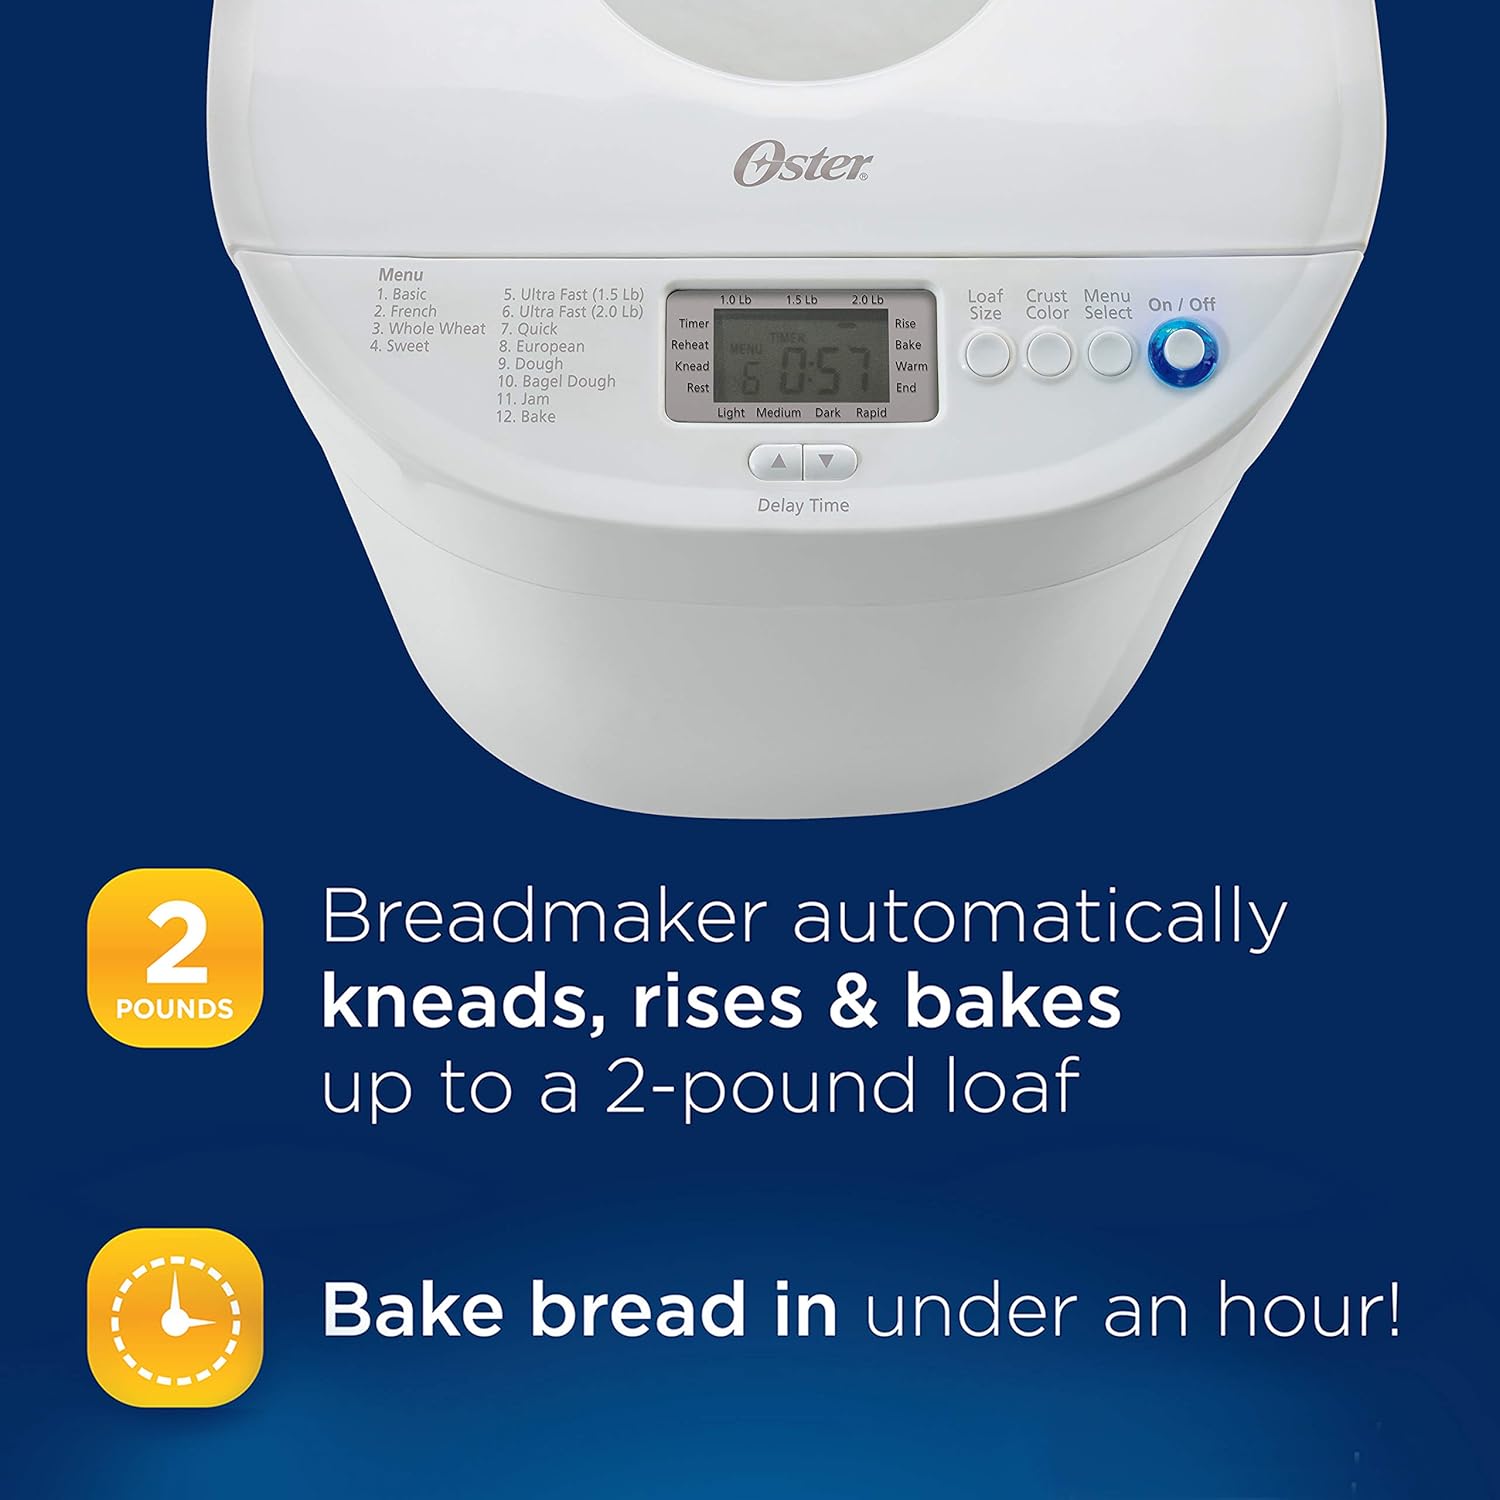
The breadmaker handles the entire process from kneading to baking, capable of producing up to a 2-pound loaf. The Expressbake setting allows for baking in under an hour.
- Add Ingredients: Always add liquid ingredients first, followed by dry ingredients. Make a small indentation in the dry ingredients for the yeast, ensuring it does not touch the liquid or salt.
- Select Program: Use the "Menu Select" button to choose your desired program.
- Choose Loaf Size and Crust Color: Press the "Loaf Size" and "Crust Color" buttons to make your selections.
- Set Delay Timer (Optional): If you wish to delay the start of the baking cycle, use the "Delay Time" buttons.
- Start Baking: Press the "On/Off" button to begin the cycle. The breadmaker will automatically knead, rise, and bake the bread.
- Fruit/Nut Dispenser: The breadmaker will signal when it's time to add fruits, nuts, or other mix-ins during the kneading cycle.
- Completion: Once the cycle is complete, the breadmaker will beep. Carefully remove the bread pan using oven mitts.
- Cooling: Invert the pan to release the bread onto a wire rack and allow it to cool completely before slicing.
Care and Maintenance
Proper care ensures the longevity and performance of your Oster Expressbake Breadmaker.
- Cleaning the Bread Pan and Kneading Paddle:
After each use, remove the bread pan and kneading paddle. Fill the pan with warm, soapy water and let it soak for 10-15 minutes to loosen any stuck-on dough. Use a soft sponge or cloth to clean. Do not use abrasive cleaners or scouring pads as they can damage the nonstick coating. Rinse thoroughly and dry completely. The bread pan and kneading paddle are Hand Wash Only.
- Cleaning the Exterior:
Wipe the exterior of the breadmaker with a damp cloth. Do not immerse the main unit in water or any other liquid.
- Cleaning the Lid and Viewing Window:
The removable lid can be wiped clean with a damp cloth. For the viewing window, use a soft cloth and a mild glass cleaner if necessary, avoiding harsh chemicals.
- Storage:
Ensure the breadmaker is clean and completely dry before storing. Store in a cool, dry place.

The breadmaker with its lid open, revealing the nonstick bread pan and a freshly baked loaf, demonstrating ease of access for cleaning.
Troubleshooting Guide
If you encounter issues with your breadmaker, refer to the common problems and solutions below.
| Problem | Possible Cause | Solution |
|---|---|---|
| Bread does not rise or rises too much. | Incorrect yeast amount, expired yeast, incorrect water temperature, wrong flour type. | Ensure yeast is fresh and measured accurately. Use lukewarm water (105-115°F / 40-46°C). Verify correct flour type for the recipe. |
| Bread is too dense or heavy. | Too much flour, not enough liquid, high altitude. | Measure ingredients precisely. Adjust liquid slightly for high altitude. |
| Kneading paddle stuck in bread. | Common occurrence. | Allow bread to cool. Use a non-metallic utensil to carefully remove the paddle. |
| Breadmaker not starting. | Not plugged in, lid not closed properly, program not selected. | Check power connection. Ensure lid is securely closed. Select a program and press Start. |
For more detailed troubleshooting and specific error codes, please refer to the complete user manual available for download from the manufacturer's website or the provided PDF document.
Product Specifications
| Brand | Oster |
| Model Number | CKSTBRTW20 |
| Color | White/Ivory |
| Product Dimensions | 14"W x 14"H |
| Wattage | 650 Watts |
| Loaf Capacity | Up to 2.0 pounds |
| Number of Programs | 12 |
| Product Care Instructions | Hand Wash Only |
| Item Weight | 8 pounds |
| UPC | 049500819538, 034264431928 |
| Date First Available | April 12, 2010 |

Approximate dimensions of the Oster Expressbake Breadmaker.
Warranty and Support
For detailed warranty information, product registration, and customer support, please refer to the official user manual included with your product or visit the Oster official website.
You can also find additional resources and contact information on the Oster Store on Amazon.
Ask a question about this manual
Ask about setup, troubleshooting, compatibility, parts, safety, or missing instructions. Manuals+ will review the question and use this page’s manual context to help answer it.