1. Introduction
This manual provides essential information for the proper installation, operation, and maintenance of your Western Digital WD1600HLFS hard drive. The WD1600HLFS is a high-performance 3.5-inch internal hard disk drive designed for demanding applications, featuring a 160GB storage capacity, SATA 3Gb/s interface, and a 10,000 RPM spindle speed for rapid data access.
2. Safety Information
Please read and understand all safety precautions before installing or operating this device. Failure to do so may result in personal injury or damage to the product or other components.
- Electrostatic Discharge (ESD) Precautions: Always handle the hard drive by its edges and avoid touching the circuit board or connector pins. Use an anti-static wrist strap or ground yourself by touching a metal object before handling the drive to prevent ESD damage.
- Power Disconnection: Ensure your computer system is completely powered off and unplugged from the electrical outlet before installing or removing the hard drive.
- Physical Handling: Hard drives are delicate. Avoid dropping, striking, or exposing the drive to excessive vibration or shock.
- Ventilation: Ensure adequate airflow around the hard drive within your computer case to prevent overheating.
- Data Backup: Seller is not responsible for data loss. Always back up your data before servicing or making changes to your hard disk.
3. Package Contents
Verify that your package contains the following items:
- Western Digital WD1600HLFS 160GB Hard Drive
- Note: Additional accessories such as mounting screws, SATA data cables, or power adapters are typically supplied with your computer system or sold separately. The inclusion of a mounting tray may vary.
4. Setup and Installation
4.1 System Requirements
- Available 3.5-inch drive bay in your computer case.
- Available SATA port on your motherboard.
- Available SATA power connector from your power supply.
- Compatible operating system (e.g., Windows, macOS, Linux).
4.2 Physical Installation
- Prepare Your System: Power off your computer and unplug the power cord. Open the computer case according to your system's instructions.
- Mount the Drive: Slide the WD1600HLFS hard drive into an available 3.5-inch drive bay. Secure it with screws on both sides of the drive bay. If your system uses a tool-less mounting mechanism, follow its specific instructions.
- Connect Data Cable: Connect one end of a SATA data cable to the SATA data port on the hard drive and the other end to an available SATA port on your motherboard.
- Connect Power Cable: Connect a SATA power connector from your power supply to the SATA power port on the hard drive.

Figure 1: Front view of the WD1600HLFS with its mounting tray, highlighting the SATA data and power interfaces.

Figure 2: Bottom view of the WD1600HLFS, illustrating the printed circuit board (PCB) and screw points for secure installation.
4.3 Initial System Setup
- BIOS/UEFI Configuration: After reassembling your computer and powering it on, enter your system's BIOS or UEFI settings. Ensure the new hard drive is detected and configured correctly (e.g., SATA mode set to AHCI for optimal performance).
- Operating System Setup:
- New Installation: If installing an operating system on this drive, follow your OS installation media's instructions for partitioning and formatting the drive.
- Adding as Secondary Drive: If adding as a secondary drive, boot into your existing operating system. Use Disk Management (Windows) or Disk Utility (macOS/Linux) to initialize, partition, and format the new drive before use.
5. Operation
The Western Digital WD1600HLFS functions as a standard internal hard disk drive. Once properly installed and formatted, it can be used for:
- Operating System Storage: Install your operating system for fast boot times and application loading due to its 10,000 RPM speed.
- Data Storage: Store files, applications, and media.
- Gaming: Benefit from quicker game loading times compared to slower drives.
- Workstation Applications: Ideal for applications requiring high I/O performance.
Access the drive through your operating system's file explorer or command line interface, just like any other storage device.
6. Maintenance
To ensure the longevity and optimal performance of your WD1600HLFS hard drive, consider the following maintenance practices:
- Regular Data Backups: Periodically back up critical data to another storage device. Hard drives can fail, and backups are your only protection against data loss.
- Monitor Drive Health: Utilize SMART (Self-Monitoring, Analysis and Reporting Technology) tools available in many operating systems or third-party utilities to monitor the drive's health status.
- Maintain Proper Cooling: Ensure your computer case has adequate ventilation to prevent the drive from overheating, which can reduce its lifespan.
- Defragmentation (for HDDs): While modern operating systems often handle this automatically, occasional defragmentation can help maintain performance on traditional hard drives.
- Avoid Physical Shocks: Protect your computer from drops or impacts while the drive is operating.
7. Troubleshooting
If you encounter issues with your WD1600HLFS hard drive, refer to the following common problems and solutions:
- Drive Not Detected:
- Check all SATA data and power cable connections.
- Verify the drive is enabled in your system's BIOS/UEFI settings.
- Try connecting the drive to a different SATA port or using different cables.
- Ensure your power supply is providing sufficient power.
- Slow Performance:
- Check for excessive background processes or malware.
- Ensure the drive is not nearly full.
- Verify SATA drivers are up to date.
- Run a disk defragmenter (if applicable).
- Monitor drive temperature; overheating can cause throttling.
- Unusual Noises (Clicking, Grinding):
- Immediately back up any accessible data.
- Unusual noises often indicate a mechanical failure. Discontinue use to prevent further damage.
- Contact Western Digital support if the drive is under warranty.
- Data Corruption:
- Run disk error checking utilities (e.g., CHKDSK on Windows).
- Ensure proper system shutdown to prevent data loss.
If these steps do not resolve your issue, consult the Western Digital support website or a qualified technician.
8. Specifications
Below are the technical specifications for the Western Digital WD1600HLFS hard drive:

Figure 3: Product label of the WD1600HLFS, detailing model, serial, and part numbers.
- Serial Number (S/N): WXE0C79C3272
- Part Number (P/N): 490581-001
- Controller (CT): 2AHER013HY10B9
- Model (MDL): WD1600HLFS-60G6U1
- Spare Part Number (S/C): 8509C309GRH
| Feature | Description |
|---|---|
| Model Number | WD1600HLFS |
| Storage Capacity | 160 GB |
| Interface | SATA 3Gb/s (SATA/300) |
| Spindle Speed | 10,000 RPM |
| Buffer Size | 16 MB |
| Form Factor | 3.5-inch |
| Average Read Speed | 80.5 MB/s |
| Random Access (Read/Write) | 8.1 ms |
| Power Specifications | 5VDC, 0.90A; 12VDC, 0.30A |
| Item Weight | 1.25 pounds (0.57 kg) |
| Product Dimensions (LxWxH) | 0.09 x 0.07 x 0.04 inches (approximate) |
| Regulatory Approvals | BSMI, cULus, C-Tick, MIC, CE, WEEE |
| Date First Available | April 4, 2010 |
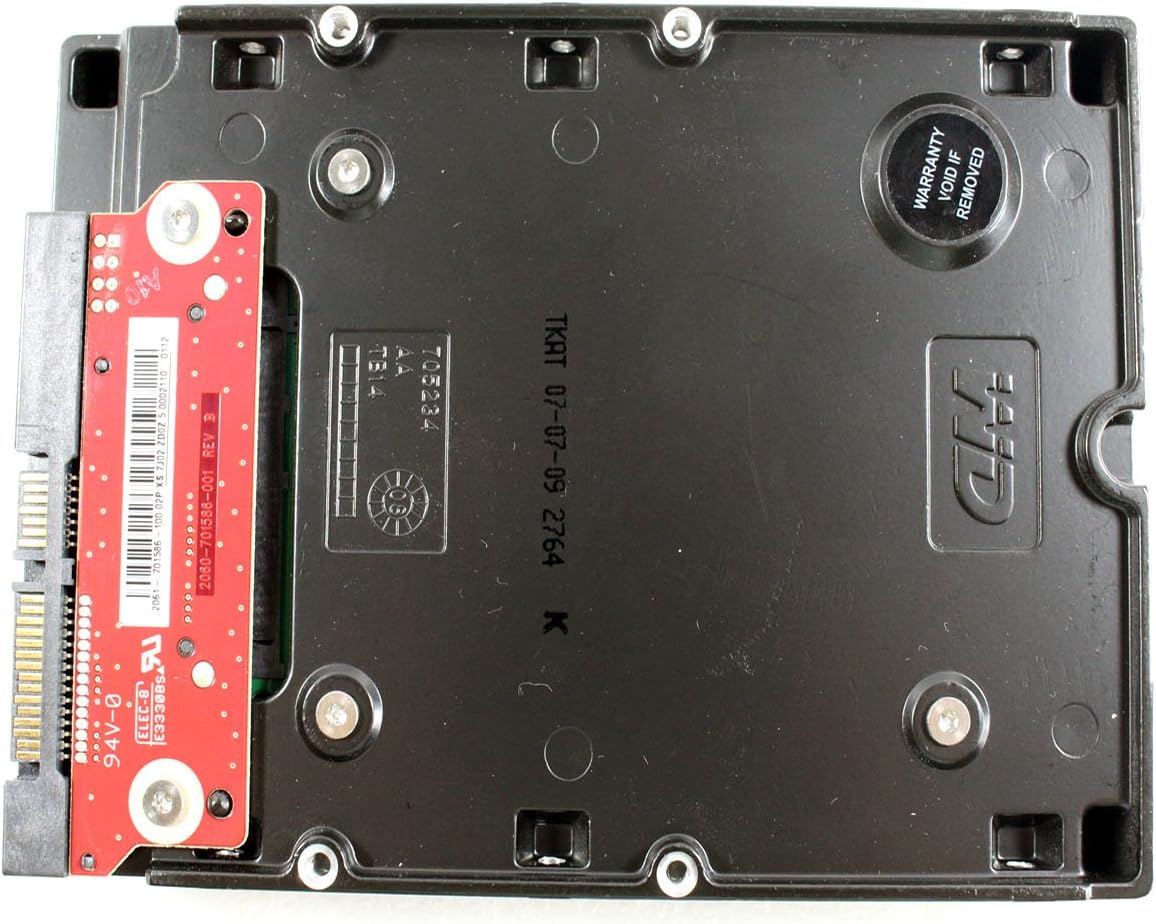
Figure 4: Bottom view of the WD1600HLFS without the tray, showing the PCB and a warranty sticker.

Figure 5: Detailed view of the WD1600HLFS PCB, including component markings.
9. Warranty and Support
Legal Disclaimer: Seller is not responsible for data loss. Always back up your data before servicing your hard disk.
The WD1600HLFS hard drive is manufactured by Western Digital. For specific warranty terms, conditions, and duration, please refer to the documentation provided with your purchase or visit the official Western Digital website. Note that tampering with the drive, such as removing certain labels or components, may void the warranty, as indicated by the 'Warranty Void If Removed' sticker on the drive.
For technical assistance, driver downloads, or further support, please visit the official Western Digital support portal:
- Western Digital Support: https://support.wdc.com


