Introduction
This manual provides detailed instructions for the installation, operation, and maintenance of your Kwikset 85278-15 Square Corner Deadbolt Strike Plate. Proper installation and care will ensure optimal performance and longevity of the product. Please read all instructions carefully before proceeding with installation.
Product Overview
The Kwikset 85278-15 is a durable deadbolt strike plate designed to provide a secure receiving mechanism for your deadbolt latch. Manufactured from brass with a satin nickel finish, it offers both strength and a modern aesthetic. Its square corner design is suitable for doors with corresponding preparations.
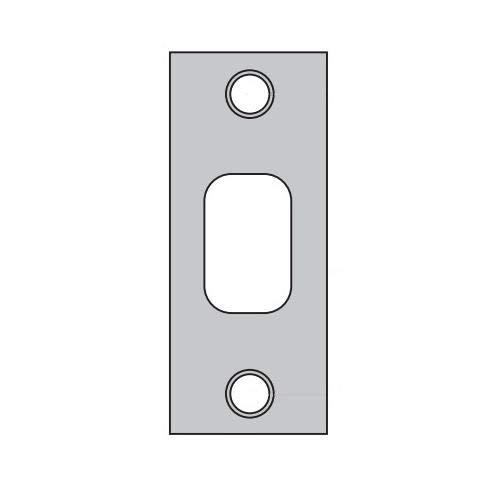
Image: The Kwikset 85278-15 Square Corner Deadbolt Strike Plate, showcasing its satin nickel finish and square design.
Setup and Installation
This strike plate is designed to be installed into the door frame, aligning with the deadbolt mechanism in your door. Ensure your door frame has the correct mortise for a square corner strike plate.
Tools Required:
- Phillips head screwdriver
- Wood chisel (if modifying the door frame)
- Measuring tape
Installation Steps:
- Remove Existing Strike Plate (if applicable): Use a Phillips head screwdriver to remove the screws securing the old strike plate. Carefully remove the plate from the door frame.
- Prepare Door Frame: Ensure the mortise (recessed area) in the door frame is clean and correctly sized for the Kwikset 85278-15 strike plate (1-1/8" x 2-3/4" with square corners). If necessary, use a wood chisel to adjust the mortise for a flush fit.
- Position New Strike Plate: Place the Kwikset 85278-15 strike plate into the prepared mortise. The plate should sit flush with the edge of the door frame.
- Align with Deadbolt: Close the door slowly and observe the deadbolt latch. The strike plate's opening must align perfectly with the deadbolt latch to allow for smooth and secure engagement. Adjust the strike plate's position slightly if needed to achieve optimal alignment.
- Secure Strike Plate: Once properly aligned, use the provided screws to firmly attach the strike plate to the door frame. Do not overtighten the screws.
- Test Operation: With the strike plate installed, test the deadbolt several times. The deadbolt should extend and retract smoothly into the strike plate without resistance.
For complete deadbolt lock installation, refer to the specific instructions provided with your Kwikset deadbolt lockset.
Operating the Strike Plate
The Kwikset 85278-15 strike plate functions as the receiving component for a deadbolt lock. When the deadbolt is engaged, its bolt extends into the opening of the strike plate, securing the door. The strike plate itself does not have moving parts; its primary function is to provide a reinforced and precisely aligned cavity for the deadbolt bolt.
Maintenance
To maintain the appearance and function of your Kwikset 85278-15 Satin Nickel Deadbolt Strike Plate, follow these simple guidelines:
- Cleaning: Regularly wipe the strike plate with a soft, damp cloth to remove dust and grime. For stubborn spots, a mild soap solution can be used, followed by rinsing with a clean, damp cloth and drying thoroughly.
- Avoid Harsh Chemicals: Do not use abrasive cleaners, solvents, or polishing agents, as these can damage the satin nickel finish.
- Inspect Screws: Periodically check the mounting screws for tightness. If they become loose, gently tighten them to ensure the strike plate remains securely fastened.
Troubleshooting
If you encounter issues with your deadbolt strike plate, consider the following:
- Deadbolt Not Engaging Smoothly:
- Check Alignment: The most common issue is misalignment between the deadbolt and the strike plate. Ensure the strike plate is positioned precisely so the deadbolt bolt enters the opening without obstruction. Minor adjustments to the strike plate's position or the mortise may be required.
- Verify Size: Confirm that the strike plate's opening is compatible with your deadbolt's bolt size. This strike plate is designed for standard deadbolts.
- Strike Plate is Loose:
- Tighten Screws: Use a Phillips head screwdriver to tighten the mounting screws. Do not overtighten.
- Inspect Wood: If the screws do not hold firmly, the wood in the door frame may be stripped. Consider using longer screws or repairing the wood with wood filler.
Specifications
| Brand | Kwikset |
| Model Name | 85278 |
| Part Number | 85278-15 |
| Lock Type | Deadbolt Strike Plate |
| Material | Brass |
| Finish | Satin Nickel |
| Shape | Square Corner |
| Dimensions (L x W x H) | 1.1 x 0.09 x 0.05 inches |
| Size | 1.125 x 2.75 inches |
| Item Weight | 0.8 ounces (22.68 g) |
| Country of Origin | MEXICO |
Kwikset Quality Assurance
Video: This video from Kwikset Corporation highlights the rigorous manufacturing and testing processes that ensure the quality and durability of Kwikset products, including components like the deadbolt strike plate.
Kwikset is committed to providing high-quality and reliable door hardware. The video above demonstrates the dedication to craftsmanship and testing that goes into every Kwikset product.
Warranty and Support
For detailed information regarding product warranty, technical support, or to view other Kwikset products, please visit the official Kwikset website. Kwikset offers comprehensive support to ensure customer satisfaction with their products.
Online Support: www.kwikset.com/support
Contact Information: Refer to the Kwikset website for the most current contact details for customer service.


