Introduction
This instruction manual provides detailed guidance for the safe installation, operation, and maintenance of your Kichler 300125BSS Cadence 54-Inch Ceiling Fan. Please read all instructions carefully before beginning installation to ensure proper function and safety.
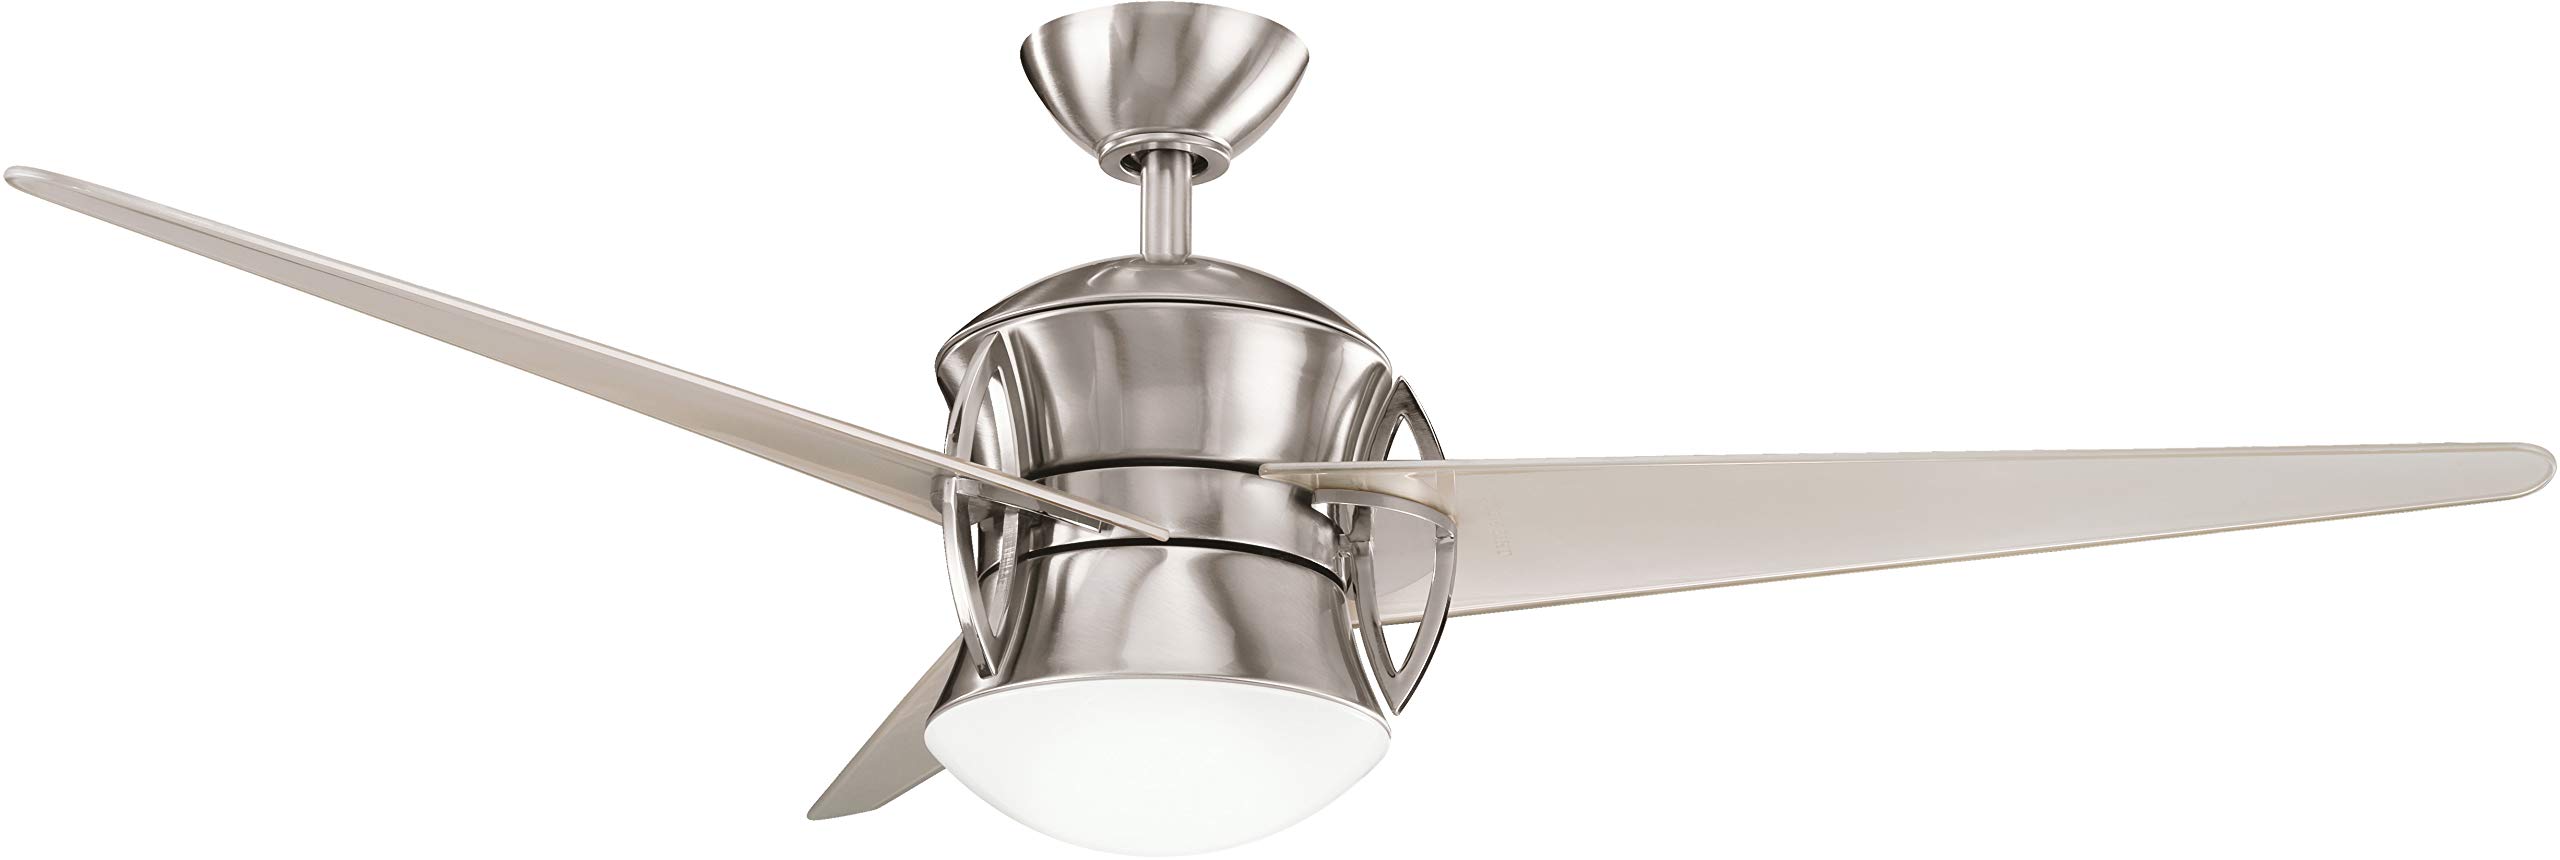
Image 1: Kichler 300125BSS Cadence 54-Inch Ceiling Fan. This image shows the complete ceiling fan assembly, featuring three clear champagne blades, a brushed stainless steel motor housing, and an integrated light kit with cased opal glass.
Important Safety Information
- WARNING: To reduce the risk of fire, electric shock, or personal injury, mount fan directly from building structure and/or to an outlet box marked acceptable for fan support of 35 lbs (15.9 kg) or less and use the mounting screws provided with the outlet box.
- WARNING: Do not operate the fan with damaged blades. Replace all blades if one is damaged.
- WARNING: Ensure all electrical connections are made in accordance with local codes, ordinances, and the National Electric Code (NEC). If you are unfamiliar with electrical wiring, consult a qualified electrician.
- Always disconnect power at the main circuit breaker before installation or servicing.
- The fan blades must be a minimum of 7 feet (2.1 meters) above the floor for safety.
- The tips of the blades must be at least 18 inches (45.7 cm) from the wall to provide sufficient clearance.
- This fixture is UL listed for dry location use.
Package Contents
Verify that all components listed below are present and undamaged before beginning installation.
- Ceiling Fan Motor Assembly
- 3 x Clear Champagne Blades
- 1 x 4-inch Downrod
- 1 x 12-inch Downrod
- Integrated Light Kit with Cased Opal Glass
- 1 x 75W Halogen JD-E-11 Bulb
- Metal Fan Cap (for non-light use)
- CoolTouch Control System (Remote and Receiver)
- Mounting Hardware
Setup and Installation
1. Site Preparation and Safety
Before installation, ensure the power is turned off at the circuit breaker. Select a mounting location where the fan blades will have at least 18 inches (45.7 cm) clearance from any walls or obstructions, and the blades will be a minimum of 7 feet (2.1 meters) above the floor.

Image 2: Mounting Options. This image illustrates different ceiling fan mounting types, including a downrod mount, which is applicable to this Kichler 300125BSS model.
2. Mounting the Fan
- Secure the mounting bracket to an approved outlet box (rated for fan support of 35 lbs or less) using the screws provided with the outlet box.
- Assemble the chosen downrod (4-inch or 12-inch) to the fan motor assembly, ensuring all pins and screws are securely fastened.
- Carefully lift the fan assembly and hang it from the mounting bracket.
3. Electrical Connections
All wiring should be performed by a qualified electrician or in strict accordance with local electrical codes. Connect the fan's electrical wires to the household wiring as per the wiring diagram provided in the full installation guide (not included here). Ensure the CoolTouch Control System receiver is wired correctly between the fan and the power supply.
4. Attaching Blades and Light Kit
- Attach the three clear champagne blades to the motor housing using the provided screws. Ensure they are tightened securely.
- Install the integrated light kit. If not using the light kit, attach the metal fan cap instead.
- Insert the 75W Halogen JD-E-11 bulb into the light kit socket and secure the cased opal glass shade.
Operating Instructions
Your Kichler 300125BSS ceiling fan is operated by the included CoolTouch Control System remote.

Image 3: Control Options. This image displays a remote control and a wall-mounted control for ceiling fans, similar to the CoolTouch Control System included with your Kichler 300125BSS fan.
- Fan Speed Control: Use the remote to select one of three fan speeds (High, Medium, Low).
- Reverse Function: The remote allows you to change the direction of blade rotation, useful for seasonal air circulation (downward airflow for cooling, upward for heat distribution).
- Light Control: The remote has a separate On/Off button for the light.
- Dimming: The light control also features full-range dimming. Press and hold the light button to adjust brightness.
- Intelligent Return: The system remembers your last light setting.
- The remote operates wirelessly up to 30 feet (9.1 meters) from the ceiling fan.
Maintenance
Regular maintenance ensures optimal performance and extends the life of your ceiling fan.
- Cleaning: Clean the fan periodically with a soft, damp cloth. Do not use abrasive cleaners or solvents. Ensure power is off before cleaning.
- Blade Care: Check blade screws periodically and tighten if necessary. Dust blades regularly to prevent accumulation that can cause wobble.
- Bulb Replacement: Before replacing the bulb, ensure the power is off. Allow the bulb to cool completely. Replace with a 75W Halogen JD-E-11 bulb or an equivalent LED bulb.
- Motor Lubrication: The fan motor is permanently lubricated and does not require oiling.
Troubleshooting
| Problem | Possible Cause | Solution |
|---|---|---|
| Fan does not start | No power to fan; loose wire connections; remote battery dead. | Check circuit breaker/fuse. Verify all wire connections are secure. Replace remote battery. |
| Fan wobbles | Loose blade screws; unbalanced blades; loose mounting hardware. | Tighten all blade screws. Ensure blades are balanced (use a balancing kit if needed). Check mounting bracket and downrod connections. |
| Light does not work | Bulb faulty; loose wire connection; remote battery dead. | Replace bulb. Check light kit wiring. Replace remote battery. |
| Noisy operation | Loose screws; motor housing rubbing; fan not level. | Check and tighten all screws. Ensure no parts are rubbing. Verify fan is level. |
Specifications
- Model: 300125BSS
- Blade Sweep: 54 inches (137.16 cm)
- Blade Pitch: 14 degrees
- Number of Blades: 3
- Motor: 172mm x 17mm
- Air Flow Capacity: 6,387 Cubic Feet Per Minute (CFM)
- Wattage (Fan only, high speed): 65 watts
- Voltage: 120 Volts
- Bulb Type: 75W Halogen JD-E-11 (one included)
- Control Method: CoolTouch Remote Control System
- Mounting Type: Downrod
- Indoor/Outdoor Usage: Outdoor (UL listed for dry locations) - Note: For electrical safety, adhere to dry location guidelines.
- Item Weight: 28.4 Pounds (12.88 kg)
Warranty and Support
Warranty Information
This Kichler ceiling fan comes with a Limited Lifetime Warranty. For specific details regarding coverage, terms, and conditions, please refer to the warranty documentation included with your product packaging or contact Kichler customer service.
Customer Support
For technical assistance, replacement parts, or further inquiries, please contact Kichler customer support. You can also visit the official Kichler website for additional resources and product information.
Kichler Official Store: Visit Kichler Store on Amazon


