
1. Introduction
The Rain Bird 8005 rotor is engineered for demanding commercial applications, including athletic fields, schools, parks, and other large turf areas. Designed for reliability and durability, it can withstand harsh conditions and is suitable for spacing up to 80 feet. This manual provides essential information for the proper installation, operation, and maintenance of your Rain Bird 8005 rotor sprinkler.
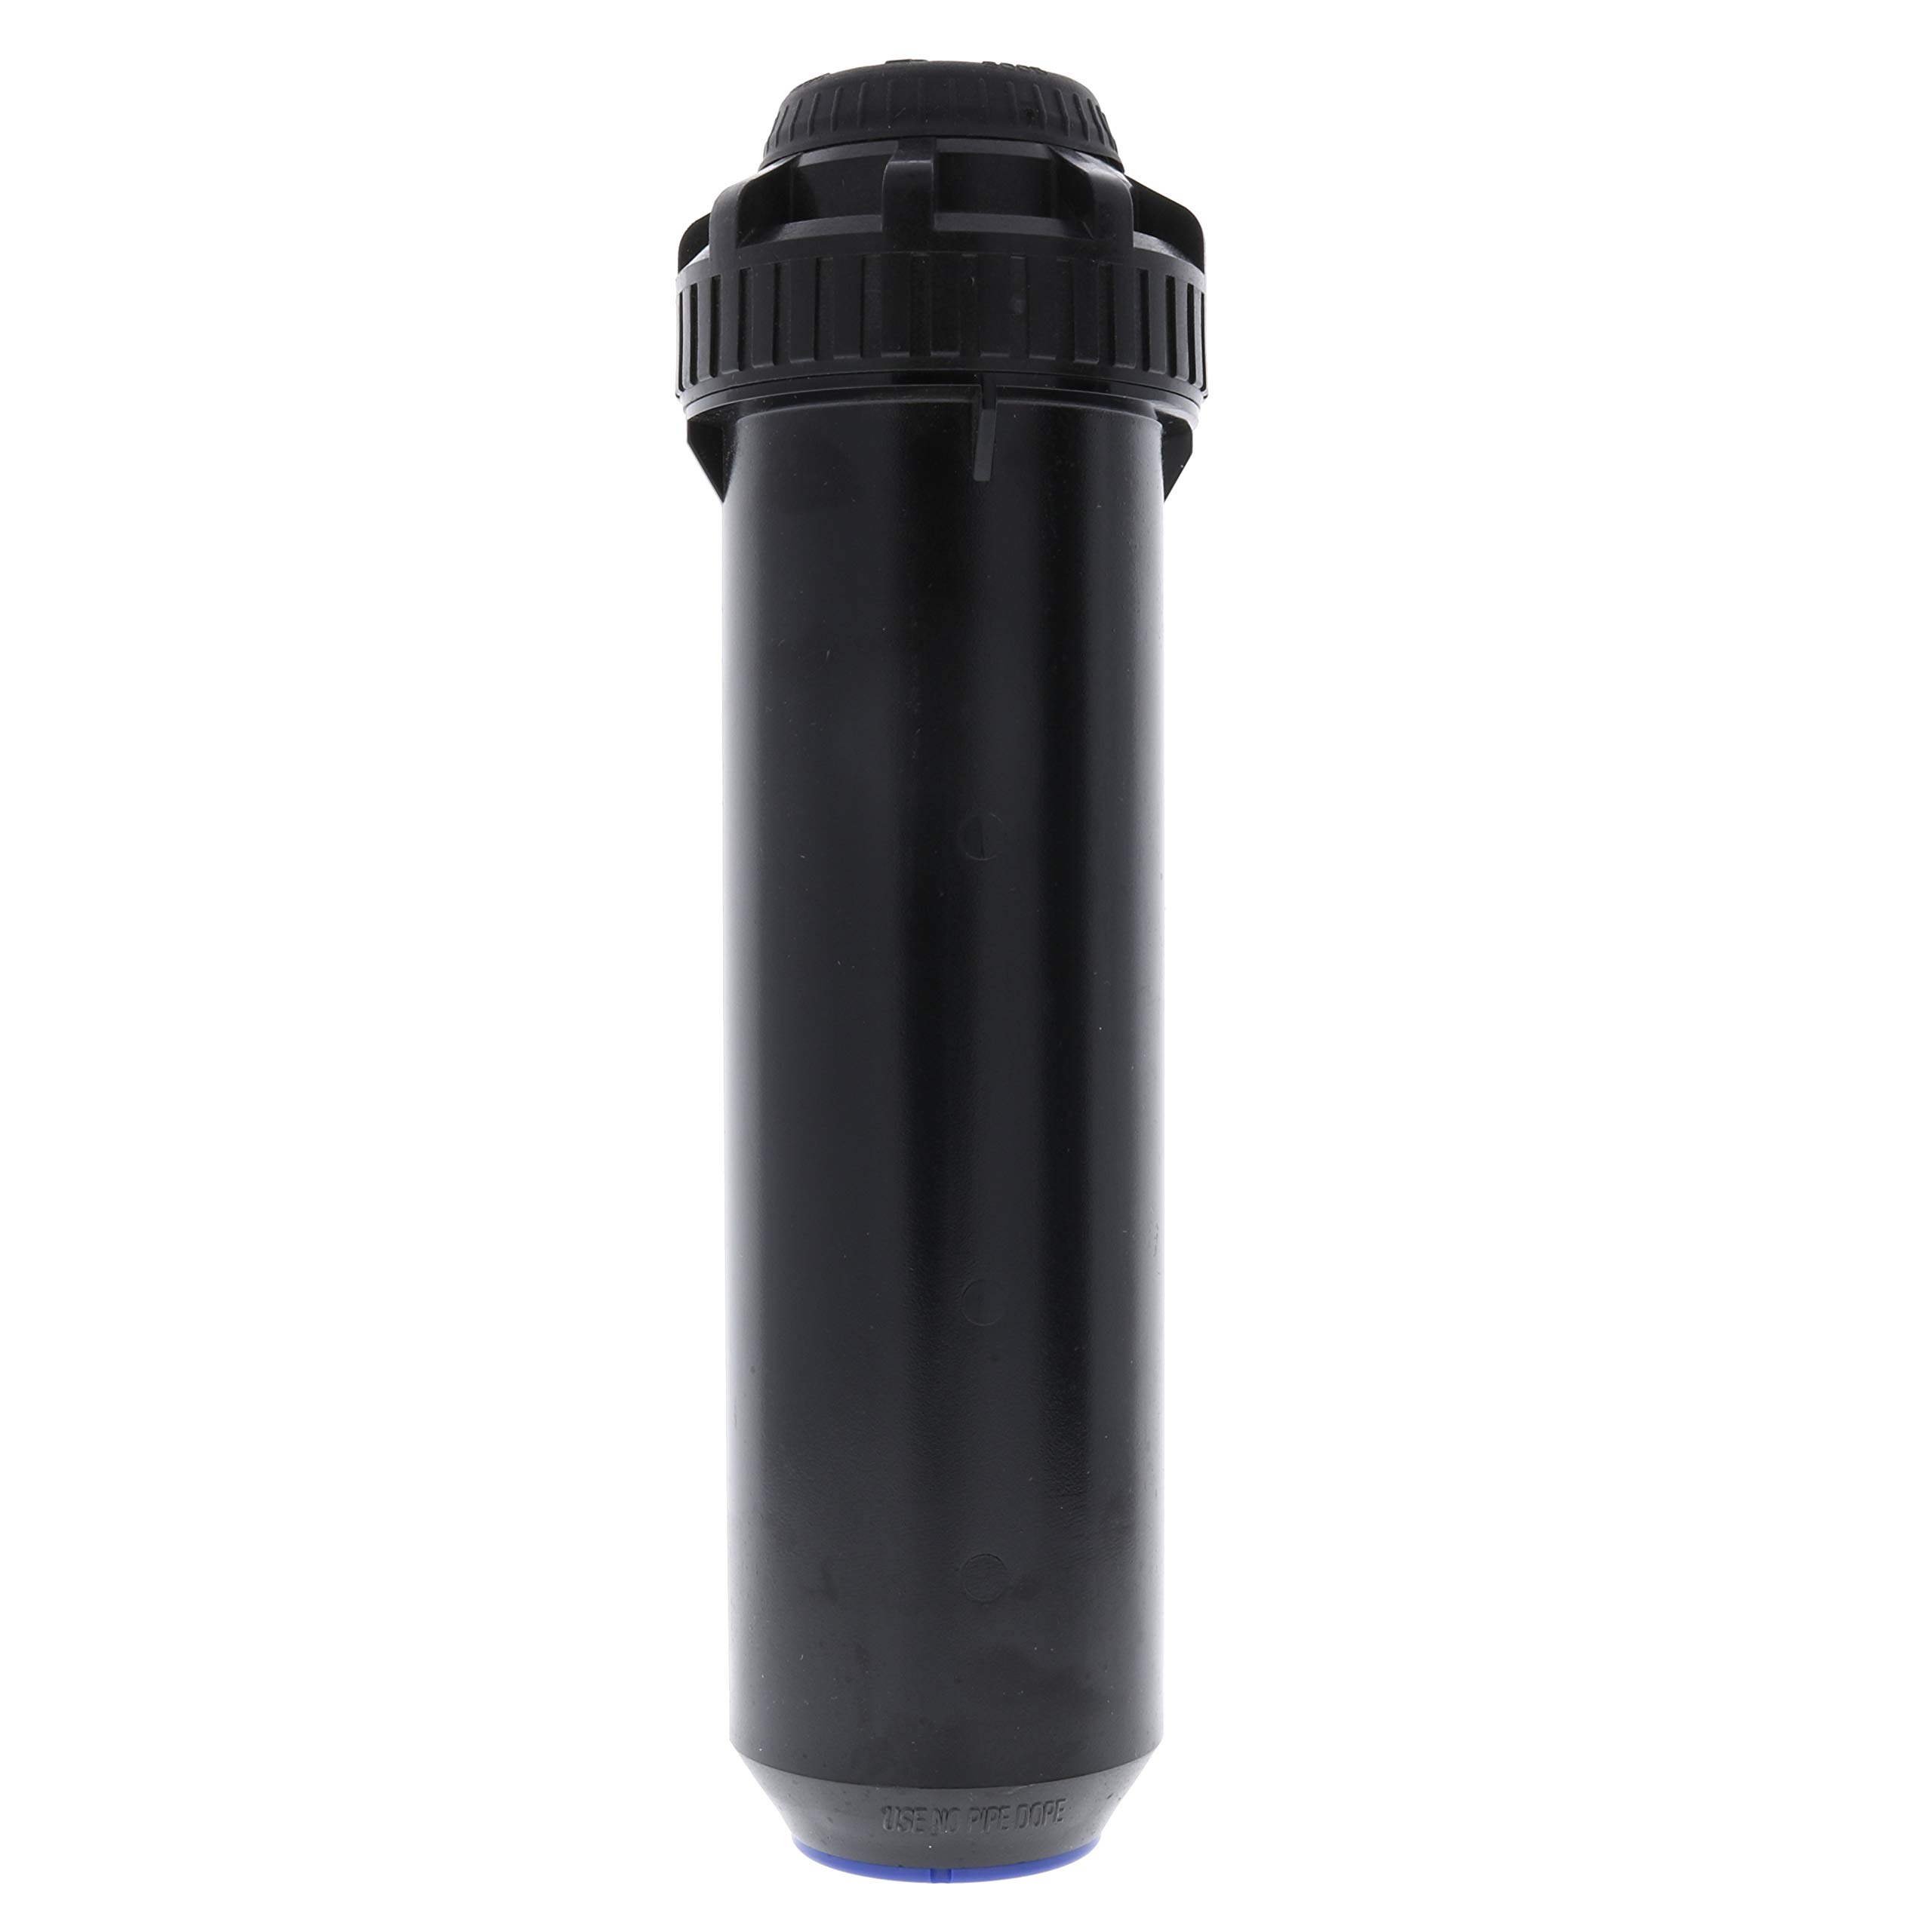
Image: Rain Bird 8005 Rotor Sprinkler unit, a black cylindrical device with a threaded base and a cap on top.
2. Key Features
- Memory Arc: Automatically returns the rotor to its original arc setting after tampering.
- Non-strippable Drive Mechanism: Prevents internal damage from forceful rotation of the nozzle turret.
- Brass Reinforcing Shaft: Enhances durability of the nozzle turret to riser connection.
- Full and Part Circle Operation: Offers versatility with both full 360-degree and adjustable part-circle (50° to 330°) operation in a single unit.
- Easy Arc Adjustment: Arc can be adjusted wet or dry using a slotted screwdriver through the top of the rotor.
- Adjustable Side Trips: Left and right side trips are adjustable for ease of installation without needing to turn the case or loosen pipe connections.
- Seal-A-Matic (SAM) Check Device: Prevents low head drainage, conserving water.
- Water-Lubricated Gear Drive: Ensures reliable and quiet operation.
- Rain Curtain Nozzles: Designed for optimal water distribution and close-in watering, resulting in superior uniformity. (Note: Nozzles are NOT included with the rotor unit.)
- Interchangeable Nozzles: Nozzles can be replaced from the front without special tools.
- Self-Adjusting Turbine Stator: Allows nozzle replacement without requiring other adjustments.
- Heavy-Duty Retract Spring: Ensures positive pop-down of the sprinkler head.
- Standard Green Rubber Cover: Provides protection and blends with the landscape.
3. Technical Specifications
| Specification | Value |
|---|---|
| Brand | Rain Bird |
| Model Number | 8005 (Product number: B81100) |
| Material | Plastic |
| Style | Rotary |
| Inlet Thread Size | 1 inch NPT |
| Product Dimensions (L x W x H) | 11 x 3 x 3 inches |
| Item Weight | 1.35 pounds |
| UPC | 739460012864 |
| Manufacturer | Rain Bird |
Operating Range:
- Radius: 57 to 81 feet (17.4 to 24.7 m)
- Precipitation Rate: 0.66 to 1.23 inches/hour (17 to 31 mm/h)
- Pressure: 50 to 100 psi (3.5 to 6.9 bar)
- Flow: 11.1 to 36 GPM
4. Installation and Setup
Proper installation is crucial for the optimal performance and longevity of your Rain Bird 8005 rotor. It is recommended to consult a professional irrigation specialist for complex installations. For DIY, follow these general guidelines:
- Site Selection: Plan your sprinkler layout to ensure even coverage across the desired area, considering the rotor's radius and arc capabilities.
- Trenching: Dig trenches to the appropriate depth for your irrigation piping, ensuring they are below the frost line in cold climates.
- Pipe Connection: Connect the 1-inch NPT threaded inlet of the rotor to your irrigation piping. Ensure all connections are watertight.
- Rotor Placement: Install the rotor flush with the ground level. Ensure the top of the rotor is level with the surrounding turf to prevent tripping hazards and allow for proper pop-up and retraction.
- Nozzle Installation: Select the appropriate Rain Curtain nozzle (not included) for your specific flow and radius requirements. Insert the nozzle into the rotor's turret.
- Arc Adjustment: After installation and water pressure is applied, adjust the arc of the rotor using a slotted screwdriver. The arc can be set from 50° to 330° for part-circle operation or 360° for full-circle.
- Side Trip Adjustment: Adjust the left and right side trips as needed to align the spray pattern with your landscape boundaries.
5. Operation Guidelines
Once installed, operating your Rain Bird 8005 rotor is straightforward:
- Water Pressure: Ensure your irrigation system operates within the recommended pressure range of 50 to 100 psi for optimal performance.
- Arc Verification: Periodically check the arc setting to ensure it continues to cover the intended area without watering sidewalks or structures. Adjust as necessary.
- Run Time: Set your irrigation controller to provide adequate watering times based on soil type, plant needs, and local climate conditions.
- Water Distribution: Observe the spray pattern to confirm even water distribution. The Rain Curtain nozzles are designed for uniformity, but external factors like wind can affect coverage.
6. Maintenance
Regular maintenance helps ensure the long-term efficiency and reliability of your Rain Bird 8005 rotor:
- Regular Inspection: Periodically inspect the rotor for any visible damage, leaks, or obstructions around the head.
- Cleaning Nozzles: If the spray pattern appears distorted or flow is reduced, the nozzle may be clogged. Carefully remove the nozzle and clean any debris.
- Winterization: In regions subject to freezing temperatures, properly winterize your irrigation system, including blowing out the lines to prevent water from freezing and damaging the rotor.
- Checking for Leaks: Monitor for any signs of water leakage around the rotor base or connections, which could indicate a faulty seal or connection.
7. Troubleshooting Common Issues
This section addresses common issues you might encounter with your Rain Bird 8005 rotor:
| Issue | Possible Cause | Solution |
|---|---|---|
| Rotor not rotating or erratic rotation | Low water pressure, debris in gear drive, damaged internal components. | Verify system pressure. Flush the system to clear debris. If issue persists, professional inspection may be required. |
| Uneven water distribution or short spray distance | Clogged nozzle, incorrect nozzle, insufficient pressure, arc misadjustment. | Clean or replace nozzle. Check system pressure. Readjust the arc setting. |
| Rotor not popping up or retracting fully | Debris around riser, damaged retract spring, low water pressure. | Clear debris from around the riser. Check system pressure. If spring is damaged, the rotor may need replacement or professional repair. |
| Water leaking from base of rotor | Loose connection, damaged seal, cracked casing. | Tighten connections. Inspect and replace seals if necessary. If casing is cracked, the rotor must be replaced. |
8. Warranty and Customer Support
Rain Bird products are manufactured to high standards and are typically covered by a limited warranty against defects in materials and workmanship. For specific warranty terms and conditions, please refer to the documentation provided with your purchase or visit the official Rain Bird website.
If you require technical assistance, have questions about installation, or need to inquire about warranty service, please contact Rain Bird customer support directly. You can usually find contact information on their official website: