1. Introduction
This manual provides instructions for the installation and maintenance of the Leviton 78013 1-Gang .406 Inch Hole Device Telephone/Cable Wallplate. This standard-size, thermoset wallplate is designed to cover a single telephone or cable device mounted in a standard electrical box, providing a clean and finished appearance.
The Leviton 78013 wallplate is resistant to fading, discoloration, grease, oil, organic solvents, and moisture scratches, ensuring long-lasting durability and aesthetic appeal.
2. Safety Information
WARNING: To avoid fire, shock, or death, always turn off power at the circuit breaker or fuse box before installing or servicing this product. Always use caution when working with electrical components.
- Ensure all local and national electrical codes are followed.
- If you are unsure about any part of these instructions, consult a qualified electrician.
- Do not use this product for purposes other than its intended use.
3. Package Contents
- One (1) Leviton 78013 1-Gang .406 Inch Hole Device Telephone/Cable Wallplate (Light Almond)
- Two (2) Mounting Screws
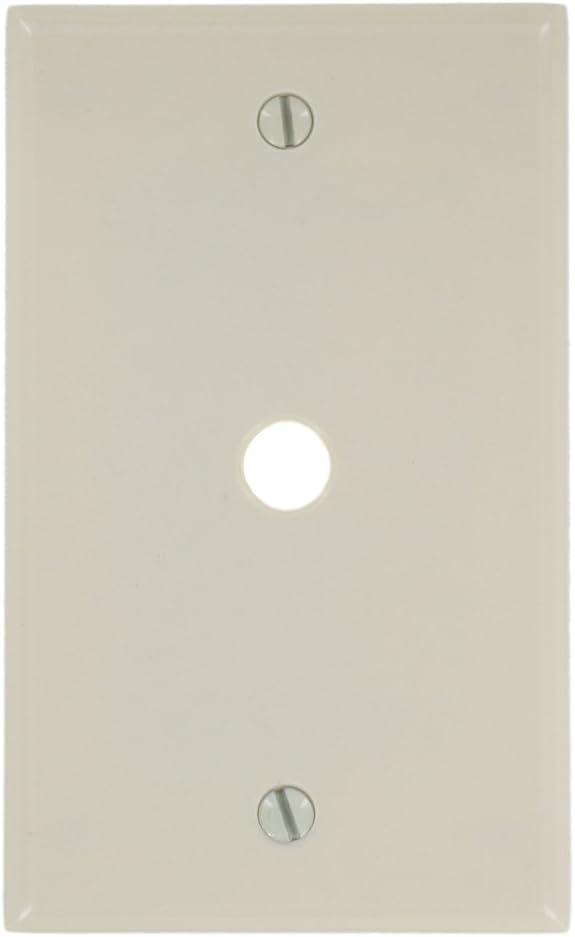
Image: Front view of the Leviton 78013 1-Gang Telephone/Cable Wallplate in Light Almond, showing the single .406 inch hole and two screw openings.
4. Installation Instructions
This wallplate is designed for easy installation over a pre-existing telephone or cable device. Follow these steps carefully:
- Prepare the Area: Ensure the power to the circuit is turned off at the main electrical panel before beginning. If replacing an existing wallplate, carefully remove the old plate and its mounting screws.
- Position the Device: Ensure the telephone or cable device is properly installed and secured within the electrical box. The device's connector should protrude through the .406 inch hole of the new wallplate.
- Align the Wallplate: Place the Leviton 78013 wallplate over the device and align the screw holes on the wallplate with the mounting holes on the electrical box or device bracket.
- Secure the Wallplate: Insert the provided mounting screws into the top and bottom holes of the wallplate. Gently tighten the screws until the wallplate is flush with the wall surface. Do not overtighten, as this can crack the wallplate or strip the screw threads.
- Restore Power: Once the wallplate is securely installed, restore power to the circuit at the main electrical panel.
5. Operation
The Leviton 78013 wallplate serves as a protective and aesthetic cover for your telephone or cable device. Once installed, it requires no further operation. Ensure any cables or telephone lines are properly connected to the device behind the wallplate.
6. Maintenance
To maintain the appearance and integrity of your wallplate:
- Clean with a soft, damp cloth.
- Avoid abrasive cleaners, harsh chemicals, or solvents, as these can damage the finish.
- Periodically check that the mounting screws are snug. Do not overtighten.
7. Troubleshooting
- Wallplate does not fit flush: Ensure the device behind the wallplate is properly seated and not protruding excessively. Check for any obstructions within the electrical box.
- Screws do not align: Verify that the electrical box or device bracket is correctly installed and aligned. If replacing an older plate, ensure the new plate's screw spacing matches the existing setup.
- Wallplate appears damaged after installation: This may be due to overtightening the mounting screws. Loosen the screws slightly. If the damage is significant, the wallplate may need replacement.
8. Specifications
| Feature | Detail |
|---|---|
| Model Number | 78013 |
| Brand | Leviton |
| Material | Thermoset Plastic |
| Color | Light Almond |
| Configuration | 1-Gang, .406 Inch Hole Device |
| Dimensions (W x H) | 2.75" x 4.5" |
| Installation Type | Box Mount, Screw-In |
| Certifications | CSA, UL |
| UPC | 078477276518 |
9. Warranty Information
This Leviton product is covered by a 2-Year Limited Warranty. For detailed warranty terms and conditions, please refer to the official Leviton website or contact customer support.
10. Customer Support
For further assistance, technical support, or to inquire about replacement parts, please visit the official Leviton website or contact their customer service department.
Leviton Official Website: www.leviton.com


