Introduction
The Powerplus POWX410 is a versatile 4-in-1 power station designed for various automotive and emergency needs. It integrates a jump starter for engines up to 1600cc, a power bank function for devices, a 17-bar air compressor, and a 3.6W emergency light into a single portable unit. This manual provides detailed instructions for safe and effective use of all its functions.

Figure 1: Front view of the Powerplus POWX410 Power Station.
Safety Instructions
- Always read and understand all instructions before operating the device.
- Wear eye protection when working with batteries.
- Ensure proper ventilation when charging or operating the unit.
- Do not expose the unit to rain or moisture.
- Keep children and unauthorized persons away from the device during operation.
- Do not attempt to jump start a frozen battery.
- Connect the jumper cables in the correct polarity: positive to positive, negative to negative (or vehicle chassis).
- Avoid short-circuiting the jumper clamps.
- Do not use the compressor for prolonged periods without allowing it to cool down.
- Store the unit in a cool, dry place away from direct sunlight.
Product Components
The Powerplus POWX410 includes the following main components and accessories:
- Power Station Unit with integrated jump starter cables and clamps.
- Air Compressor with pressure gauge and hose.
- Emergency Light (3.6W).
- DC Output Sockets (12V, max 6A).
- Power Adapter for charging the unit.
- Cigarette Lighter Power Cable.
- Ball Needle and 2 Air Mattress Adapters for the compressor.
- Spare Fuses and Lamps.
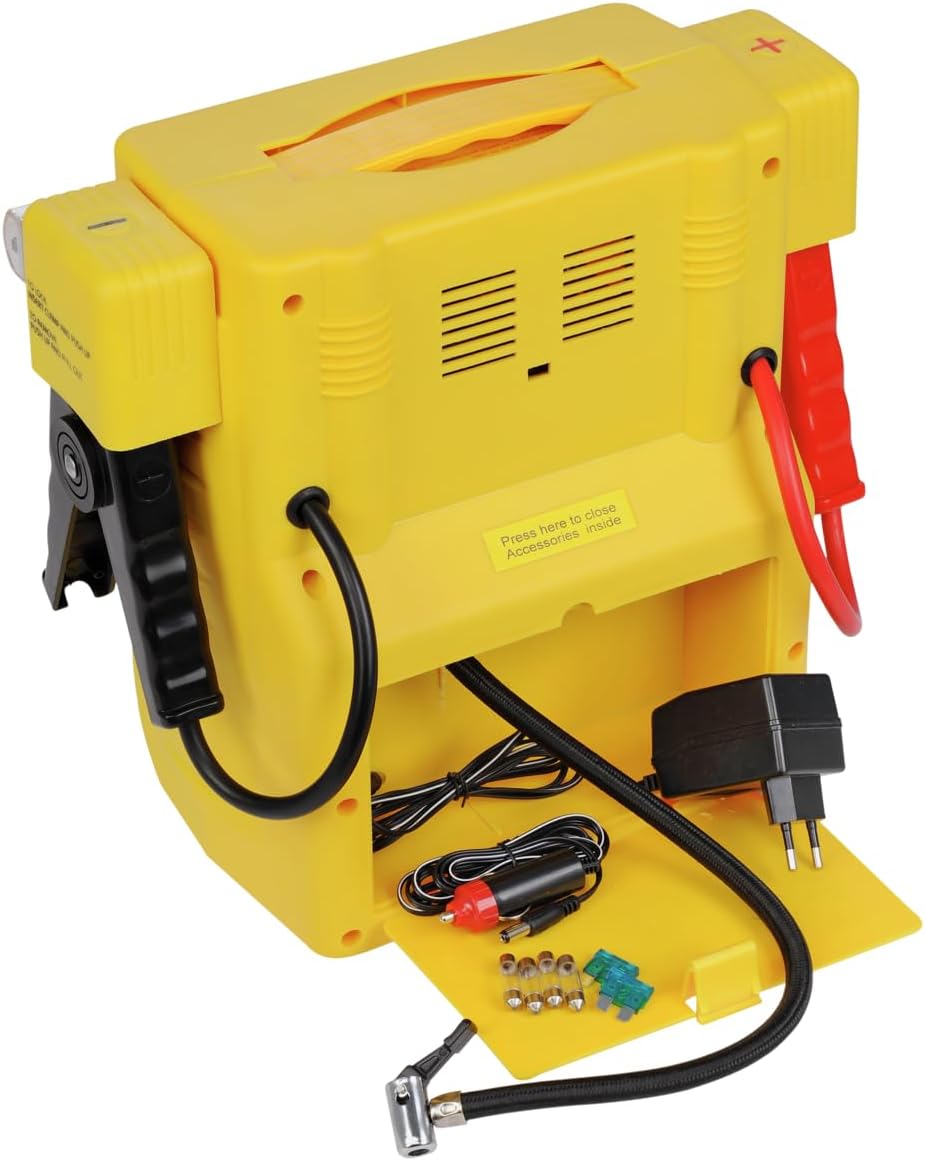
Figure 2: Rear storage compartment for accessories.
Setup
Initial Charging
Before first use, fully charge the Powerplus POWX410 power station.
- Connect the provided power adapter to the charging port on the unit.
- Plug the power adapter into a standard wall outlet (AC power).
- Allow the unit to charge until the charge indicator shows a full charge. This may take several hours.
- Alternatively, the unit can be charged via the cigarette lighter power cable in a vehicle.
Note: Regular charging is recommended to maintain battery health, especially after use or if stored for extended periods.
Operating Instructions
1. Jump Starter Function
Use this function to start vehicles with a dead battery, suitable for engines up to 1600cc (petrol).
- Ensure the vehicle's ignition and all accessories are turned off.
- Connect the red positive (+) clamp to the positive (+) terminal of the vehicle's battery.
- Connect the black negative (-) clamp to a clean, unpainted metal part of the vehicle's chassis, away from the battery and fuel lines. Alternatively, connect to the negative (-) terminal of the battery if accessible and safe.
- Ensure connections are secure.
- Attempt to start the vehicle. If it doesn't start immediately, wait a few minutes before trying again. Do not crank for more than 5 seconds at a time.
- Once the vehicle starts, disconnect the black negative (-) clamp first, then the red positive (+) clamp.
- Store the clamps safely back on the unit.

Figure 3: Using the Power Station to jump start a vehicle.
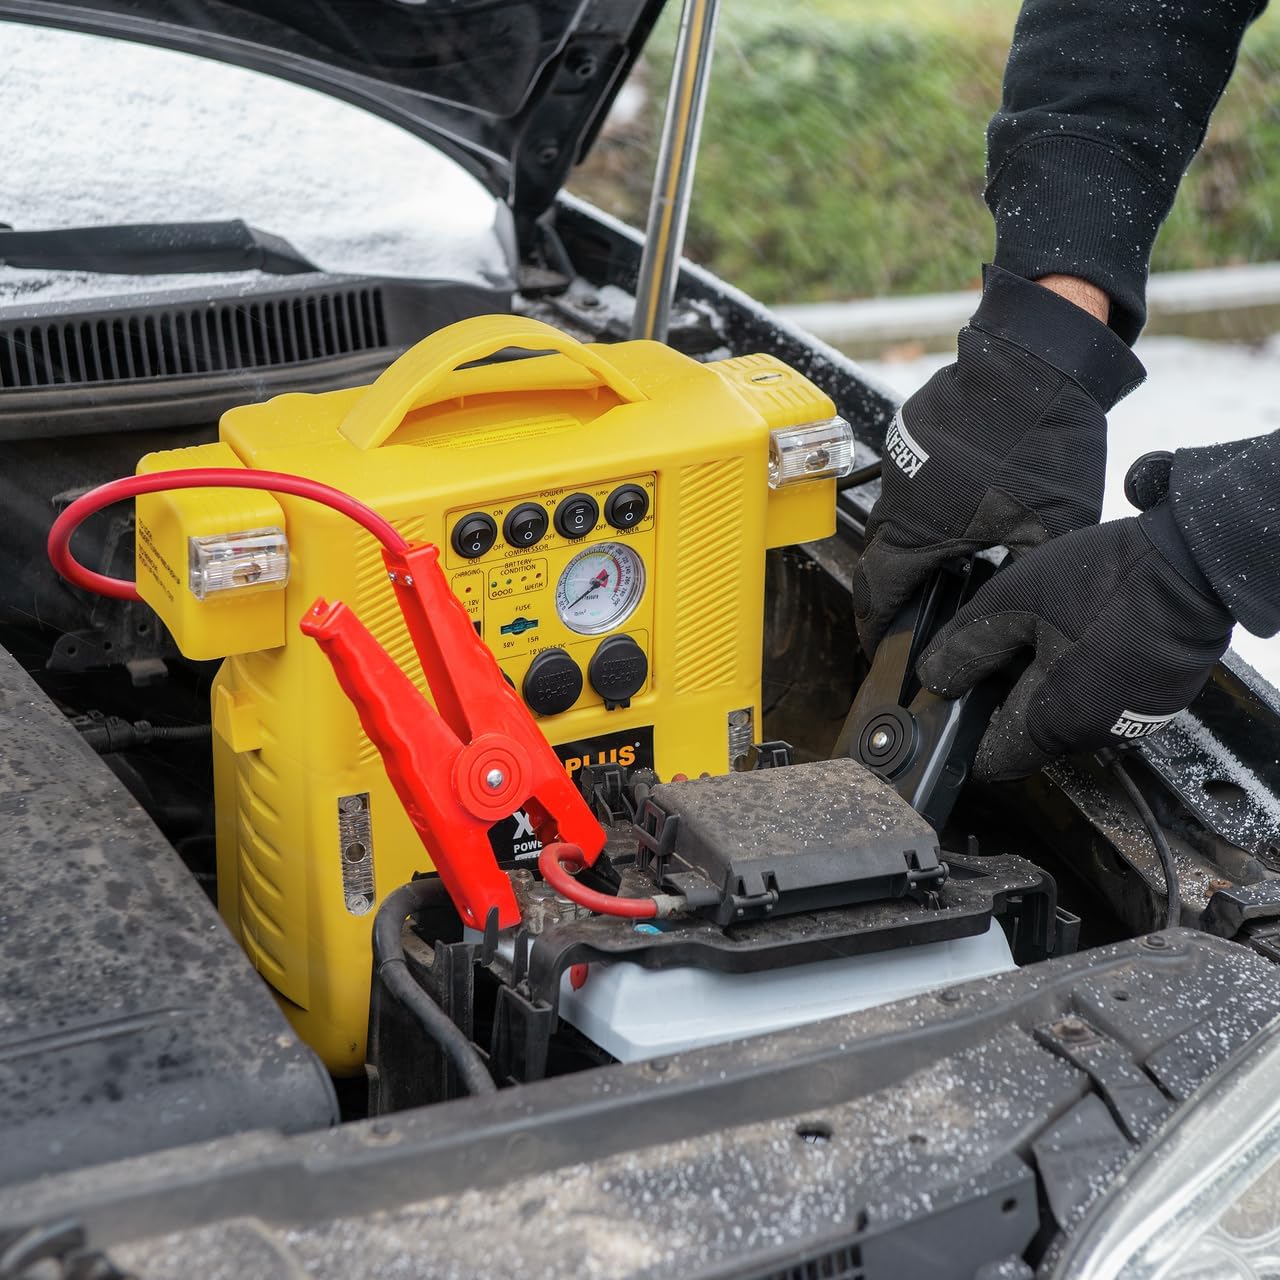
Figure 4: Proper connection of jumper clamps to battery terminals.
2. Power Bank Function (DC Output)
The unit provides 12V DC power through its output sockets for compatible devices.
- Locate the 12V DC output sockets on the unit.
- Plug your device's 12V DC adapter into one of the sockets.
- Ensure your device is compatible with 12V DC input and does not exceed the maximum 6A output current.
- The unit features overload protection for safety.
3. Air Compressor Function
Inflate tires, sports equipment, and other inflatables up to 17 bar (246 PSI).
- Select the appropriate adapter nozzle (ball needle, air mattress adapter) for your item.
- Attach the nozzle to the compressor hose.
- Connect the compressor hose to the item to be inflated.
- Turn on the compressor switch.
- Monitor the pressure gauge on the unit to reach the desired pressure.
- Once the desired pressure is reached, turn off the compressor and disconnect the hose.
Caution: Do not over-inflate items. Allow the compressor to cool down after extended use to prevent overheating.
4. Emergency Light Function
The integrated 3.6W light provides illumination in dark conditions.
- Locate the light switch on the unit.
- Toggle the switch to turn the light on or off.
Maintenance
Charging and Storage
- Recharge after each use: To maximize battery life, recharge the unit fully after every use, especially after jump-starting or prolonged compressor operation.
- Regular charging: If the unit is stored for extended periods, recharge it every 2-3 months to prevent battery discharge and damage.
- Cleaning: Wipe the unit with a dry, soft cloth. Do not use harsh chemicals or abrasive cleaners.
- Accessory Storage: Utilize the integrated storage compartment at the back of the unit for all accessories to keep them organized and readily available.
- Storage Environment: Store the power station in a cool, dry place, away from direct sunlight, extreme temperatures, and moisture.
Troubleshooting
| Problem | Possible Cause | Solution |
|---|---|---|
| Unit does not charge. | Power adapter not connected properly; wall outlet not active; internal battery issue. | Ensure adapter is securely plugged in. Test wall outlet with another device. If problem persists, contact support. |
| Vehicle does not jump start. | Low charge in power station; incorrect clamp connection; vehicle battery completely dead; engine too large for unit. | Fully charge the power station. Verify correct clamp polarity and secure connection. Ensure engine size is within 1600cc limit. |
| Compressor not inflating. | Hose or nozzle not securely attached; item already at maximum pressure; compressor switch off; internal fault. | Check all connections. Verify compressor switch is ON. Check pressure gauge. If problem persists, contact support. |
| Light does not turn on. | Light switch off; bulb faulty; low battery. | Ensure light switch is ON. Check battery charge level. Replace spare lamp if necessary (unit includes 4 spare lamps). |
Specifications
| Feature | Detail |
|---|---|
| Model Number | POWX410 |
| Brand | Varo (Powerplus) |
| Dimensions (Product) | 31 x 18 x 33 cm (12.2 x 7.1 x 13 inches) |
| Weight | 4.48 kg (9.88 lbs) |
| Power Source | AC/DC |
| Voltage | 12 VDC |
| Battery Type | Polymer |
| Battery Capacity | 17 Ampere-hour (Ah) |
| Jump Start Peak Current | 900 A |
| Max Engine Displacement | 1600 cc (petrol) |
| DC Output Current | Max 6 A |
| Compressor Max Pressure | 17 bar (246 PSI) |
| Emergency Light Power | 3.6 W |
| Certifications | CE |
| Included Components | Power station, power adapter, cigarette lighter cable, ball needle, 2 air mattress adapters, 2 automatic fuses, 4 spare lamps. |
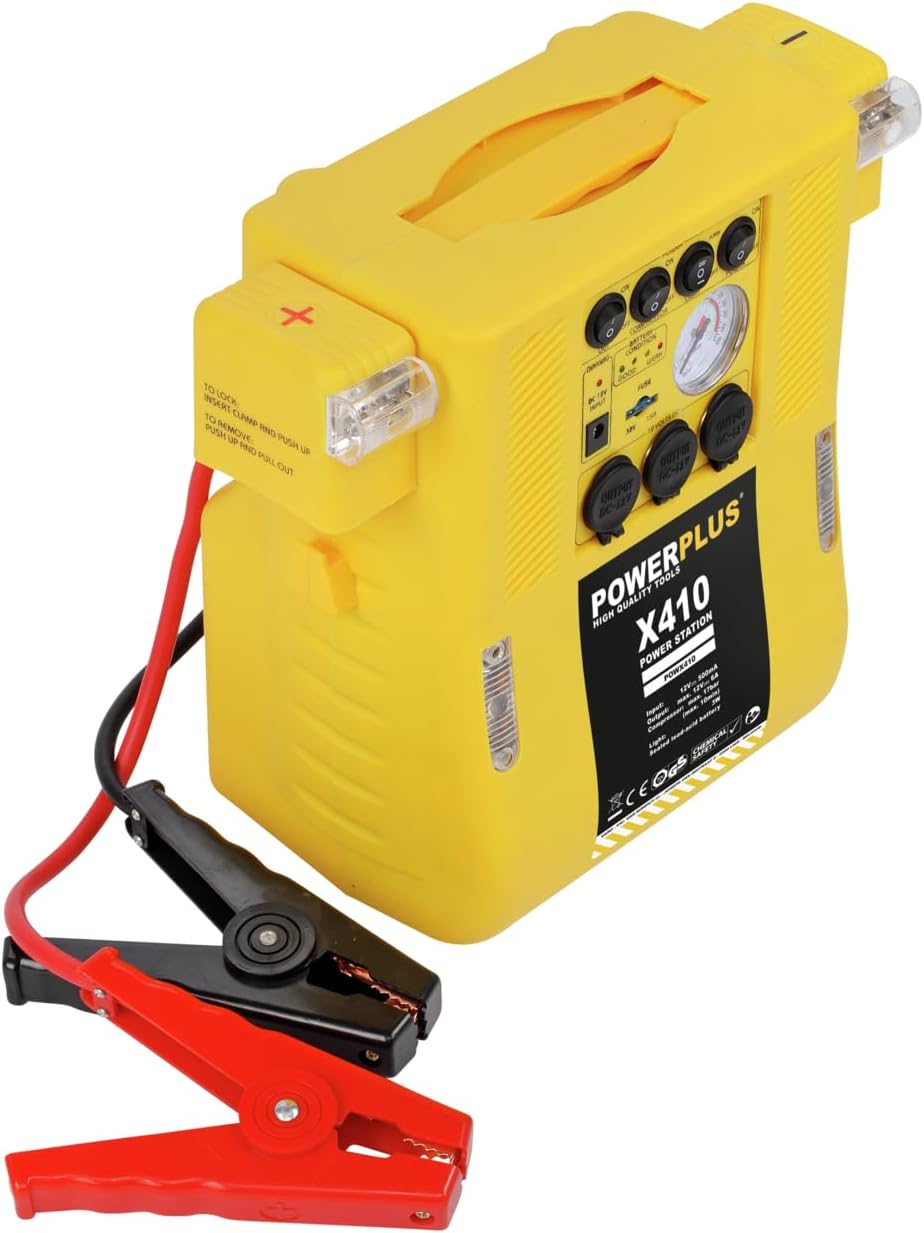
Figure 5: Product dimensions for the Powerplus POWX410.
Warranty and Support
For warranty information and customer support, please refer to the documentation provided with your purchase or visit the official Varo (Powerplus) website. Keep your proof of purchase for any warranty claims.


