1. Introduction
This manual provides essential instructions for the proper installation, operation, and maintenance of your Briggs & Stratton 809500 Oil Fill Cap. Designed to ensure optimal performance and compliance with emission regulations, this genuine replacement part is crucial for the longevity of your outdoor power equipment engine. Please read this manual thoroughly before use.
2. Product Overview
The Briggs & Stratton 809500 Oil Fill Cap is a genuine replacement part designed to seal the oil fill opening of compatible engines. It includes an integrated dipstick for accurate oil level measurement and a gasket to prevent leaks. The cap is constructed from durable plastic and features a design that allows for clear visibility of the oil level against its colored background.
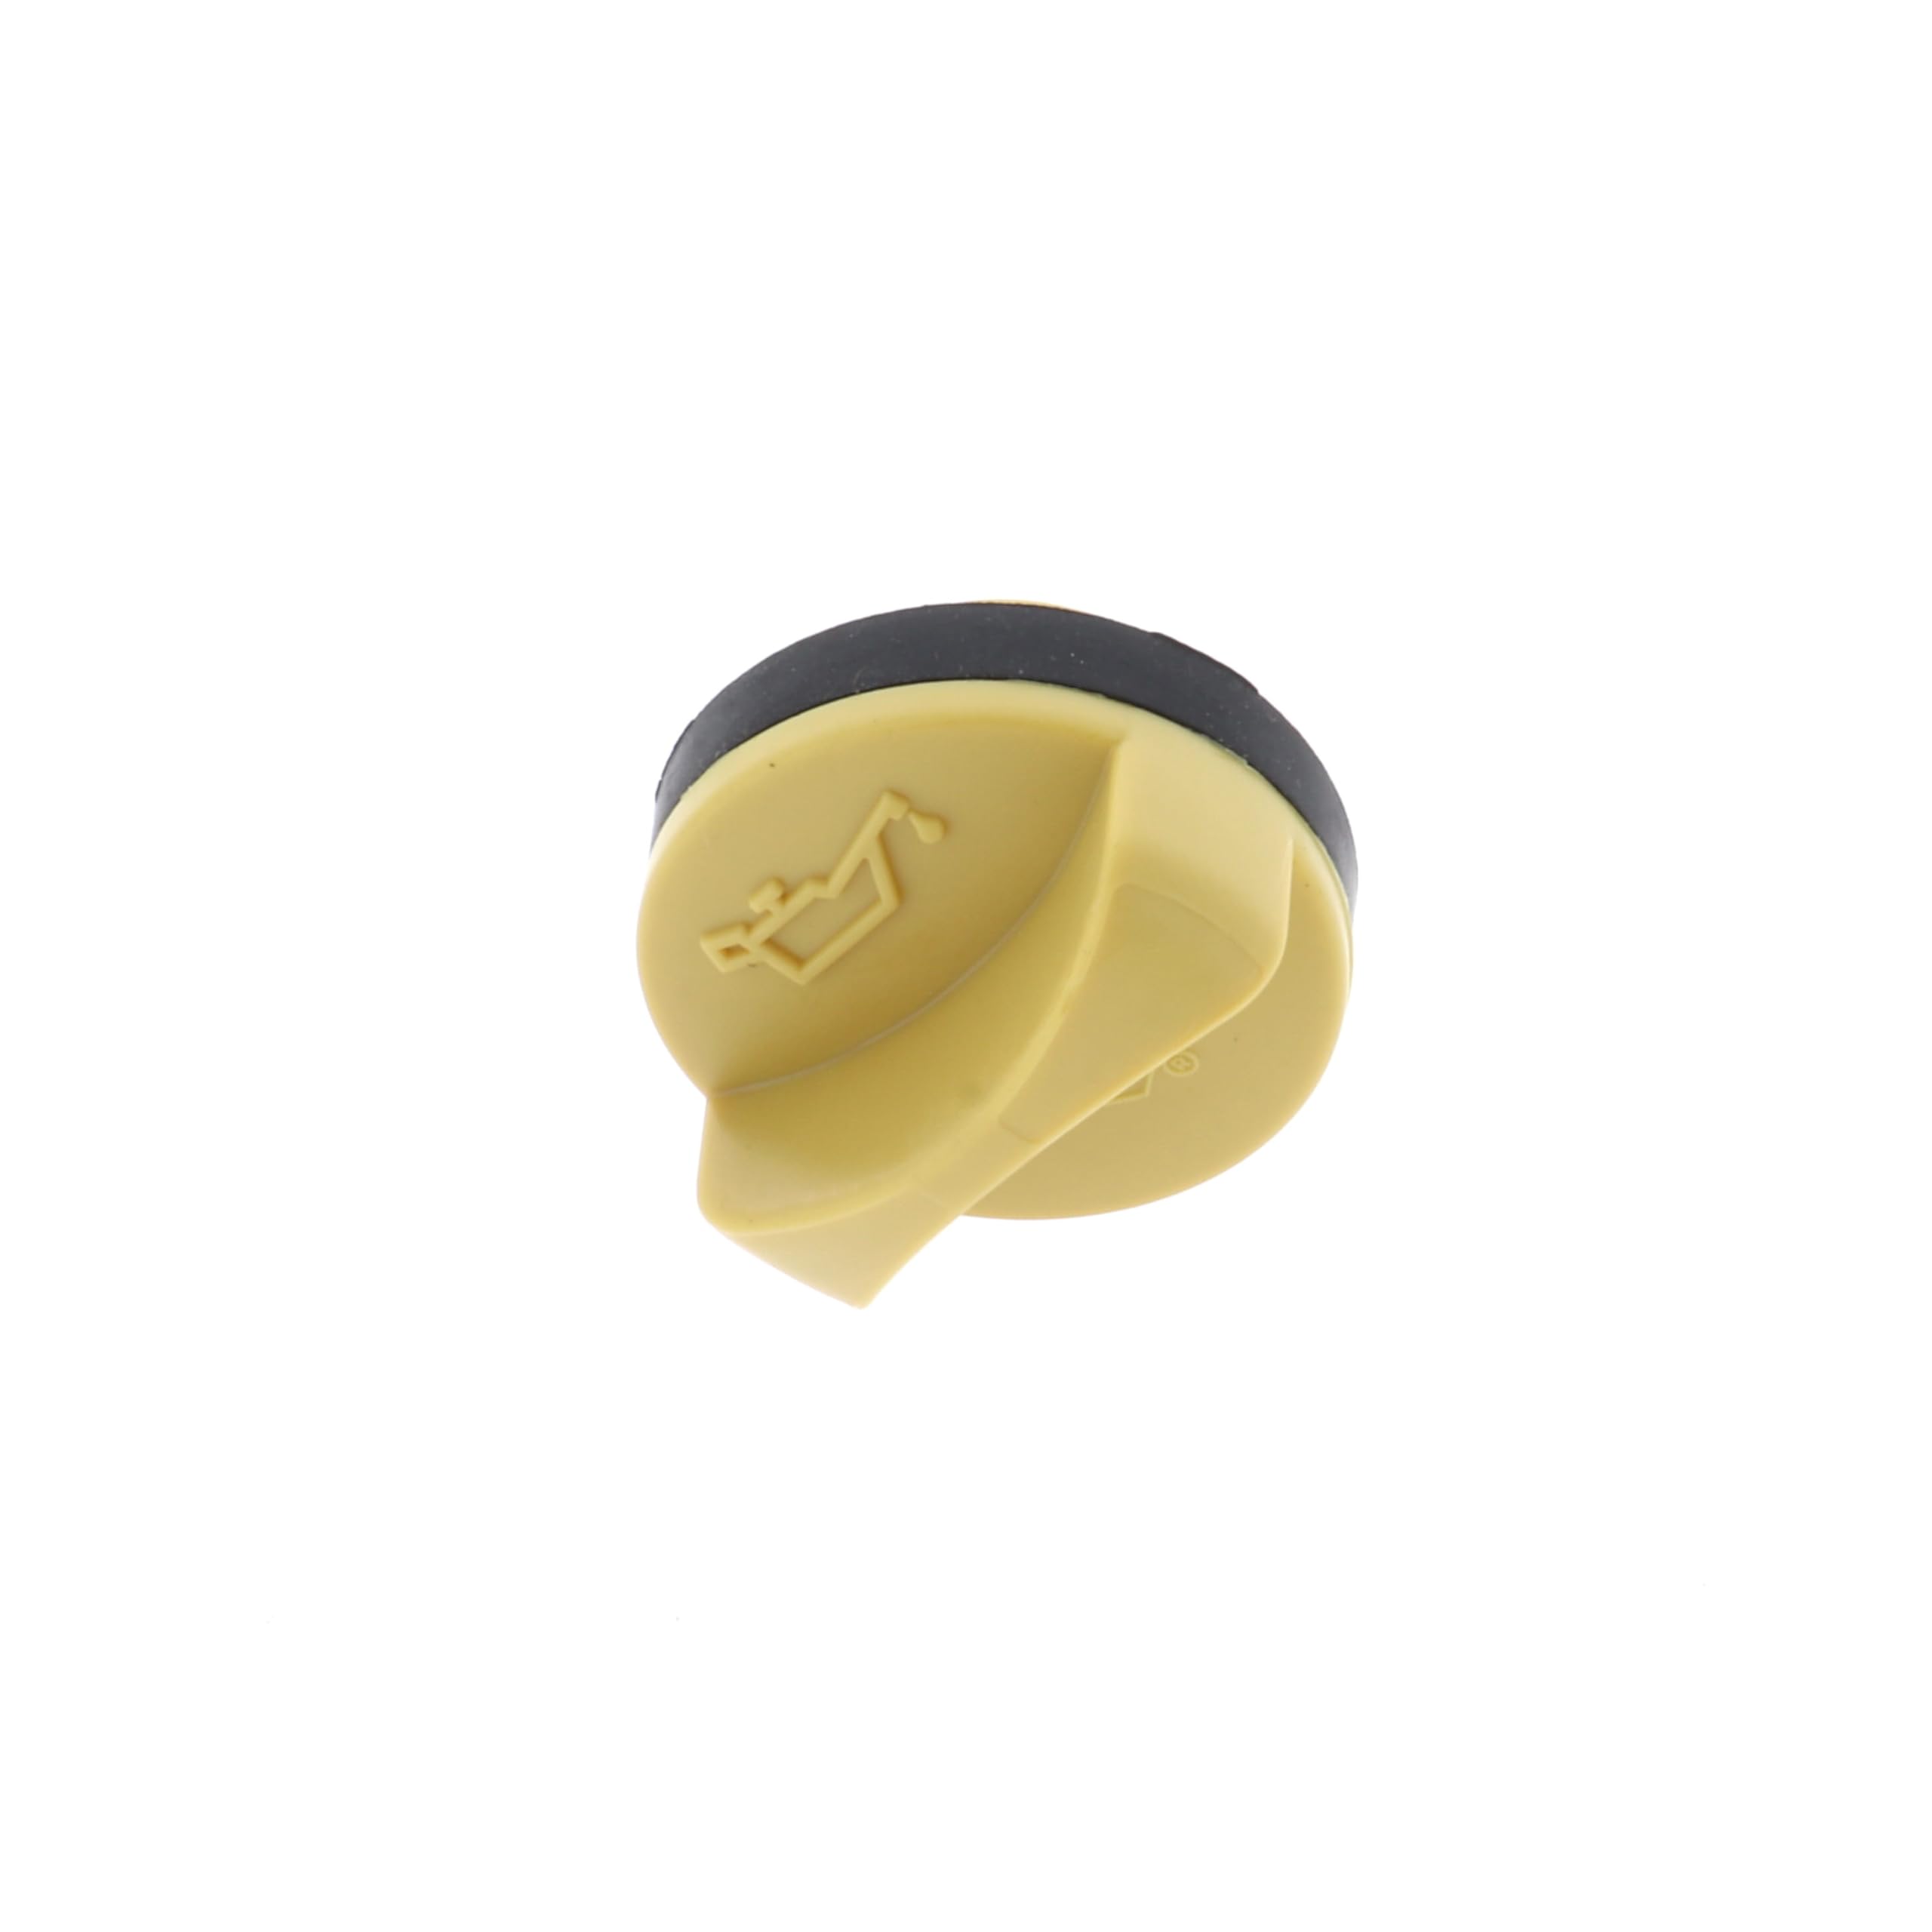
Figure 1: General view of the Briggs & Stratton 809500 Oil Fill Cap, showing its overall design and construction.
3. Compatibility
This oil fill cap (Model 809500) is a genuine Briggs & Stratton part. It is designed to fit specific Briggs & Stratton engines, including some 294000 series engines. It replaces older Briggs & Stratton part numbers 491832, 691312, and 271983.
To ensure proper fitment, always verify the part number against your engine's specifications before installation. Incorrect parts may lead to oil leaks or improper engine operation.
4. Installation
Follow these steps to install the Briggs & Stratton 809500 Oil Fill Cap:
- Preparation: Ensure the engine is cool and turned off. Place a drip pan underneath the engine's oil fill opening to catch any potential spills.
- Remove Old Cap: Carefully unscrew and remove the existing oil fill cap. Inspect the old cap and its gasket for any damage or wear.
- Inspect Opening: Clean any debris or old gasket material from around the engine's oil fill opening.
- Install New Cap: Take the new Briggs & Stratton 809500 Oil Fill Cap. Ensure the new gasket is properly seated on the cap. Screw the new cap into the oil fill opening by hand until it is snug. Do not overtighten.
- Check for Leaks: After installation, wipe any spilled oil and monitor for leaks during the next engine operation.

Figure 2: Close-up view of the oil fill cap, highlighting the threads and gasket for proper sealing.
5. Operation (Checking Oil Level)
Regularly checking your engine's oil level is vital for its performance and longevity. The 809500 Oil Fill Cap includes a dipstick for this purpose:
- Engine Position: Ensure the engine is on a level surface and has been off for a few minutes to allow oil to settle.
- Remove Dipstick: Unscrew and remove the oil fill cap/dipstick. Wipe the dipstick clean with a cloth.
- Check Level: Reinsert the dipstick fully into the oil fill opening, but do not screw it in. Remove it again and observe the oil level. The oil level should be between the "Full" and "Add" marks on the dipstick.
- Add Oil (if necessary): If the oil level is low, add the recommended type and amount of oil for your engine until the level is within the acceptable range.
- Secure Cap: Reinstall the oil fill cap, screwing it in until snug.
The bright color of the dipstick helps to clearly distinguish the oil level, especially with dark engine oil.
6. Maintenance
To ensure the continued effectiveness of your oil fill cap:
- Regular Inspection: Periodically inspect the cap and its gasket for cracks, hardening, or other signs of wear. A damaged gasket can lead to oil leaks.
- Cleaning: Keep the cap and dipstick clean from dirt and debris to prevent contamination of the engine oil.
- Replacement: Replace the oil fill cap if it becomes damaged or if the gasket no longer provides a tight seal.
7. Troubleshooting
- Oil Leak Around Cap:
- Ensure the cap is screwed in tightly.
- Inspect the gasket for damage or wear. Replace the cap if the gasket is compromised.
- Difficulty Reading Oil Level:
- Ensure the engine is on a level surface.
- Allow sufficient time for oil to settle after engine operation.
- Wipe the dipstick thoroughly before reinserting to get a clear reading.
8. Specifications
| Brand | Briggs & Stratton |
| Model Number | 809500 |
| Material | Plastic |
| Color | Multi (typically yellow/orange for dipstick visibility) |
| Replaces Part Numbers | 491832, 691312, 271983 |
| Item Dimensions (L x W x H) | 1 x 7 x 8 inches |
| Item Weight | 0.8 ounces |


Figure 3: Oil fill cap shown with rulers for approximate size reference (inches and centimeters).
9. Warranty & Support
For warranty information or technical support regarding your Briggs & Stratton 809500 Oil Fill Cap, please refer to the official Briggs & Stratton website or contact their customer service directly. As a genuine Briggs & Stratton part, it is designed to meet exact OEM standards and ensure compliance with applicable emission regulations when installed correctly.
For further assistance, visit the Briggs & Stratton Store on Amazon.


