
Introduction
Thank you for purchasing the Waring Countertop Deep Fryer. This appliance is designed for commercial use, offering efficient and consistent deep frying results. To ensure safe and optimal performance, please read this instruction manual thoroughly before operating the unit and retain it for future reference.

Image: The Waring Countertop Deep Fryer, showcasing its stainless steel body, control panel, and two frying baskets.
Important Safeguards
When using electrical appliances, basic safety precautions should always be followed, including the following:
- Read all instructions before operating the fryer.
- Do not touch hot surfaces. Use handles or knobs.
- To protect against electrical shock, do not immerse cord, plugs, or fryer body in water or other liquid.
- Close supervision is necessary when any appliance is used by or near children.
- Unplug from outlet when not in use and before cleaning. Allow to cool before putting on or taking off parts, and before cleaning the appliance.
- Do not operate any appliance with a damaged cord or plug, or after the appliance malfunctions or has been damaged in any manner.
- The use of accessory attachments not recommended by the appliance manufacturer may cause injuries.
- Do not use outdoors.
- Do not let cord hang over edge of table or counter, or touch hot surfaces.
- Do not place on or near a hot gas or electric burner, or in a heated oven.
- Extreme caution must be used when moving an appliance containing hot oil or other hot liquids.
- Always attach plug to appliance first, then plug cord into the wall outlet. To disconnect, turn any control to “off,” then remove plug from wall outlet.
- Do not use appliance for other than intended use.
- Ensure the oil level is between the MIN and MAX marks inside the oil tank.
Components
The Waring Countertop Deep Fryer consists of several key components:
- Stainless Steel Housing
- Removable Oil Tank
- Heating Element with Control Panel
- Two Small Frying Baskets (4" x 9" x 4" each)
- One Large Frying Basket (7-1/2" x 9-1/2" x 4")
- Lid/Cover
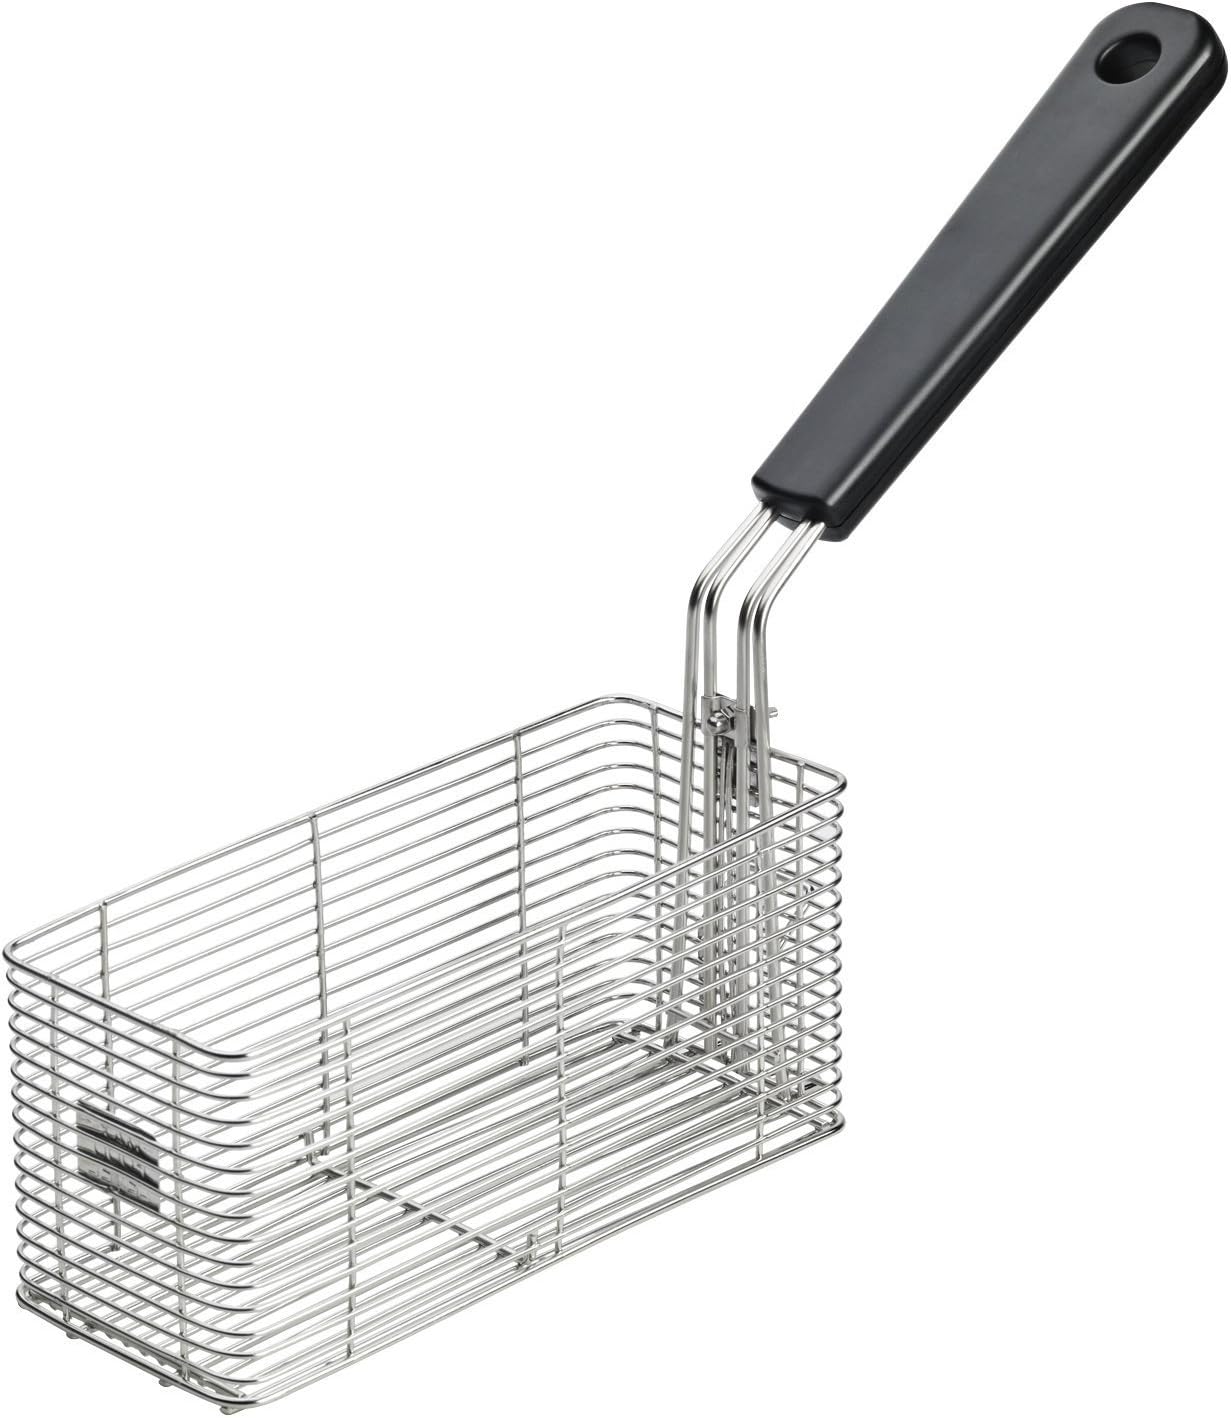
Image: A single stainless steel frying basket with a black handle.

Image: The stainless steel lid for the deep fryer, featuring a central handle and the Waring logo.
Setup and First Use
- Unpack: Carefully remove all components from the packaging. Retain packaging for storage or future transport.
- Clean: Before first use, wash the oil tank, frying baskets, and lid with warm, soapy water. Rinse thoroughly and dry completely. Wipe the exterior of the fryer housing with a damp cloth.
- Assemble: Place the removable oil tank securely into the stainless steel housing. Ensure the heating element with the control panel is properly seated on the back of the unit, with its prongs inserted into the corresponding slots in the oil tank.
- Position: Place the fryer on a stable, heat-resistant, and dry surface, away from walls and flammable materials. Ensure adequate ventilation.
- Fill with Oil: Pour cooking oil into the oil tank. Do not exceed the MAX fill line and do not go below the MIN fill line. The capacity is approximately 10 pounds of oil.
Operating Instructions
- Connect Power: Plug the fryer into a grounded 120V AC outlet.
- Set Temperature: Turn the temperature control knob to the desired frying temperature. The maximum temperature is 390°F (199°C). The indicator light will illuminate, indicating the heating element is active.
- Preheat: Allow the oil to preheat until the indicator light turns off, signaling that the set temperature has been reached. This may take several minutes depending on the oil volume and desired temperature.
- Prepare Food: Ensure food items are dry before placing them in the basket to minimize splattering. Do not overload the baskets; fry in small batches for best results.
- Fry Food: Carefully lower the basket(s) containing food into the hot oil. Use the timer knob (up to 30 minutes) if desired, though manual monitoring is recommended for precise results.
- Remove Food: Once food is cooked to desired crispness, carefully lift the basket(s) and hook them onto the rim of the oil tank to allow excess oil to drain.
- Serve: Transfer fried food to a paper towel-lined plate to absorb any remaining oil before serving.
- Turn Off: When finished frying, turn the temperature control knob to the "OFF" position and unplug the unit from the power outlet.
Tips for Best Results:
- Use high-quality cooking oil with a high smoke point.
- Do not mix different types of oil.
- Regularly filter or replace oil for optimal taste and longevity.
- Avoid overcrowding the basket, as this lowers oil temperature and results in soggy food.
Cleaning and Maintenance
Regular cleaning and maintenance will extend the life of your Waring Deep Fryer.
- Cool Down: Always allow the oil and fryer to cool completely before cleaning. This can take several hours.
- Remove Oil: Once cool, carefully pour the oil from the removable tank into a suitable container for disposal or filtering.
- Disassemble: Remove the oil tank, heating element, and baskets from the main housing.
- Wash Components: The oil tank, baskets, and lid can be washed with warm, soapy water. For stubborn residue, a non-abrasive scrubber can be used. Rinse thoroughly.
- Clean Heating Element: Wipe the heating element and control panel with a damp cloth. Do not immerse the heating element or control panel in water.
- Clean Housing: Wipe the exterior stainless steel housing with a damp cloth and mild detergent if necessary. Dry thoroughly.
- Dry Completely: Ensure all parts are completely dry before reassembling or storing to prevent rust and electrical hazards.
- Storage: Store the fryer in a clean, dry place.
Troubleshooting
If you encounter issues with your deep fryer, refer to the following table for common problems and solutions:
| Problem | Possible Cause | Solution |
|---|---|---|
| Fryer does not heat up. | Not plugged in; power outlet issue; heating element not properly seated; thermal cut-off activated. | Check power connection; try a different outlet; ensure heating element is fully inserted; allow unit to cool down and reset. |
| Oil not reaching desired temperature. | Temperature knob set too low; too much food added at once; old oil. | Increase temperature setting; fry in smaller batches; replace old oil. |
| Food is soggy or not crispy. | Oil temperature too low; too much food in basket; food not dry before frying. | Ensure oil is at correct temperature; fry in smaller batches; pat food dry before frying. |
| Excessive smoking. | Oil is old or contaminated; oil level too low; wrong type of oil. | Replace oil; ensure oil level is between MIN/MAX; use oil with high smoke point. |
Product Specifications
| Feature | Specification |
|---|---|
| Model Name | Countertop |
| Brand | Waring |
| Material | Stainless Steel |
| Color | Silver |
| Product Dimensions (D x W x H) | 17"D x 13"W x 12"H |
| Item Weight | 0.16 ounces (Shipping weight: 15.5 lbs) |
| Wattage | 1800 watts |
| Oil Capacity | 10 pounds |
| Max Temperature | 390°F |
| Timer | 30 minute |
| Certifications | NSF listed, UL listed |
| UPC | 040072013522 |
| Item Model Number | WDF1000 |
Warranty and Support
Waring products are manufactured to the highest standards and are warranted to be free from defects in material and workmanship for a specified period from the date of purchase. For detailed warranty information, service, or support, please refer to the warranty card included with your product or visit the official Waring website. Please have your model number (WDF1000) and purchase date available when contacting support.
For further assistance, you may contact Waring Customer Service through their official channels. Keep your proof of purchase for warranty claims.


