
Introduction
This instruction manual provides essential information for the safe and effective installation, operation, and maintenance of your hansgrohe Raindance S 3-Spray Handshower with Slide Bar and Hose, Model 04266000. Please read all instructions carefully before beginning installation or use to ensure proper function and longevity of your product.
Important Safety Information
- Always turn off the main water supply before attempting any installation, repair, or maintenance.
- Ensure all local plumbing and building codes are observed during installation.
- If you are unsure about any part of the installation process, it is recommended to consult a licensed plumber.
- Do not use harsh chemicals, abrasive cleaners, or scouring pads on the product surfaces, as this may damage the finish.
- Keep small parts out of reach of children to prevent choking hazards.
Package Contents
Verify that all components are present before beginning installation:
- Handshower
- Wallbar (Slide Bar)
- Hose
- Mounting hardware (screws, anchors, etc. - typically included)
Setup and Installation
Note: Hansgrohe recommends that a licensed plumber install this product to ensure proper function and adherence to all codes.
- Prepare the Installation Area: Turn off the main water supply to your bathroom. Clear the area where the handshower and slide bar will be installed.
- Mount the Wallbar: Position the wallbar at the desired height. Mark the drilling locations for the mounting brackets. Drill holes and insert appropriate wall anchors if necessary. Secure the wallbar mounting brackets to the wall using the provided screws. Attach the wallbar to the secured brackets.
- Connect the Hose: Connect one end of the shower hose to the water outlet on your shower valve or wall elbow. Ensure a watertight seal using plumber's tape if recommended.
- Attach the Handshower: Connect the other end of the shower hose to the handshower. Hand-tighten first, then use a wrench if needed, being careful not to overtighten.
- Place Handshower in Holder: Insert the handshower into the adjustable holder on the wallbar.
- Test for Leaks: Slowly turn the main water supply back on and check all connections for leaks. Tighten any leaking connections as needed.
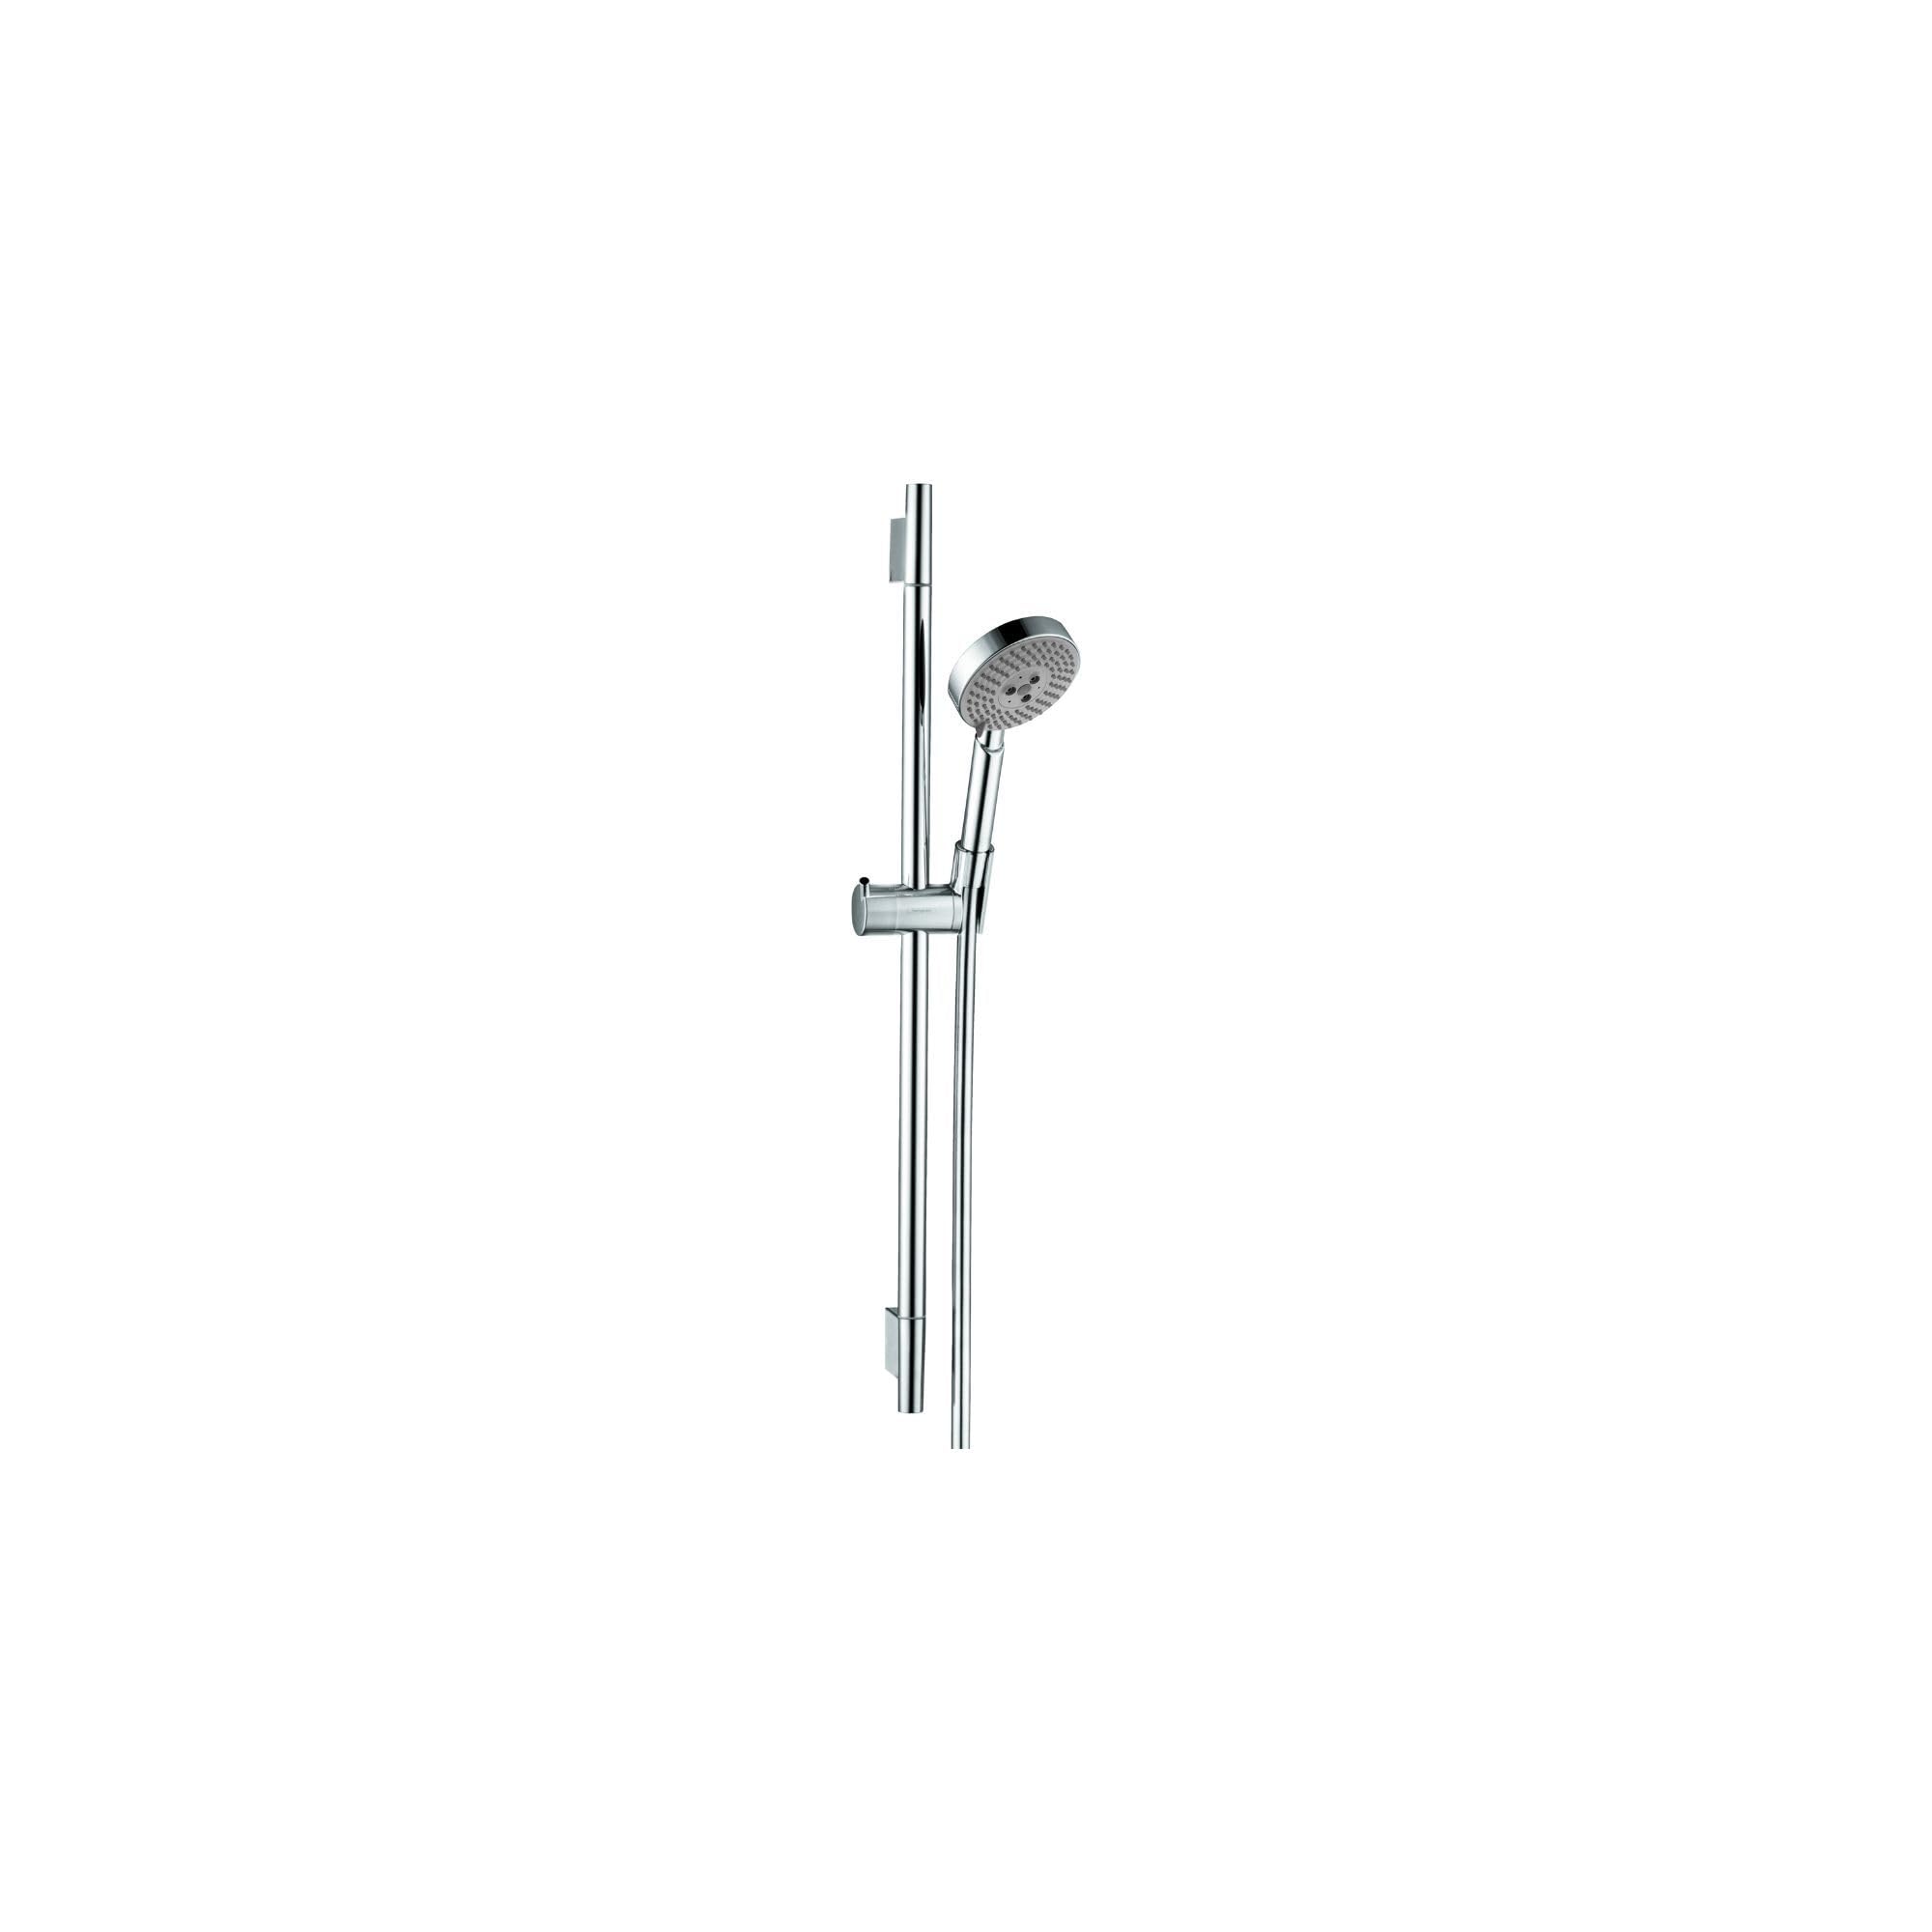
Image: hansgrohe Raindance S Handshower with Slide Bar and Hose. This image shows the complete handshower system including the shower head, hose, and wall-mounted slide bar in a chrome finish.

Image: Dimensions of the hansgrohe Raindance S Handshower with Slide Bar. This diagram illustrates the key measurements for installation, including the overall height (28 1/4 inches) and spacing for mounting points (24 5/8 inches).
Operating Instructions
The hansgrohe Raindance S Handshower offers three distinct spray modes for a personalized shower experience:
- RainAir: A soft, air-infused spray that mimics a gentle summer rain, providing a soothing and relaxing sensation.
- BalanceAir: A powerful rain jet that offers a lush and invigorating water flow, ideal for rinsing.
- Whirl Massage Spray: A concentrated, pulsating spray designed for a relaxing massage effect, targeting specific areas.
Changing Spray Modes: To switch between the different spray types, rotate the spray face of the handshower or press the designated button (if applicable to your model) until the desired spray pattern is achieved.
Adjusting Handshower Position: The handshower holder on the wallbar can be easily adjusted with one hand. Simply slide the holder up or down the bar to change the height, and pivot it to adjust the angle of the handshower to suit your preference.
Maintenance
Regular cleaning and maintenance will help preserve the appearance and functionality of your hansgrohe handshower system.
- General Cleaning: Clean the surfaces regularly with a soft cloth and a mild, non-abrasive soap or cleaner. Rinse thoroughly with clean water and dry with a soft cloth to prevent water spots.
- Limescale Removal (QuickClean): The silicone nozzles on the shower head are equipped with QuickClean technology. Limescale deposits can be easily wiped off the flexible silicone nozzles with your finger or a soft cloth. This should be done periodically to maintain optimal spray performance.
- Avoid Harsh Cleaners: Do not use cleaners containing alcohol, ammonia, bleach, or abrasive agents, as these can damage the chrome finish and internal components.
Troubleshooting
If you encounter issues with your handshower, refer to the following common problems and solutions:
| Problem | Possible Cause | Solution |
|---|---|---|
| Low Water Pressure | Clogged nozzles, partially closed shut-off valve, debris in hose/handshower. | Clean the silicone nozzles (QuickClean). Ensure all shut-off valves are fully open. Disconnect hose and handshower to check for debris. |
| Leaking from Connections | Loose connections, worn washers/gaskets, improper installation. | Ensure all connections are tightened properly. Check and replace any worn washers or gaskets. Re-apply plumber's tape if necessary. |
| Difficulty Changing Spray Modes | Limescale buildup, internal mechanism issue. | Clean the spray face and nozzles thoroughly. If the issue persists, contact customer support. |
Specifications
| Feature | Detail |
|---|---|
| Brand | hansgrohe |
| Model Number | 04266000 |
| Color | Chrome |
| Material | Brass |
| Finish Type | Polished |
| Head Size | 5 inches |
| Item Weight | 2.98 Pounds |
| Mounting Type | Wall Mount |
| Included Components | Wallbar, Handshower, Hose |
| Spray Modes | RainAir, BalanceAir, Whirl Massage Spray |
| Water Flow Rate | Up to 2.5 GPM (Gallons Per Minute) |
Warranty Information
Hansgrohe, Inc. warrants to the original consumer purchaser that hansgrohe products will be free from defects in material and workmanship for as long as the original consumer purchaser owns both the product and the home in which the product was originally installed. For commercial purchasers, the warranty period is one (1) year from the date of purchase. The warranty period for products in Rubbed Bronze, Matte Black, and Matte White finishes is three (3) years from the date of purchase.
This warranty is non-transferable. Hansgrohe, Inc. is unable to control the quality of hansgrohe products sold by unauthorized sellers; therefore, this warranty does not cover hansgrohe products purchased from unauthorized sellers, unless otherwise prohibited by law. Authorized sellers can be found on hansgrohe branded websites.
Additional warranty restrictions apply. Please refer to the manufacturer's official website for full warranty details and terms.
Customer Support
For further assistance, technical support, or to inquire about replacement parts, please contact hansgrohe customer service or visit their official website.
You can also visit the official hansgrohe store for more information: hansgrohe Store on Amazon


