1. Introduction
This manual provides essential instructions for the safe installation, operation, and maintenance of your Schonbek 1250-82SJ Rondelle Semi Flush Mount Lighting Fixture. Please read this manual thoroughly before beginning installation and retain it for future reference. This fixture is designed to provide elegant illumination and is crafted with high-quality crystal components.
2. Safety Information
WARNING: Risk of electric shock. Disconnect power at the circuit breaker before installation or servicing.
- All electrical connections must be in accordance with local codes, ordinances, or the National Electric Code (NEC). Consult a qualified electrician if you are unfamiliar with proper electrical wiring connections.
- Ensure the mounting surface can support the weight of the fixture.
- Do not install this fixture in wet or damp locations.
- Handle crystal components with care to prevent breakage or injury. Wear gloves to avoid fingerprints.
- Use only the specified bulb type and wattage to avoid overheating and potential fire hazards.
- Keep flammable materials away from the light fixture.
3. Package Contents
Carefully unpack your fixture and inspect all components for damage. Keep all packaging materials until you are certain all parts are present and in good condition. Refer to the diagram below for identification of parts.
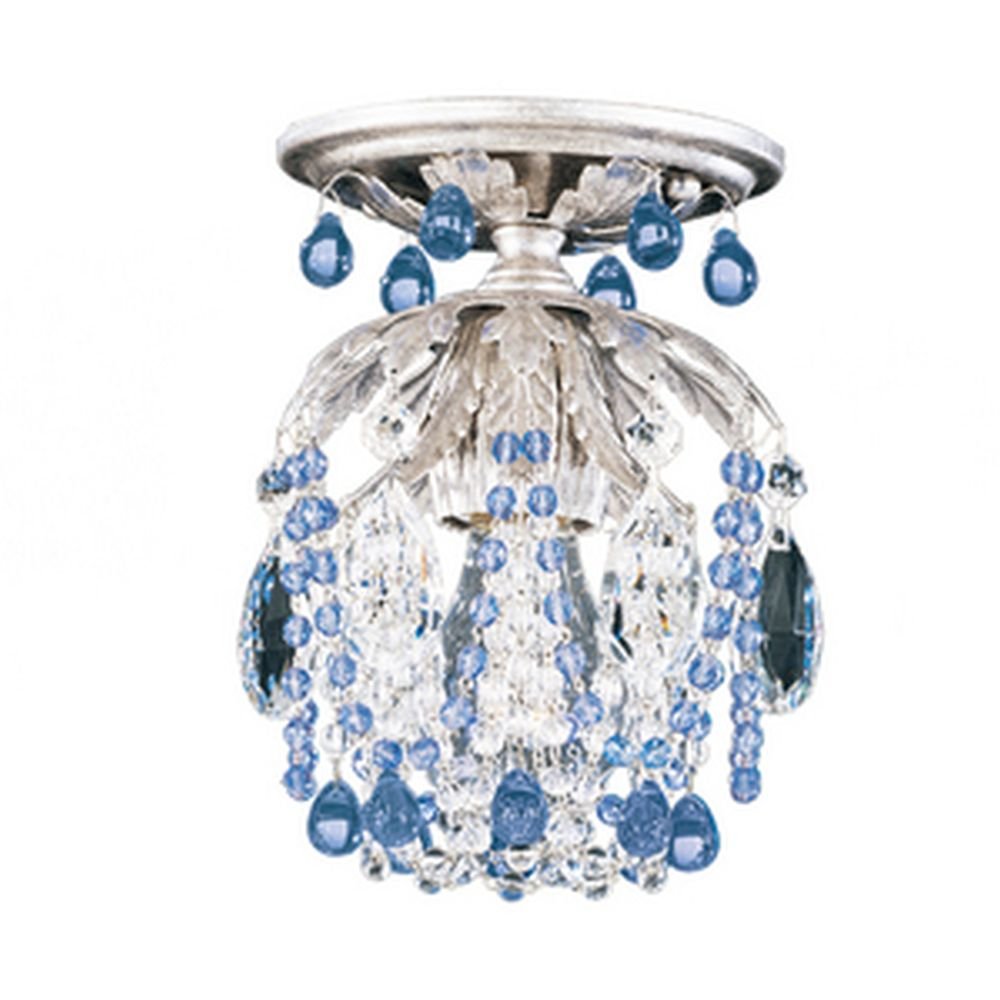
Image: The Schonbek 1250-82SJ Rondelle Semi Flush Mount Lighting Fixture, showcasing its crystal design and semi-flush mounting. This image represents the complete product as it appears when installed.
Your package should contain:
- Fixture body with mounting hardware
- Crystal components (various shapes and sizes, depending on design)
- Instruction manual
Note: Bulbs are not included and must be purchased separately.
4. Setup and Installation
4.1. Tools Required
- Phillips head screwdriver
- Flathead screwdriver
- Wire strippers
- Electrical tape
- Pliers
- Safety glasses
- Work gloves
4.2. Installation Steps
- Turn off Power: Locate the circuit breaker that supplies power to the light fixture outlet box. Turn off the power at the circuit breaker. Verify the power is off using a voltage tester.
- Prepare Mounting: Remove the existing fixture (if any). Attach the mounting bracket to the outlet box using the screws provided. Ensure the bracket is securely fastened.
- Wire Connections: Carefully connect the fixture's wires to the house wires. Match the black wire (live) from the fixture to the black wire from the outlet box, the white wire (neutral) from the fixture to the white wire from the outlet box, and the ground wire (bare copper or green) from the fixture to the ground wire from the outlet box. Secure connections with wire nuts and electrical tape.
- Mount Fixture Body: Carefully lift the fixture body and align it with the mounting bracket. Secure the fixture body to the mounting bracket using the provided screws. Ensure the fixture is flush against the ceiling and stable.
- Attach Crystal Components: Refer to the specific crystal diagram (if provided separately or on packaging) for your model. Carefully attach each crystal component to the fixture body using the provided hooks or pins. Handle crystals by their edges to avoid smudges.
- Install Bulbs: Insert the recommended A19-1, 60 Watt maximum bulbs (not included) into the sockets. Do not exceed the maximum wattage.
- Restore Power: Once installation is complete and all components are securely in place, turn the power back on at the circuit breaker.
5. Operating Instructions
5.1. Powering On/Off
The Schonbek 1250-82SJ fixture operates via a standard wall switch connected to the electrical circuit. Simply toggle the wall switch to turn the light fixture on or off.
5.2. Bulb Information
This fixture requires A19-1 type bulbs, with a maximum wattage of 60 watts per bulb. Ensure bulbs are fully seated in their sockets for proper operation. Using bulbs with higher wattage than specified can lead to overheating and damage to the fixture or create a fire hazard.
6. Maintenance
6.1. Cleaning
Always turn off power at the circuit breaker before cleaning the fixture.
- Crystal Components: Gently wipe crystals with a soft, lint-free cloth dampened with a mild glass cleaner or distilled water. Avoid abrasive cleaners or harsh chemicals, as these can damage the crystal finish.
- Metal Parts: Wipe metal surfaces with a soft, dry cloth. Do not use abrasive pads, powders, or creams, as they may scratch the finish.
- Ensure the fixture is completely dry before restoring power.
6.2. Bulb Replacement
Always turn off power at the circuit breaker and allow bulbs to cool before replacing them.
- Carefully unscrew the old bulb from its socket.
- Screw in a new A19-1 bulb, ensuring it does not exceed 60 watts.
- Do not overtighten the bulb.
- Restore power at the circuit breaker.
7. Troubleshooting
If you experience issues with your fixture, consult the table below for common problems and solutions.
| Problem | Possible Cause | Solution |
|---|---|---|
| Light does not turn on |
|
|
| Light flickers |
|
|
| Fixture hums |
|
|
| Crystals appear dull |
|
|
If the problem persists after attempting these solutions, please contact a qualified electrician or Schonbek customer support.
8. Specifications
| Feature | Detail |
|---|---|
| Model Number | 1250-82SJ |
| Brand | Schonbek |
| Mounting Type | Semi Flush Mount |
| Material | Crystal |
| Dimensions (L x W x H) | 5.5 x 5.5 x 7.5 inches |
| Item Weight | 2 pounds |
| Voltage | 110 Volts |
| Wattage (Max) | 60 watts per bulb |
| Bulb Type | A19-1 (not included) |
| Power Source | Corded Electric |
9. Warranty and Support
Schonbek products are manufactured to the highest standards and are backed by a limited warranty against defects in materials and workmanship. The specific terms and duration of your warranty may vary. Please retain your proof of purchase for warranty claims.
For detailed warranty information, technical support, or to inquire about replacement parts, please visit the official Schonbek website or contact their customer service department. Contact information can typically be found on the manufacturer's website or product packaging.
Please note that improper installation, misuse, or unauthorized modifications may void your warranty.


