Introduction
This manual provides comprehensive instructions for the safe installation, operation, and maintenance of your Schonbek 1250-22SJ Rondelle Semi Flush Mount Lighting Fixture. Please read all instructions carefully before beginning installation and retain this manual for future reference. This fixture is designed to provide elegant illumination with its exquisite Swarovski crystal components.
Important Safety Information
WARNING: RISK OF ELECTRIC SHOCK. Turn off power at the circuit breaker or fuse box before installation or servicing. Consult a qualified electrician if you are unsure about wiring procedures.
- Always disconnect power before installing, cleaning, or replacing bulbs.
- Ensure all electrical connections comply with local codes and ordinances.
- Do not install this fixture in wet locations.
- Use only the specified bulb type and wattage to avoid overheating.
- Handle crystal components with care to prevent breakage.
Package Contents
Verify that all components are present before beginning installation. If any parts are missing or damaged, do not proceed with installation and contact customer support.
- Fixture Body (Canopy and Socket Assembly)
- Mounting Hardware (Mounting strap, screws, wire nuts)
- Crystal Components (Various shapes and sizes)
- Instruction Manual
- Bulbs are not included.
Setup and Installation
1. Preparation
- Turn off the electrical power at the main fuse box or circuit breaker.
- Carefully unpack all fixture components and place them on a clean, soft surface to prevent scratches.
- Gather necessary tools: screwdriver, wire strippers, electrical tape, safety glasses.
2. Mounting the Fixture
- Attach the mounting strap to the outlet box using the provided screws. Ensure it is securely fastened.
- Connect the fixture's ground wire (bare copper or green) to the ground wire from the outlet box (usually bare copper or green) using a wire nut.
- Connect the fixture's neutral wire (white) to the neutral wire from the outlet box (white) using a wire nut.
- Connect the fixture's hot wire (black or colored) to the hot wire from the outlet box (black or colored) using a wire nut.
- Carefully tuck all wires into the outlet box.
- Align the fixture canopy with the mounting strap and secure it with the decorative nuts or screws provided.

Figure 1: Decorative Ceiling Plate Component. This image shows a close-up of a circular, textured gold-colored plate, likely a decorative element or part of the fixture's canopy that attaches to the ceiling.
3. Attaching Crystal Components
- Refer to the specific crystal diagram included with your fixture for precise placement.
- Carefully attach each crystal strand or component to the designated hooks or loops on the fixture frame.
- Ensure all crystals are securely fastened to prevent them from falling.
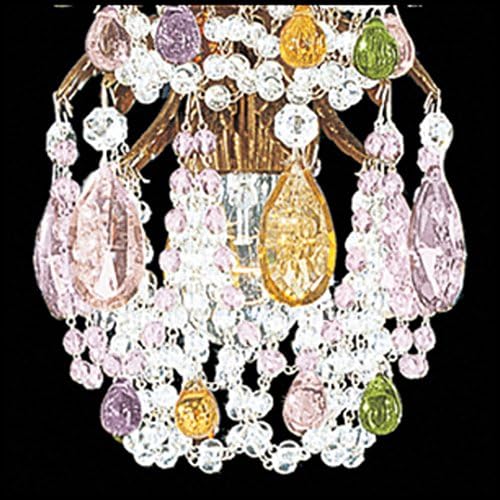
Figure 2: Crystal Assembly Detail. This image displays a close-up of the fixture's intricate crystal arrangement, featuring various clear and colored (pink, yellow, green) crystal drops and beads suspended from a metallic frame.
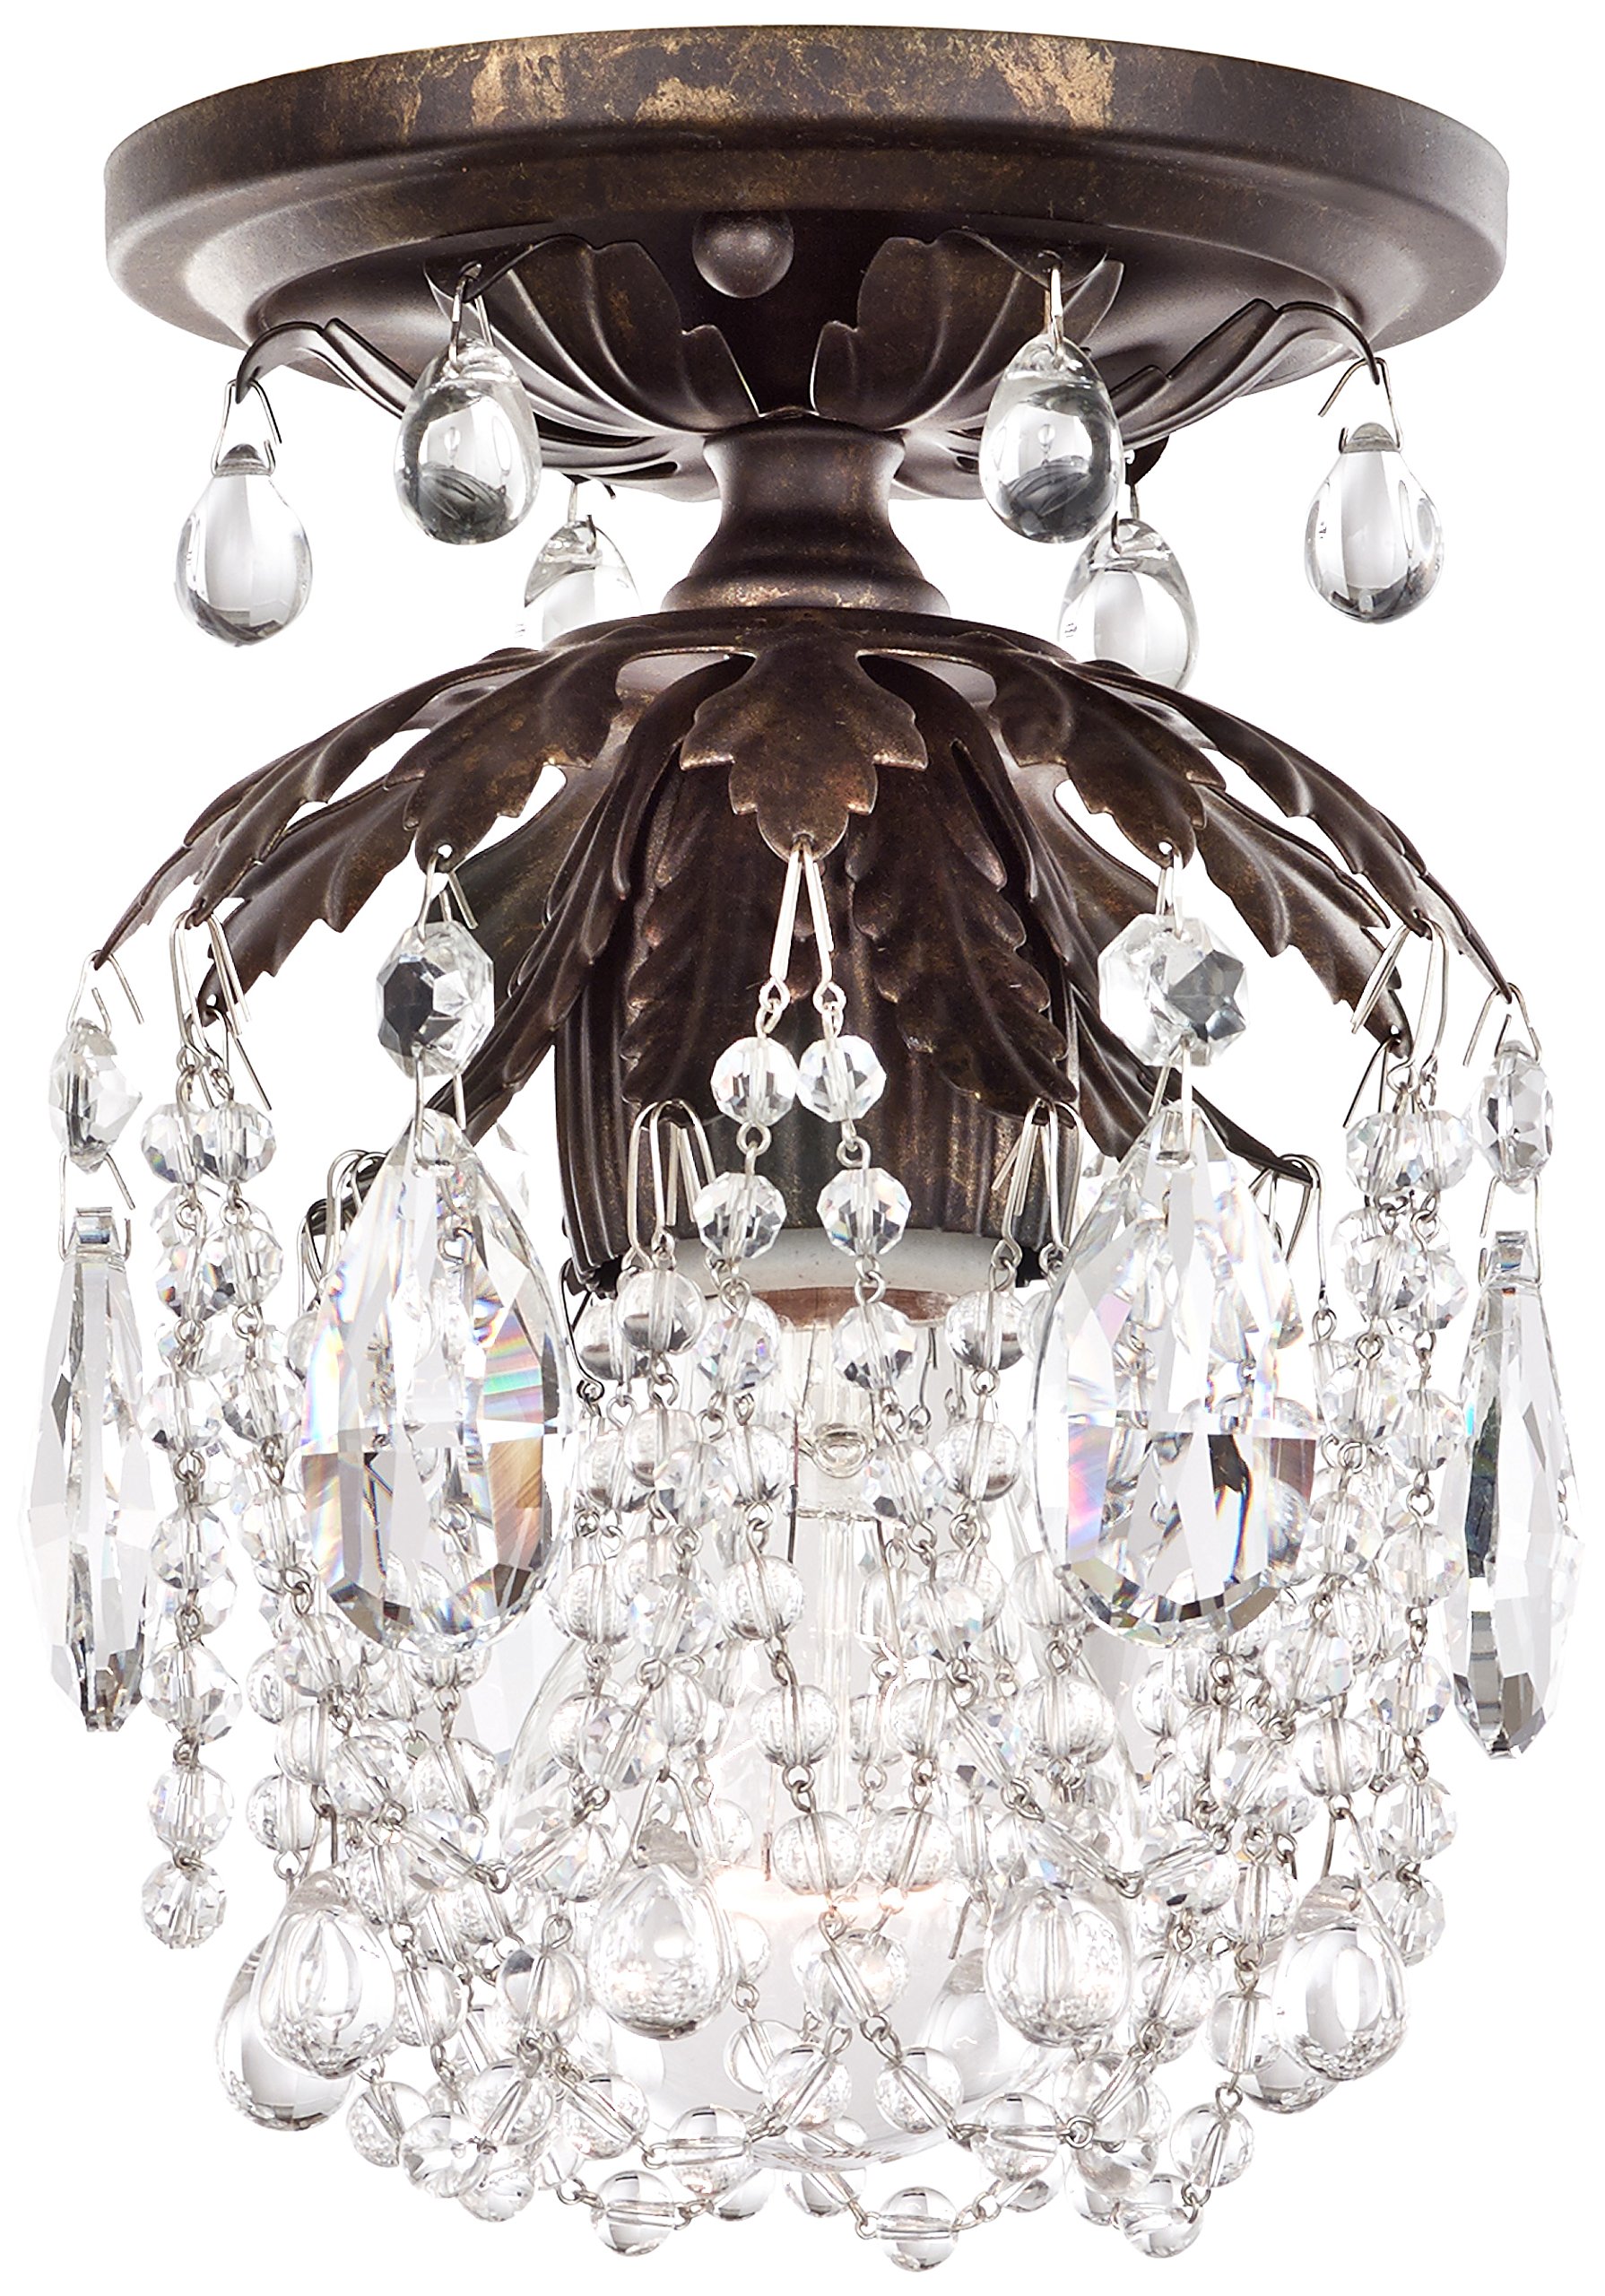
Figure 3: Schonbek Rondelle Semi Flush Mount Fixture. This image shows the complete Schonbek Rondelle Semi Flush Mount Lighting Fixture, showcasing its elegant design with numerous crystal elements and the Heirloom Gold finish.
4. Bulb Installation
- Insert the recommended bulb type (A19-1, 60 Max.) into the socket. Do not exceed the maximum wattage.
- Turn the power back on at the circuit breaker.
- Test the fixture by turning on the wall switch.
Operating Instructions
The Schonbek 1250-22SJ fixture is operated via a standard wall switch connected to the electrical circuit. Ensure the wall switch is in the "ON" position for the fixture to illuminate.
- Power On/Off: Use the connected wall switch to turn the light fixture on or off.
- Control Method: While the primary control is a wall switch, some installations may integrate with an "App" control system if configured by a professional electrician. Refer to your smart home system's manual for details on integrating lighting fixtures.
Maintenance
Cleaning
- Fixture Body: Turn off power. Wipe the metal finish with a soft, dry cloth. Do not use abrasive cleaners or polishes, as they may damage the finish.
- Crystal Components: Turn off power. Gently dust crystals with a soft, lint-free cloth. For a deeper clean, use a mild glass cleaner sprayed onto a cloth (not directly onto the crystals or fixture) and wipe carefully. Ensure no liquid drips into electrical components.
Bulb Replacement
- Turn off power at the circuit breaker before replacing bulbs.
- Allow bulbs to cool completely before touching them.
- Unscrew the old bulb and screw in a new A19-1, 60 Max. bulb.
- Restore power and test the fixture.
Troubleshooting
| Problem | Possible Cause | Solution |
|---|---|---|
| Fixture does not light up. | No power to the fixture. Bulb is faulty or loose. Incorrect wiring. | Check circuit breaker/fuse. Ensure wall switch is ON. Replace bulb or tighten. Verify wiring connections (consult electrician if unsure). |
| Light flickers. | Loose bulb. Loose wiring connection. Incompatible dimmer switch (if applicable). | Tighten bulb. Check wiring connections (turn off power first). Ensure dimmer is compatible with bulb type. |
| Fixture hums. | Incompatible dimmer switch. Loose wiring. | Replace dimmer with a compatible one. Check wiring connections (turn off power first). |
If troubleshooting steps do not resolve the issue, contact a qualified electrician or Schonbek customer support.
Specifications
| Brand | Schonbek |
| Model Number | 1250-22SJ |
| Color | Heirloom Gold |
| Material | Crystal |
| Style | Rustic |
| Product Dimensions | 5.5 x 5.5 x 7.5 inches |
| Item Weight | 2 Pounds |
| Power Source | Corded Electric |
| Voltage | 120 Volts |
| Bulb Type (Not Included) | A19-1, 60 Max. |
| Installation Type | Flush Mount |
| Mounting Type | Semi Flush Mount |
| Embellishment | Crystal |
| Control Method | App (Note: Primary control is wall switch; app integration may require additional setup) |
Warranty Information
Schonbek products are manufactured to high-quality standards. For specific warranty details, please refer to the warranty card included with your purchase or visit the official Schonbek website. Retain your proof of purchase for any warranty claims.
Customer Support
If you have any questions regarding the installation, operation, or maintenance of your Schonbek lighting fixture, please contact Schonbek customer service or your authorized retailer. Contact information can typically be found on the Schonbek website or your purchase documentation.


