
1. Safety Information
Read and understand all safety warnings and instructions before operating this cordless grease gun. Failure to follow these instructions may result in electric shock, fire, and/or serious injury.
General Power Tool Safety Warnings
- Work Area Safety: Keep the work area clean and well-lit. Cluttered or dark areas invite accidents. Do not operate power tools in explosive atmospheres, such as in the presence of flammable liquids, gases, or dust. Power tools create sparks which may ignite the dust or fumes.
- Electrical Safety: Avoid body contact with earthed or grounded surfaces such as pipes, radiators, ranges, and refrigerators. There is an increased risk of electric shock if your body is earthed or grounded. Do not expose power tools to rain or wet conditions. Water entering a power tool will increase the risk of electric shock.
- Personal Safety: Always wear eye protection. Use appropriate personal protective equipment such as dust masks, non-skid safety shoes, hard hats, or hearing protection when necessary. Stay alert, watch what you are doing, and use common sense when operating a power tool. Do not use a power tool while you are tired or under the influence of drugs, alcohol, or medication.
- Tool Use and Care: Do not force the power tool. Use the correct power tool for your application. The correct power tool will do the job better and safer at the rate for which it was designed. Disconnect the battery pack from the power tool before making any adjustments, changing accessories, or storing power tools. Such preventive safety measures reduce the risk of starting the power tool accidentally.
- Battery Tool Use and Care: Recharge only with the charger specified by the manufacturer. A charger that is suitable for one type of battery pack may create a risk of fire when used with another battery pack. Use power tools only with specifically designated battery packs. Use of any other battery packs may create a risk of injury and fire.
2. Package Contents
Verify that all items listed below are present and in good condition upon opening the package.
- 18-Volt Cordless Grease Gun
- Two (2) 18-Volt Ni-Cad Batteries
- Battery Charger
- 42-inch Professional Grade Flex Hose
- Shoulder Strap
- Blow-Molded Storage Case
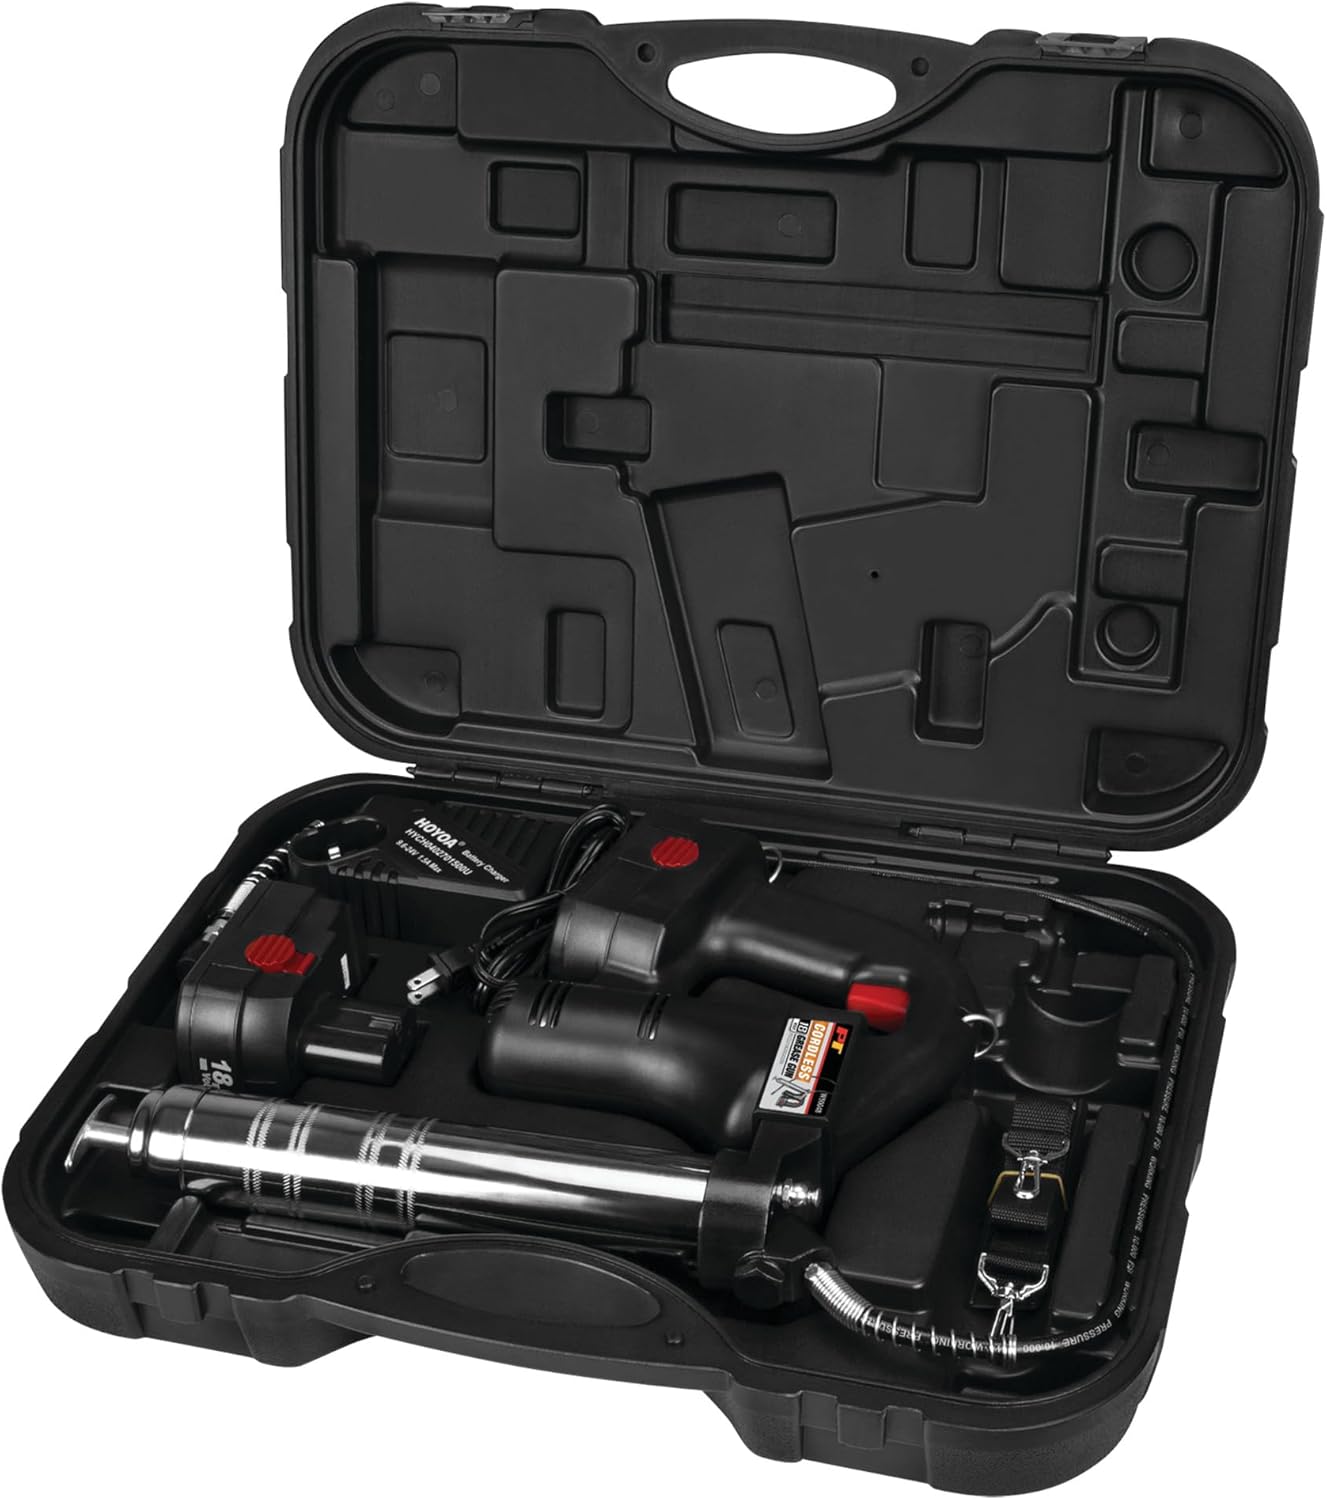
Image 1: The Performance Tool W50048 18-Volt Cordless Grease Gun kit, including the grease gun, batteries, charger, hose, and shoulder strap, neatly organized within its durable black blow-molded storage case.
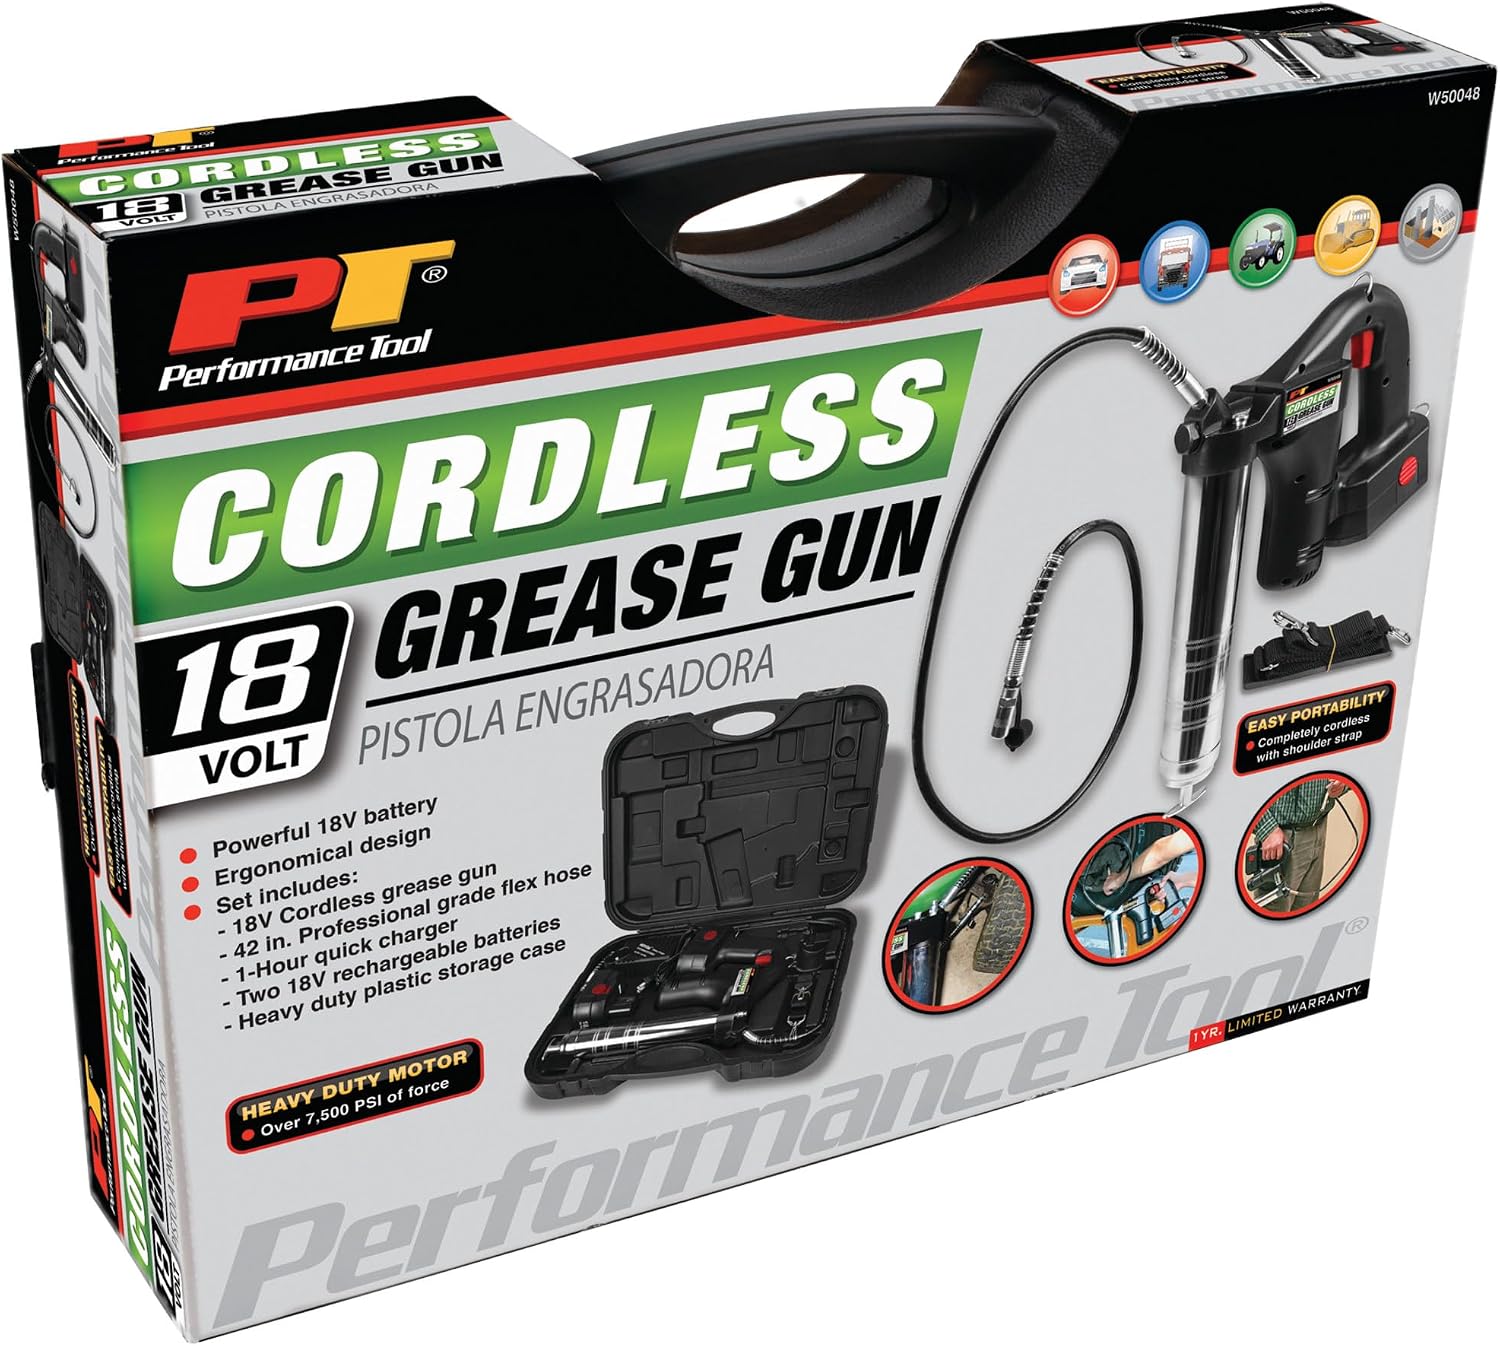
Image 2: The retail packaging for the Performance Tool W50048 18-Volt Cordless Grease Gun, showcasing the product and its key features.
3. Setup
3.1 Battery Charging
- Insert the 18-volt Ni-Cad battery into the charger. Ensure it clicks securely into place.
- Plug the charger into a standard 120V AC electrical outlet.
- Allow the battery to charge for approximately one hour, or until the charger's indicator light signals a full charge.
- Once charged, unplug the charger and remove the battery.
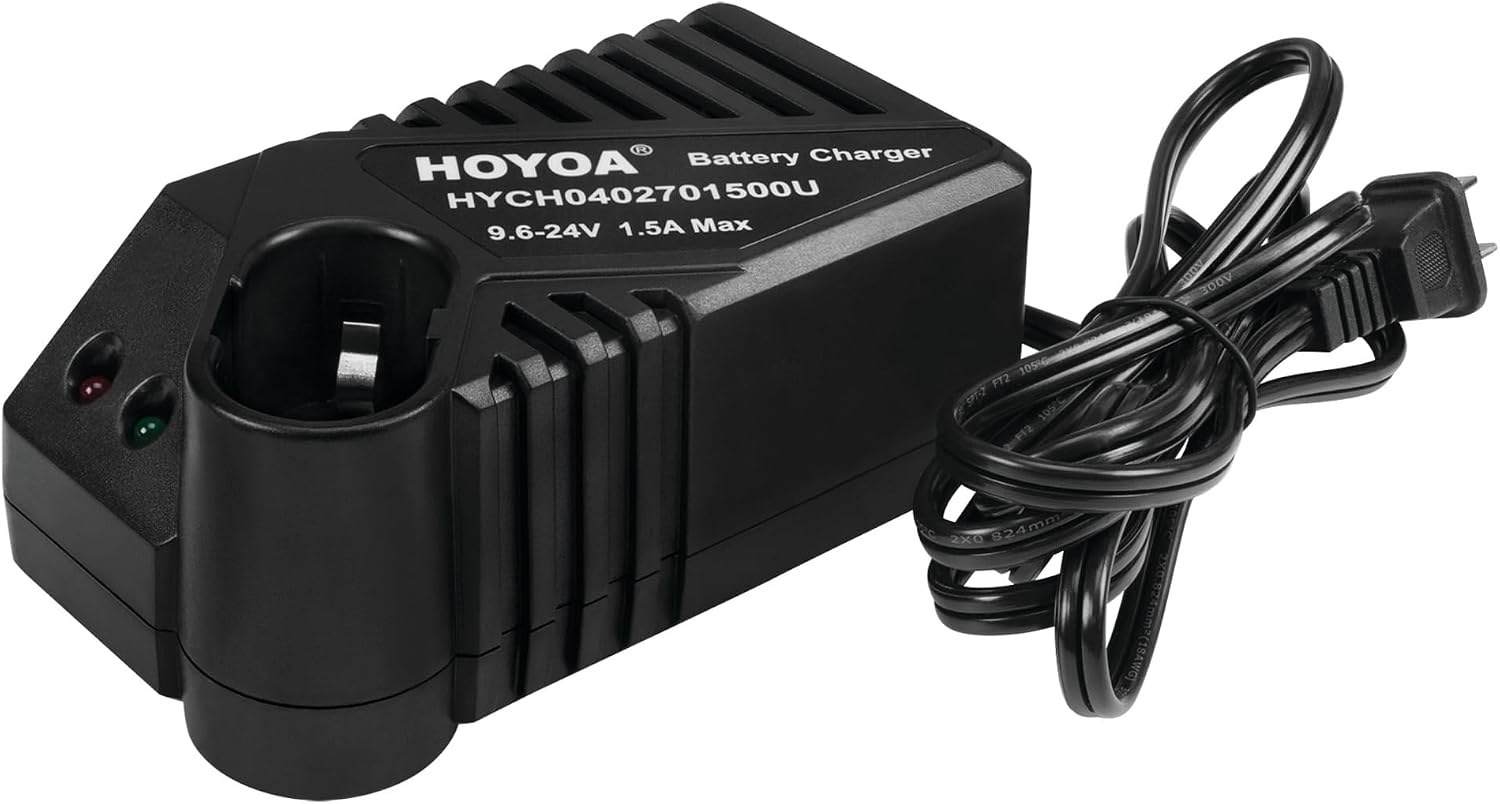
Image 3: The 18-Volt Ni-Cad battery charger, used for recharging the grease gun's power source.
3.2 Loading a Grease Cartridge
- Unscrew the barrel from the grease gun head.
- Pull the plunger rod all the way back and lock it into the notch on the end cap.
- Remove the cap from one end of a standard 14 oz grease cartridge.
- Insert the open end of the cartridge into the barrel.
- Remove the seal from the other end of the cartridge.
- Screw the barrel back onto the grease gun head until it is hand-tight.
- Release the plunger rod from the notch and push it slightly to ensure it makes contact with the grease cartridge.

Image 4: A close-up view of the grease gun's barrel and plunger rod, illustrating the mechanism for loading grease cartridges.
3.3 Attaching the Flex Hose and Coupler
- Screw one end of the 42-inch flex hose onto the outlet port of the grease gun head. Tighten securely.
- Ensure the grease coupler is firmly attached to the other end of the flex hose.

Image 5: A detailed view of the grease gun's head, showing the connection point for the flexible hose.

Image 6: The grease coupler head, with an arrow indicating to twist the knurled section to adjust the jaws for different fitting sizes.
4. Operating Instructions
4.1 Priming the Grease Gun
Before first use or after changing a grease cartridge, the gun may need to be primed to remove air pockets.
- Ensure a charged battery is inserted into the grease gun.
- Point the coupler into a waste container or rag.
- Press the trigger repeatedly until grease begins to flow smoothly from the coupler. This may take several presses.
4.2 Greasing Procedure
- Clean the grease fitting on the component to be lubricated.
- Attach the grease coupler firmly onto the fitting. Ensure a tight connection to prevent grease leakage.
- Press the trigger to dispense grease. Observe the component for signs of lubrication (e.g., grease oozing from seals) or refer to the component's service manual for specific grease amounts.
- Release the trigger to stop dispensing grease.
- To remove the coupler, twist it slightly while pulling it straight off the fitting.

Image 7: The Performance Tool W50048 18-Volt Cordless Grease Gun, fully assembled with its flexible hose, ready for operation.

Image 8: Another view of the Performance Tool W50048 18-Volt Cordless Grease Gun, highlighting its ergonomic design and components.
5. Maintenance
5.1 Cleaning
- Always disconnect the battery before cleaning.
- Wipe down the exterior of the grease gun with a clean, damp cloth. Do not use harsh chemicals or solvents.
- Clean any grease residue from the coupler and hose after each use to prevent clogging and ensure proper connection.
5.2 Storage
- Store the grease gun and accessories in the provided blow-molded case.
- Store in a clean, dry area away from direct sunlight and extreme temperatures.
- Remove the battery from the grease gun if storing for extended periods.
5.3 Battery Care
- Fully charge batteries before storing for long periods to maintain battery health.
- Do not store batteries in a discharged state.
- Avoid exposing batteries to extreme heat or cold.
6. Troubleshooting
| Problem | Possible Cause | Solution |
|---|---|---|
| Grease gun does not dispense grease. | Battery is discharged. | Charge the battery. |
| Grease cartridge is empty. | Replace the grease cartridge. | |
| Air pocket in the grease gun (not primed). | Prime the grease gun as described in Section 4.1. | |
| Clogged coupler or hose. | Clean or replace the coupler/hose. | |
| Grease leaks from coupler connection. | Coupler not properly seated on fitting. | Ensure coupler is firmly attached and twisted to fit the fitting. |
| Worn coupler jaws. | Replace the coupler. | |
| Gun operates but no grease flow. | Plunger rod not fully engaged with grease cartridge. | Ensure plunger rod is released and pushing the cartridge. |
7. Specifications
| Feature | Specification |
|---|---|
| Model Number | W50048 |
| Voltage | 18-Volt |
| Battery Type | Ni-Cad (Nickel-Cadmium) |
| Hose Length | 42 inches (Professional Grade Flex Hose) |
| Grease Cartridge Size | Standard 14 oz |
| Item Weight | 16.35 pounds |
| Product Dimensions | 21.8 x 4.5 x 16.8 inches |
8. Warranty Information
This Performance Tool product is covered by a limited warranty. For specific details regarding warranty coverage, duration, and claims procedures, please refer to the warranty card included with your purchase or visit the official Performance Tool website.
9. Support
For technical assistance, replacement parts, or further inquiries, please contact Performance Tool customer service. Contact information can typically be found on the product packaging or the official brand website.
You may also visit the Performance Tool Store on Amazon for additional product information and support resources.


