1. Introduction
Thank you for purchasing the Homedics SS-5010 Soundspa Premier AM/FM Clock Radio. This device is designed to enhance your environment with soothing natural sounds, provide accurate timekeeping, and offer convenient alarm functions. Key features include an AM/FM radio, a projection display for time and temperature, six natural sound options, and an outdoor temperature sensor.
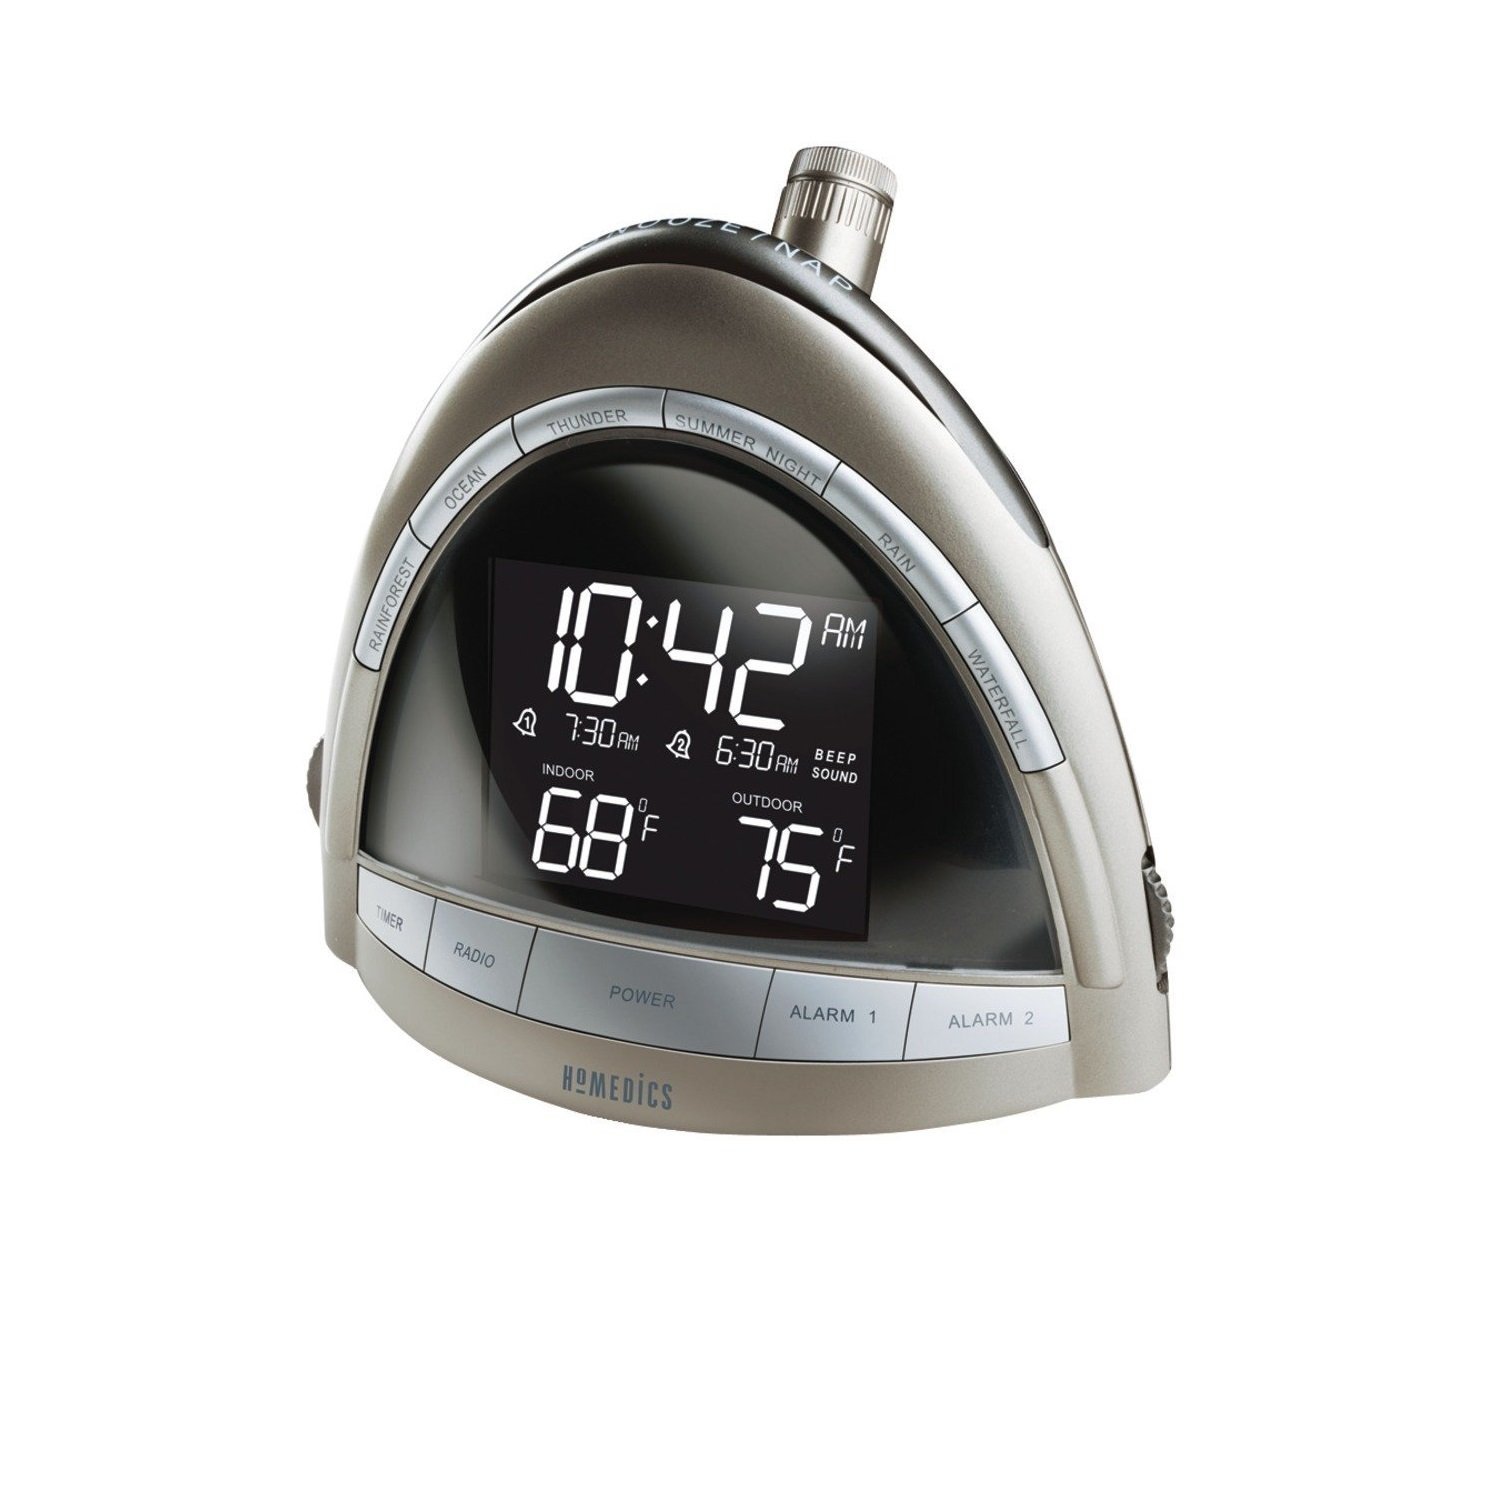
Figure 1: Homedics SS-5010 Soundspa Premier AM/FM Clock Radio. This image shows the front view of the clock radio with its blue LCD display and control buttons.
2. Important Safety Information
Please read all instructions carefully before using this appliance. Keep this manual for future reference.
- Do not place the unit near heat sources such as radiators, heat registers, stoves, or other apparatus (including amplifiers) that produce heat.
- Only use attachments/accessories specified by the manufacturer.
- Unplug this apparatus during lightning storms or when unused for long periods of time.
- Do not expose to dripping or splashing water. Do not place objects filled with liquids, such as vases, on the apparatus.
- Do not block any ventilation openings. Install in accordance with the manufacturer’s instructions.
- Dispose of batteries properly, following local regulations.
3. Package Contents
Verify that all components are present upon opening the package:
- Homedics SS-5010 Soundspa Premier AM/FM Clock Radio Unit
- Outdoor Temperature Sensor
- AC Power Adapter
- User Manual
4. Setup
4.1 Power Connection
- Insert the AC power adapter into the DC jack located on the back of the unit.
- Plug the other end of the AC power adapter into a standard 120V AC wall outlet.
4.2 Battery Installation (Backup & Sensor)
The clock radio requires backup batteries (not included) to maintain time settings during a power outage. The outdoor sensor also requires batteries (not included).
- For Main Unit (Backup): Open the battery compartment on the bottom of the unit. Insert 2 'AA' batteries, observing polarity (+ and -) markings. Close the compartment.
- For Outdoor Sensor: Open the battery compartment on the back of the outdoor sensor. Insert 2 'AAA' batteries, observing polarity. Close the compartment.
- Place the outdoor sensor in a shaded area, protected from direct rain and sunlight, within range of the main unit.
4.3 Setting Time and Date
- Press and hold the TIME SET button. The hour will begin to flash.
- Press the HOUR or MINUTE buttons to adjust the time.
- Press TIME SET again to confirm the hour and minute. The year will flash.
- Use the UP or DOWN buttons to set the year. Press TIME SET.
- Repeat for month and day. Press TIME SET to exit.
- The unit features automatic daylight saving time adjustment. Ensure this feature is enabled if desired.
4.4 Setting Alarms
The unit has dual alarms (Alarm 1 and Alarm 2).
- Press and hold the ALARM 1 SET or ALARM 2 SET button. The alarm hour will flash.
- Use the HOUR or MINUTE buttons to set the desired alarm time.
- Press the respective ALARM SET button again to select the alarm source: BEEP, RADIO, or SOUND (natural sounds).
- Press the ALARM SET button one more time to confirm and exit.
5. Operating Instructions
5.1 Display Brightness
Press the DIMMER button repeatedly to cycle through different display brightness levels.
5.2 Radio Operation (AM/FM)
- Press the RADIO ON/OFF button to turn on the radio.
- Press the AM/FM button to select the desired band.
- Press the TUNE + or TUNE - buttons to manually tune to a station. Press and hold to auto-scan for the next available station.
- Adjust volume using the VOLUME + or VOLUME - buttons.
- To save a preset: Tune to the desired station, then press and hold a PRESET button (1-10) until the display flashes. Press the PRESET button again to recall.
5.3 Natural Sounds
The unit offers six natural sounds: Waterfall, Rainforest, Rain, Thunder, Summer Night, and Ocean.
- Press the SOUNDS ON/OFF button to activate the natural sounds.
- Press the SOUNDS button repeatedly to cycle through the available sounds.
- Adjust volume using the VOLUME + or VOLUME - buttons.
- To set a sleep timer for sounds, press the SLEEP button repeatedly to select 15, 30, 60 minutes, or OFF.
5.4 Alarm Functions
- Activating/Deactivating Alarm: Press the ALARM 1 ON/OFF or ALARM 2 ON/OFF button to toggle the alarm on or off. An indicator will appear on the display when an alarm is active.
- Snooze: When an alarm sounds, press the large SNOOZE button on top of the unit. The alarm will pause for approximately 9 minutes before sounding again.
- Stopping Alarm: To turn off the alarm completely, press the respective ALARM ON/OFF button. The alarm will reset for the next day.
5.5 Time and Temperature Projection
The unit can project the current time and outdoor temperature onto a ceiling or wall.
- Press the PROJECTOR ON/OFF button to activate the projection.
- Rotate the projection lens to adjust the focus for a clear image.
- Adjust the angle of the projector arm to position the image on your desired surface.
- Press the FLIP button to rotate the projected image 180 degrees if it appears upside down.
5.6 Temperature Display
The main unit displays both indoor and outdoor temperatures.
- The indoor temperature is displayed automatically.
- The outdoor temperature from the remote sensor will appear once a connection is established. If the outdoor temperature is not displayed, ensure the sensor batteries are fresh and it is within range.
- Press the °C/°F button to switch between Celsius and Fahrenheit display.
6. Maintenance
6.1 Cleaning
Wipe the unit with a soft, dry cloth. Do not use liquid cleaners or abrasive cleaning agents.
6.2 Battery Replacement
Replace backup batteries in the main unit annually or when the display shows signs of fading during a power outage. Replace outdoor sensor batteries when the outdoor temperature reading becomes intermittent or disappears.
7. Troubleshooting
| Problem | Possible Cause | Solution |
|---|---|---|
| Unit does not power on. | Power adapter not connected or faulty. | Ensure AC adapter is securely plugged into the unit and a working wall outlet. |
| Display is dim or blank. | Dimmer setting is too low; power outage (if backup batteries are dead). | Press the DIMMER button to increase brightness. Check/replace backup batteries. |
| No outdoor temperature reading. | Outdoor sensor out of range, low batteries, or interference. | Ensure sensor is within range (typically 100ft/30m line of sight). Replace sensor batteries. Relocate sensor to reduce interference. |
| Projection is blurry or not visible. | Focus not adjusted; ambient light too bright. | Rotate the projection lens to adjust focus. Ensure the room is dark enough for projection to be visible. |
| Radio reception is poor. | Antenna not extended; interference. | Fully extend the FM wire antenna. For AM, rotate the unit for best reception. Avoid placing near other electronic devices. |
| Alarm does not sound. | Alarm not activated; volume too low. | Ensure the alarm is set and activated (indicator on display). Increase volume. |
8. Specifications
- Model: SS-5010
- Brand: Homedics
- Power Source: AC Adapter (120V AC), 2 'AA' batteries (backup, not included), 2 'AAA' batteries (sensor, not included)
- Display Type: LCD Display
- Special Features: AM/FM Radio, Time/Temperature Projection, Dual Alarm, Snooze, Automatic Daylight Saving Time Adjustment, Indoor/Outdoor Temperature Display
- Natural Sounds: Waterfall, Rainforest, Rain, Thunder, Summer Night, Ocean (6 sounds)
- Item Weight: Approximately 1.3 Pounds
- Material: Plastic
- Indoor/Outdoor Usage: Indoor (main unit), Outdoor (sensor)
9. Warranty Information
This Homedics SS-5010 Soundspa Premier AM/FM Clock Radio is backed by a 1-year limited warranty from the date of purchase. This warranty covers defects in material and workmanship under normal use. It does not cover damage caused by misuse, abuse, accident, unauthorized modification, or normal wear and tear. Please retain your proof of purchase for warranty claims.
10. Customer Support
For technical assistance, warranty claims, or further information regarding your Homedics SS-5010 Soundspa Premier AM/FM Clock Radio, please contact Homedics Customer Service. Refer to the contact information provided in your product packaging or visit the official Homedics website.
Note: Product features and specifications are subject to change without notice.