
Introduction
This instruction manual provides detailed guidance for assembling and maintaining your Billy Showa Series Candy Shop Miniature Dollhouse Kit, Model 8532. This kit allows you to recreate the nostalgic atmosphere of a 1950s Japanese candy shop in miniature form. Please read all instructions carefully before beginning assembly.

Image: The fully assembled Billy Showa Series Candy Shop Miniature Dollhouse Kit, showcasing its intricate details and retro Japanese design.
Setup and Assembly
1. Unpacking and Inventory
- Carefully open the packaging and remove all components.
- Verify that all parts listed in the kit's component list are present. Refer to the included Japanese instructions for the full list.
- Organize components by type (e.g., wooden pieces, paper cutouts, accessories).
2. Required Tools (Not Included)
- Craft knife or precision scissors
- Wood glue or strong craft adhesive
- Tweezers (recommended for small parts)
- Ruler and pencil
- Small paintbrushes (for coloring, if desired)
3. Assembly Steps
The assembly process involves cutting, gluing, and arranging various miniature elements. While the primary instructions are in Japanese, many online resources and videos demonstrate similar Billy dollhouse kit assemblies. It is highly recommended to watch these for visual guidance.
- Begin by assembling the main structural wooden pieces of the shop. Ensure all joints are secure with glue.
- Attach the roof and base components.
- Cut out and apply the paper elements for walls, signs, and decorative details.
- Assemble the miniature furniture and food items. Pay close attention to the small details.
- Arrange all interior and exterior elements as depicted in the reference images or to your preference.

Image: Various components of the kit, including wooden pieces and paper cutouts, ready for assembly.

Image: A detailed view of the miniature candy shop's interior, showing shelves stocked with tiny sweets and treats.
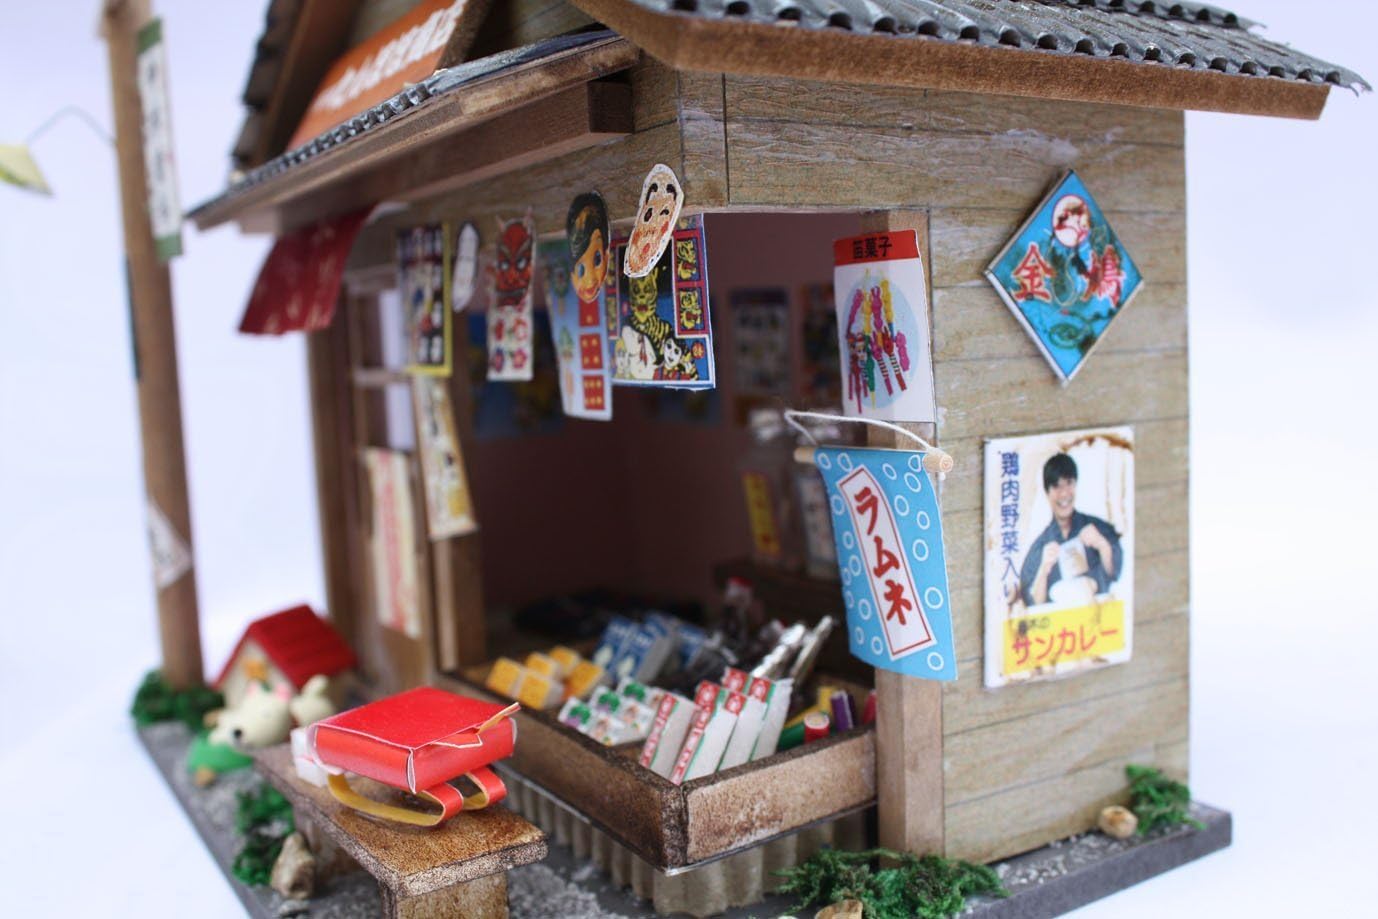
Image: A side perspective of the miniature candy shop, highlighting the exterior signage and architectural elements.
Assembly Video Guide
For visual assistance with the assembly process, please refer to the following video from a seller demonstrating a similar miniature dollhouse kit. While not the exact Candy Shop model, the techniques and general steps are applicable.
Video: A demonstration of assembling a DIY miniature dollhouse kit, providing visual steps for construction and detailing.
Operating and Display
Once assembled, your miniature candy shop is ready for display. This kit is primarily a static display model. Some kits may include small LED lights or movable parts. If your kit includes lighting, ensure batteries are correctly installed according to the specific instructions provided with the lighting components (batteries typically not included).
- Place the assembled model on a stable, flat surface away from direct sunlight and excessive humidity.
- Avoid placing heavy objects on top of the model.
- If equipped with lights, switch them on to illuminate the interior details.
Maintenance
To ensure the longevity and appearance of your miniature dollhouse, follow these maintenance guidelines:
- Dusting: Regularly dust the model using a soft, dry brush or a can of compressed air. Avoid using wet cloths, which can damage paper or wooden components.
- Cleaning: For stubborn dirt, gently wipe with a slightly damp cloth, then immediately dry with a soft, lint-free cloth. Do not use harsh chemicals or abrasive cleaners.
- Storage: If storing the model, place it in a sturdy box to protect it from dust and physical damage. Keep it in a cool, dry place.
- Repairs: Small detached parts can usually be re-glued with appropriate craft adhesive.
Troubleshooting
| Problem | Possible Cause | Solution |
|---|---|---|
| Parts do not fit together | Incorrect orientation; excess material; warped piece. | Double-check instructions for correct orientation. Gently sand or trim excess material. If warped, try to gently bend back into shape or apply pressure while gluing. |
| Glue not holding | Insufficient glue; incorrect glue type; not enough drying time. | Apply a sufficient amount of appropriate wood or craft glue. Ensure surfaces are clean. Allow adequate drying time, possibly using clamps or tape to hold pieces in place. |
| Lights not working (if applicable) | Incorrect battery installation; dead batteries; loose connection. | Verify battery polarity and ensure fresh batteries are used. Check all wiring connections for tightness. |
| Paper elements peeling | Insufficient adhesive; environmental factors (humidity). | Reapply a thin layer of craft glue to the edges and press firmly. Store the model in a stable environment. |
Specifications
- Brand: Billy
- Model Number: 8532
- Product Type: Miniature Dollhouse Kit
- Theme: Japan Showa Series Candy Shop (1950s retro atmosphere)
- Completed Dimensions (Approximate): W220 x D130 x H180 mm (8.66 x 5.12 x 7.09 inches)
- Item Weight: 1.1 pounds (approx. 0.5 kg)
- Materials: Wood, paper, various miniature accessories
- Assembly Required: Yes
Support and Contact
For further assistance, missing parts, or detailed inquiries regarding your Billy Showa Series Candy Shop Miniature Dollhouse Kit, please contact the manufacturer, Billy, or your point of purchase. While the primary instructions are in Japanese, many online communities and video tutorials exist for visual guidance on assembling similar kits.
Please note that specific warranty information is not provided with this kit. For any warranty-related questions, please consult the retailer where the product was purchased.