Important Safety Information
Please read this instruction manual thoroughly before installation and use. Improper installation or use may cause damage to the product, TV, or personal injury. Keep this manual for future reference.
- Ensure the mounting surface can safely support the combined weight of the mount and the TV.
- Do not exceed the maximum weight capacity of 70kg (154lbs).
- Use appropriate tools and follow all steps carefully. If unsure, consult a qualified installer.
- Keep children and pets away during installation.
Package Contents
Verify all components are present before beginning installation. If any parts are missing or damaged, do not proceed with installation and contact customer support.
- Wall Mount Bracket Assembly
- TV Mounting Arms (2x)
- Mounting Hardware Kit (screws, washers, spacers for various TV types and wall fixings)
- Instruction Manual
Note: Specific screw sizes and quantities may vary. Refer to the hardware kit for exact contents.
Tools Required (Not Included)
- Drill
- Drill Bits (appropriate for wall type and screw size)
- Stud Finder (for stud wall installation)
- Level
- Pencil
- Measuring Tape
- Phillips Head Screwdriver
- Socket Wrench or Spanner
Installation Instructions
This mount is designed for flat screens up to 65 inches (165cm) and 70kg (154lbs). It supports VESA and non-VESA mounting patterns. The installation process involves mounting the wall plate and then attaching the TV with its arms.
Step 1: Prepare the TV
- Carefully place the TV face down on a soft, clean surface.
- Attach the TV mounting arms to the back of your TV using the appropriate screws, washers, and spacers from the hardware kit. Ensure the arms are securely fastened and evenly spaced.
- Verify the VESA pattern compatibility. This mount fits various VESA patterns.
Step 2: Mark and Drill Wall Holes
- Determine the desired height for your TV.
- Position the wall mount bracket against the wall at the desired location. Use a level to ensure it is perfectly horizontal.
- Mark the drilling points through the holes on the wall mount bracket with a pencil.
- For concrete/brick walls: Drill pilot holes using an appropriate drill bit. Insert wall anchors (if provided and necessary for your wall type).
- For stud walls (up to 32 inches apart): Locate the center of the studs using a stud finder. Drill pilot holes into the center of the studs.
Step 3: Mount the Wall Bracket
- Align the wall mount bracket with the drilled holes.
- Secure the bracket to the wall using the provided wall screws and washers. Tighten all screws firmly, but do not overtighten.
- Double-check that the wall bracket is securely fastened and level.
Step 4: Hang the TV
- With assistance, carefully lift the TV with the attached mounting arms.
- Hook the TV mounting arms onto the wall mount bracket. This is a simple 'hook-on' installation.
- Ensure both TV arms are securely seated on the wall bracket.
- Engage any safety locking mechanisms on the TV arms to prevent accidental dislodgement.
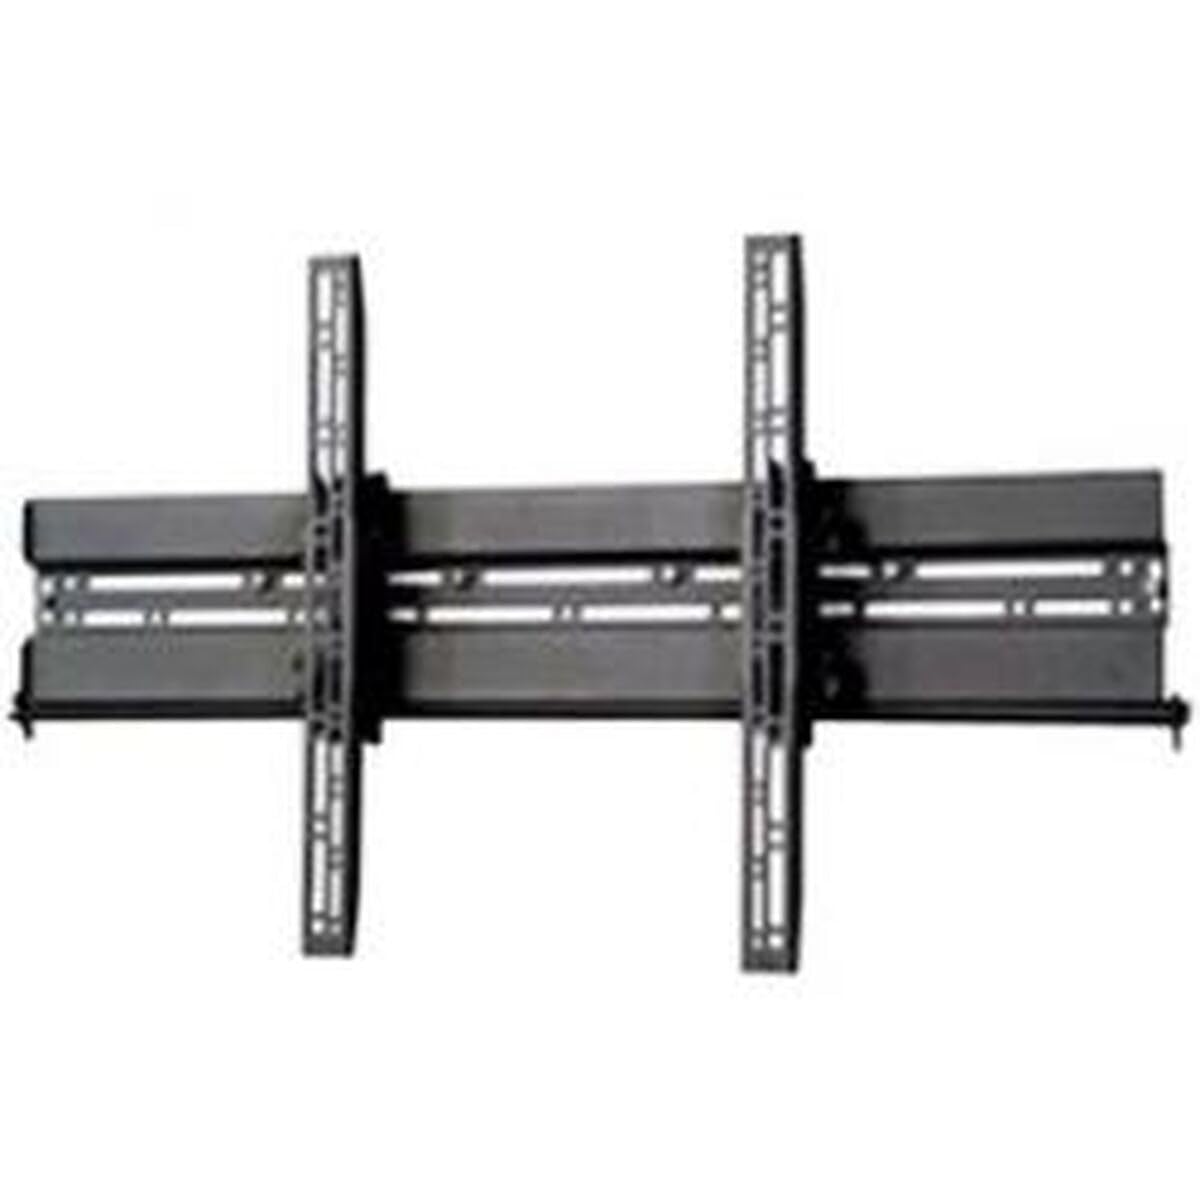
Image: Example of a TV mounted using a similar flat screen wall mount. The BT8432 mounts the screen approximately 80mm (3.1 inches) from the wall.
Operating Instructions
Tilt Adjustment
The BT8432 mount features a simple tilt adjustment of +/-15 degrees. This allows you to optimize your viewing angle and reduce glare.
- Locate the tilt adjustment knobs or bolts on the side of the TV mounting arms.
- Loosen the knobs/bolts slightly.
- Carefully tilt the TV to the desired angle.
- Tighten the knobs/bolts firmly to secure the TV in the new position. Do not overtighten.
Maintenance
- Cleaning: Use a soft, dry cloth to clean the mount. Avoid abrasive cleaners or solvents.
- Periodic Checks: Periodically check all screws and bolts to ensure they remain tight and secure. Re-tighten if necessary.
- Weight Capacity: Do not hang additional items or exceed the maximum weight capacity of the mount.
Troubleshooting
TV is not level after installation:
- Ensure the wall mount bracket was installed perfectly level. If not, you may need to adjust its position.
- Check if the TV mounting arms are attached evenly to the back of the TV.
Mount feels loose on the wall:
- Immediately remove the TV from the mount.
- Check all wall screws for tightness.
- Verify that the wall anchors (if used) are properly seated and suitable for your wall type.
- Ensure the wall material is strong enough to support the mount and TV.
Difficulty tilting the TV:
- Ensure the tilt adjustment knobs/bolts are sufficiently loosened before attempting to adjust the angle.
- Do not force the tilt mechanism.
Specifications
| Model Number | BT8432 |
| Maximum Screen Size | 65 inches (165cm) |
| Maximum Weight Capacity | 70kg (154lbs) |
| Mounting Type | Wall Mount |
| Movement Type | Tilt |
| Tilt Adjustment | +/-15 degrees |
| Distance from Wall | 80mm (3.1 inches) |
| Compatible Wall Types | Concrete / Brick, Stud Walls (up to 32 inches) |
| Material | Acrylonitrile Butadiene Styrene (ABS) |
| Product Dimensions | 5.83 x 27.56 x 16.54 inches |
| Item Weight | 11.22 pounds |
| Manufacturer | B-Tech |
| ASIN | B002C1OZYC |
| GTIN | 05019318084294 |
Warranty and Support
Specific warranty information for the B-Tech BT8432 wall mount may vary by region and retailer. Please refer to your purchase documentation or contact the retailer where you purchased the product for details regarding warranty coverage.
For technical support or inquiries, please visit the official B-Tech website or contact their customer service department. Keep your proof of purchase handy when seeking support.


