
Introduction
This manual provides comprehensive instructions for the installation, operation, and maintenance of your Fan-Tastic Vent RV Roof Vent, 1200 Series. Please read this manual thoroughly before installation and operation to ensure proper function and safety. Retain this manual for future reference.
Product Features
- Model 1200: Lightweight, compact, and durable vent fan designed to seal tightly when not in use.
- Powerful Fan: Features a 12-inch, 10-blade fan for efficient air movement in and out of the cabin.
- Three-Speed Control: High-performance rotary fan with three adjustable blade speeds: low, medium, and high.
- Quiet Operation: Engineered for quiet and energy-saving performance while effectively ventilating air.
- Easy Manual Operation: Equipped with a manual lift dome for straightforward opening and closing.
- Standard Fit: Designed to fit standard 14 inch x 14 inch roof openings.
- Design: Features a white, high-profile base and a smoke-tinted dome.
Safety Information
Always disconnect power before installing, servicing, or cleaning the unit. Ensure all wiring connections comply with local and national electrical codes. Do not operate the fan if the dome is closed, as this unit includes a safety feature to prevent operation in the closed position. Wear appropriate personal protective equipment during installation.
Setup and Installation
Installation of the Fan-Tastic Vent RV Roof Vent requires careful attention to sealing and electrical connections. It is recommended that installation be performed by a qualified professional to ensure proper sealing and electrical safety. For detailed step-by-step instructions, please refer to the official User Guide PDF available for download from the product's Amazon page or the manufacturer's website.
The vent is designed to fit standard 14-inch by 14-inch roof openings. Proper sealing with butyl tape and self-leveling sealant is crucial to prevent water leaks.

Image: The Fan-Tastic Vent RV Roof Vent with its smoke-tinted dome in the open position, revealing the 10-blade fan and protective screen.

Image: The Fan-Tastic Vent RV Roof Vent with its smoke-tinted dome in the closed position, demonstrating its compact and sealed state.
Operation
The Fan-Tastic Vent 1200 Series is designed for simple manual operation.
Opening and Closing the Dome:
To open the dome, locate the manual crank handle on the interior trim. Rotate the handle clockwise to raise the dome. To close the dome, rotate the handle counter-clockwise until the dome is fully seated and sealed.
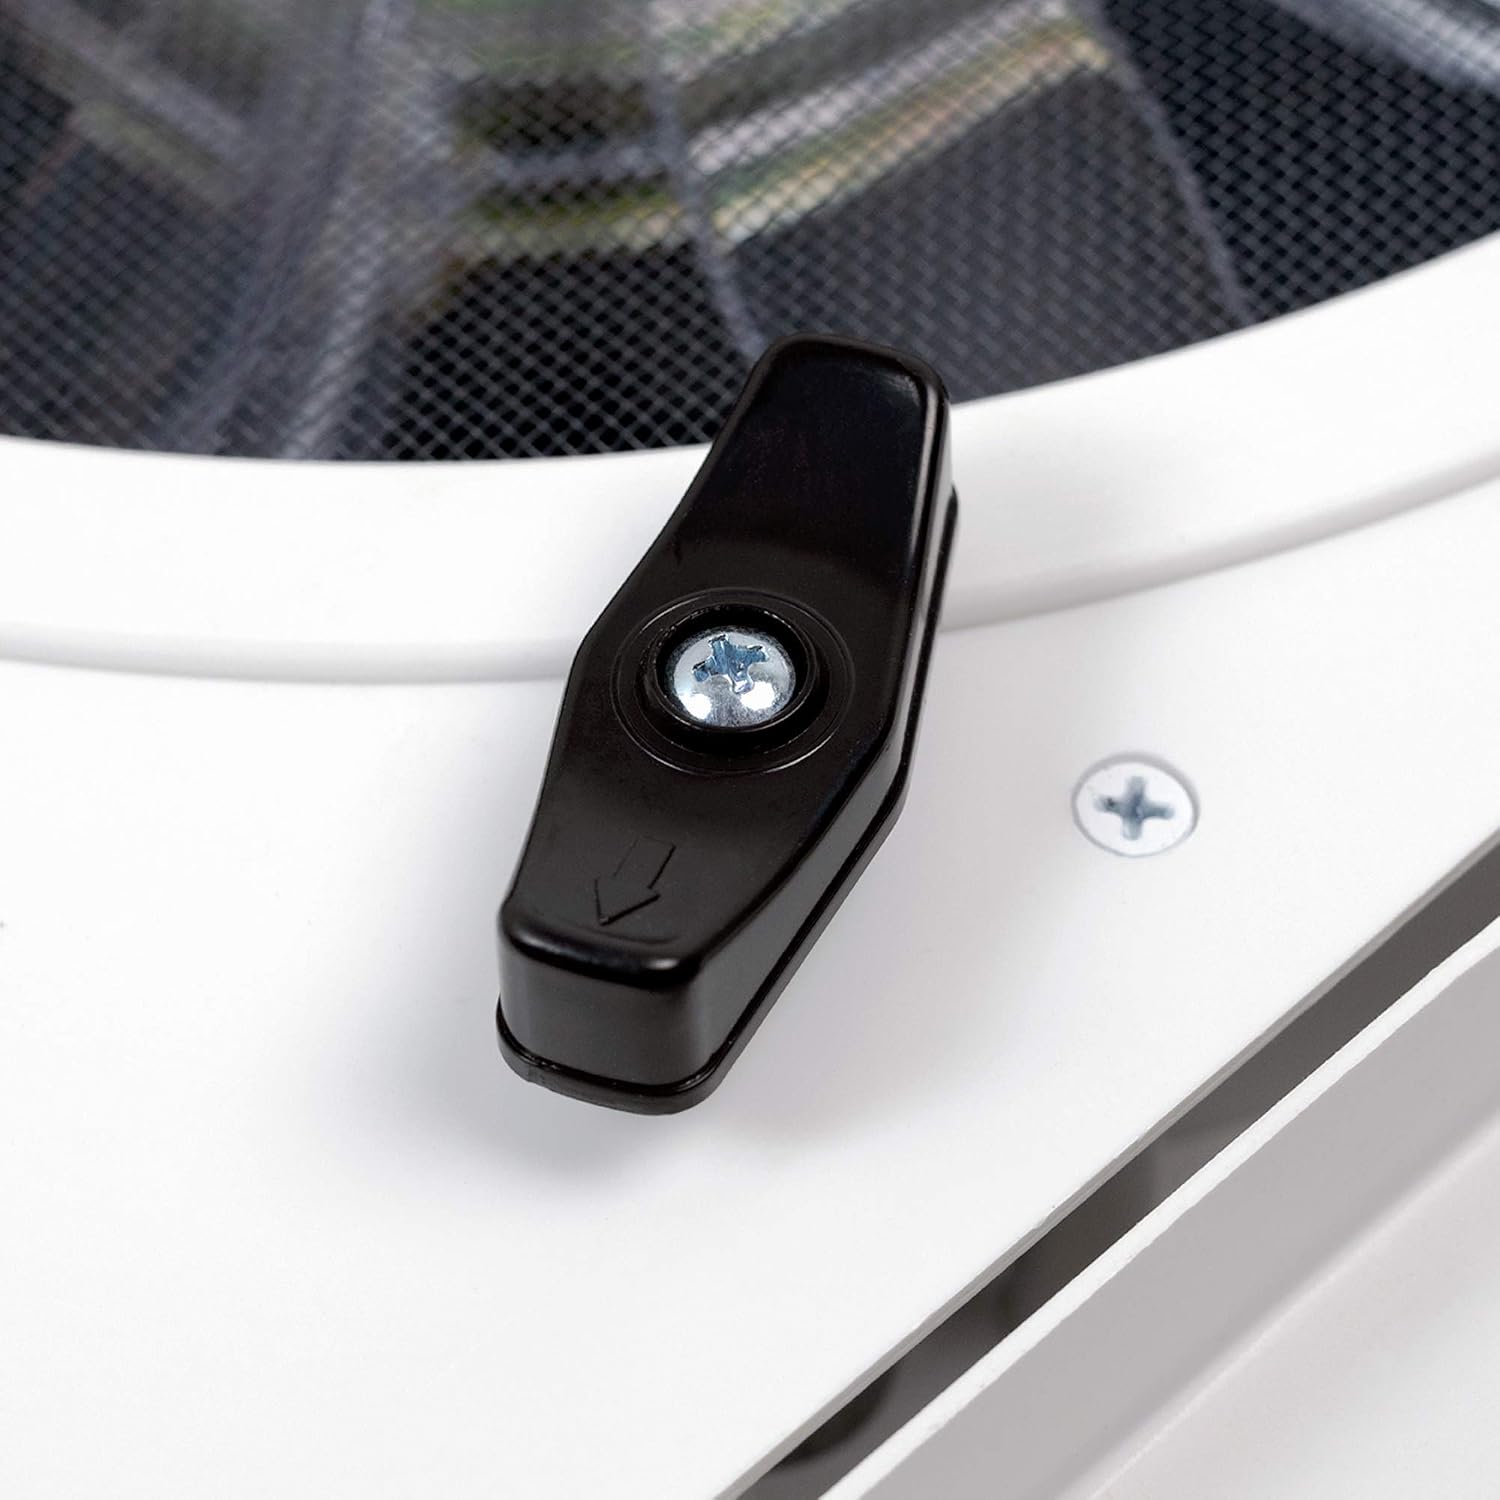
Image: A close-up view of the black manual crank handle used to open and close the vent dome.
Fan Speed Control:
The fan features a three-speed rotary switch. Turn the knob to select your desired fan speed: '1' for low, '2' for medium, and '3' for high. Turn the knob to '0' to turn the fan off.

Image: A close-up of the fan's control panel, showing the three-speed rotary knob (0-3) and the fuse cap.
Safety Interlock:
The fan is equipped with a safety interlock feature. The fan will not operate if the dome is in the fully closed position, regardless of the speed setting. This prevents damage to the unit and ensures proper ventilation when in use.
Maintenance
Regular maintenance ensures optimal performance and longevity of your Fan-Tastic Vent.
Cleaning the Screen and Fan Blades:
Periodically remove the interior screen to clean accumulated dust and debris. The screen can typically be unlatched or unscrewed. Use a mild soap and water solution to clean the screen and fan blades. Ensure all components are dry before reassembly.

Image: An overhead view of the vent's interior, highlighting the fan blades and the removable mesh screen for cleaning.
Checking Seals:
Inspect the exterior seals around the vent periodically for any signs of wear, cracking, or degradation. Address any issues promptly to prevent water intrusion into your RV.
Troubleshooting
This section addresses common issues you might encounter with your Fan-Tastic Vent.
- Fan Not Operating:
- Ensure the dome is fully open. The safety interlock prevents operation when closed.
- Check the fan speed knob is set to '1', '2', or '3'.
- Verify the 12V power supply to the unit. Check fuses in your RV's electrical panel and the fuse on the vent unit itself (if applicable).
- Inspect wiring connections for looseness or corrosion.
- Reduced Airflow:
- Clean the fan blades and screen as described in the Maintenance section.
- Ensure there are adequate intake vents or open windows in your RV to allow for proper air circulation.
- Unusual Noise:
- Check for any obstructions in the fan blades or screen.
- Ensure the fan is securely mounted and all screws are tightened.
If issues persist after attempting these troubleshooting steps, contact a qualified RV service technician or Fan-Tastic Vent customer support for assistance.
Specifications
| Brand | Fan-Tastic Vent |
| Model | FBA_8000 ABS LID (1200 Series) |
| Item Weight | 9.98 pounds |
| Product Dimensions | 11.5 x 17.25 x 17.25 inches |
| Voltage | 12 Volts |
| Wattage | 5 watts |
| Fits Opening Size | Standard 14 inch x 14 inch |
| Included Components | Cord |
Warranty and Support
For detailed warranty information and customer support, please refer to the official User Guide PDF or visit the Fan-Tastic Vent Store on Amazon. You may also contact the manufacturer directly for technical assistance or parts inquiries.