
Introduction
Product Overview
This manual provides instructions for the Toshiba PA3761U-1DV2 Portable/Slim USB SuperMulti DVD-Writer. This external optical drive offers versatile media support and easy connectivity for your computing needs, designed for portability and convenience.
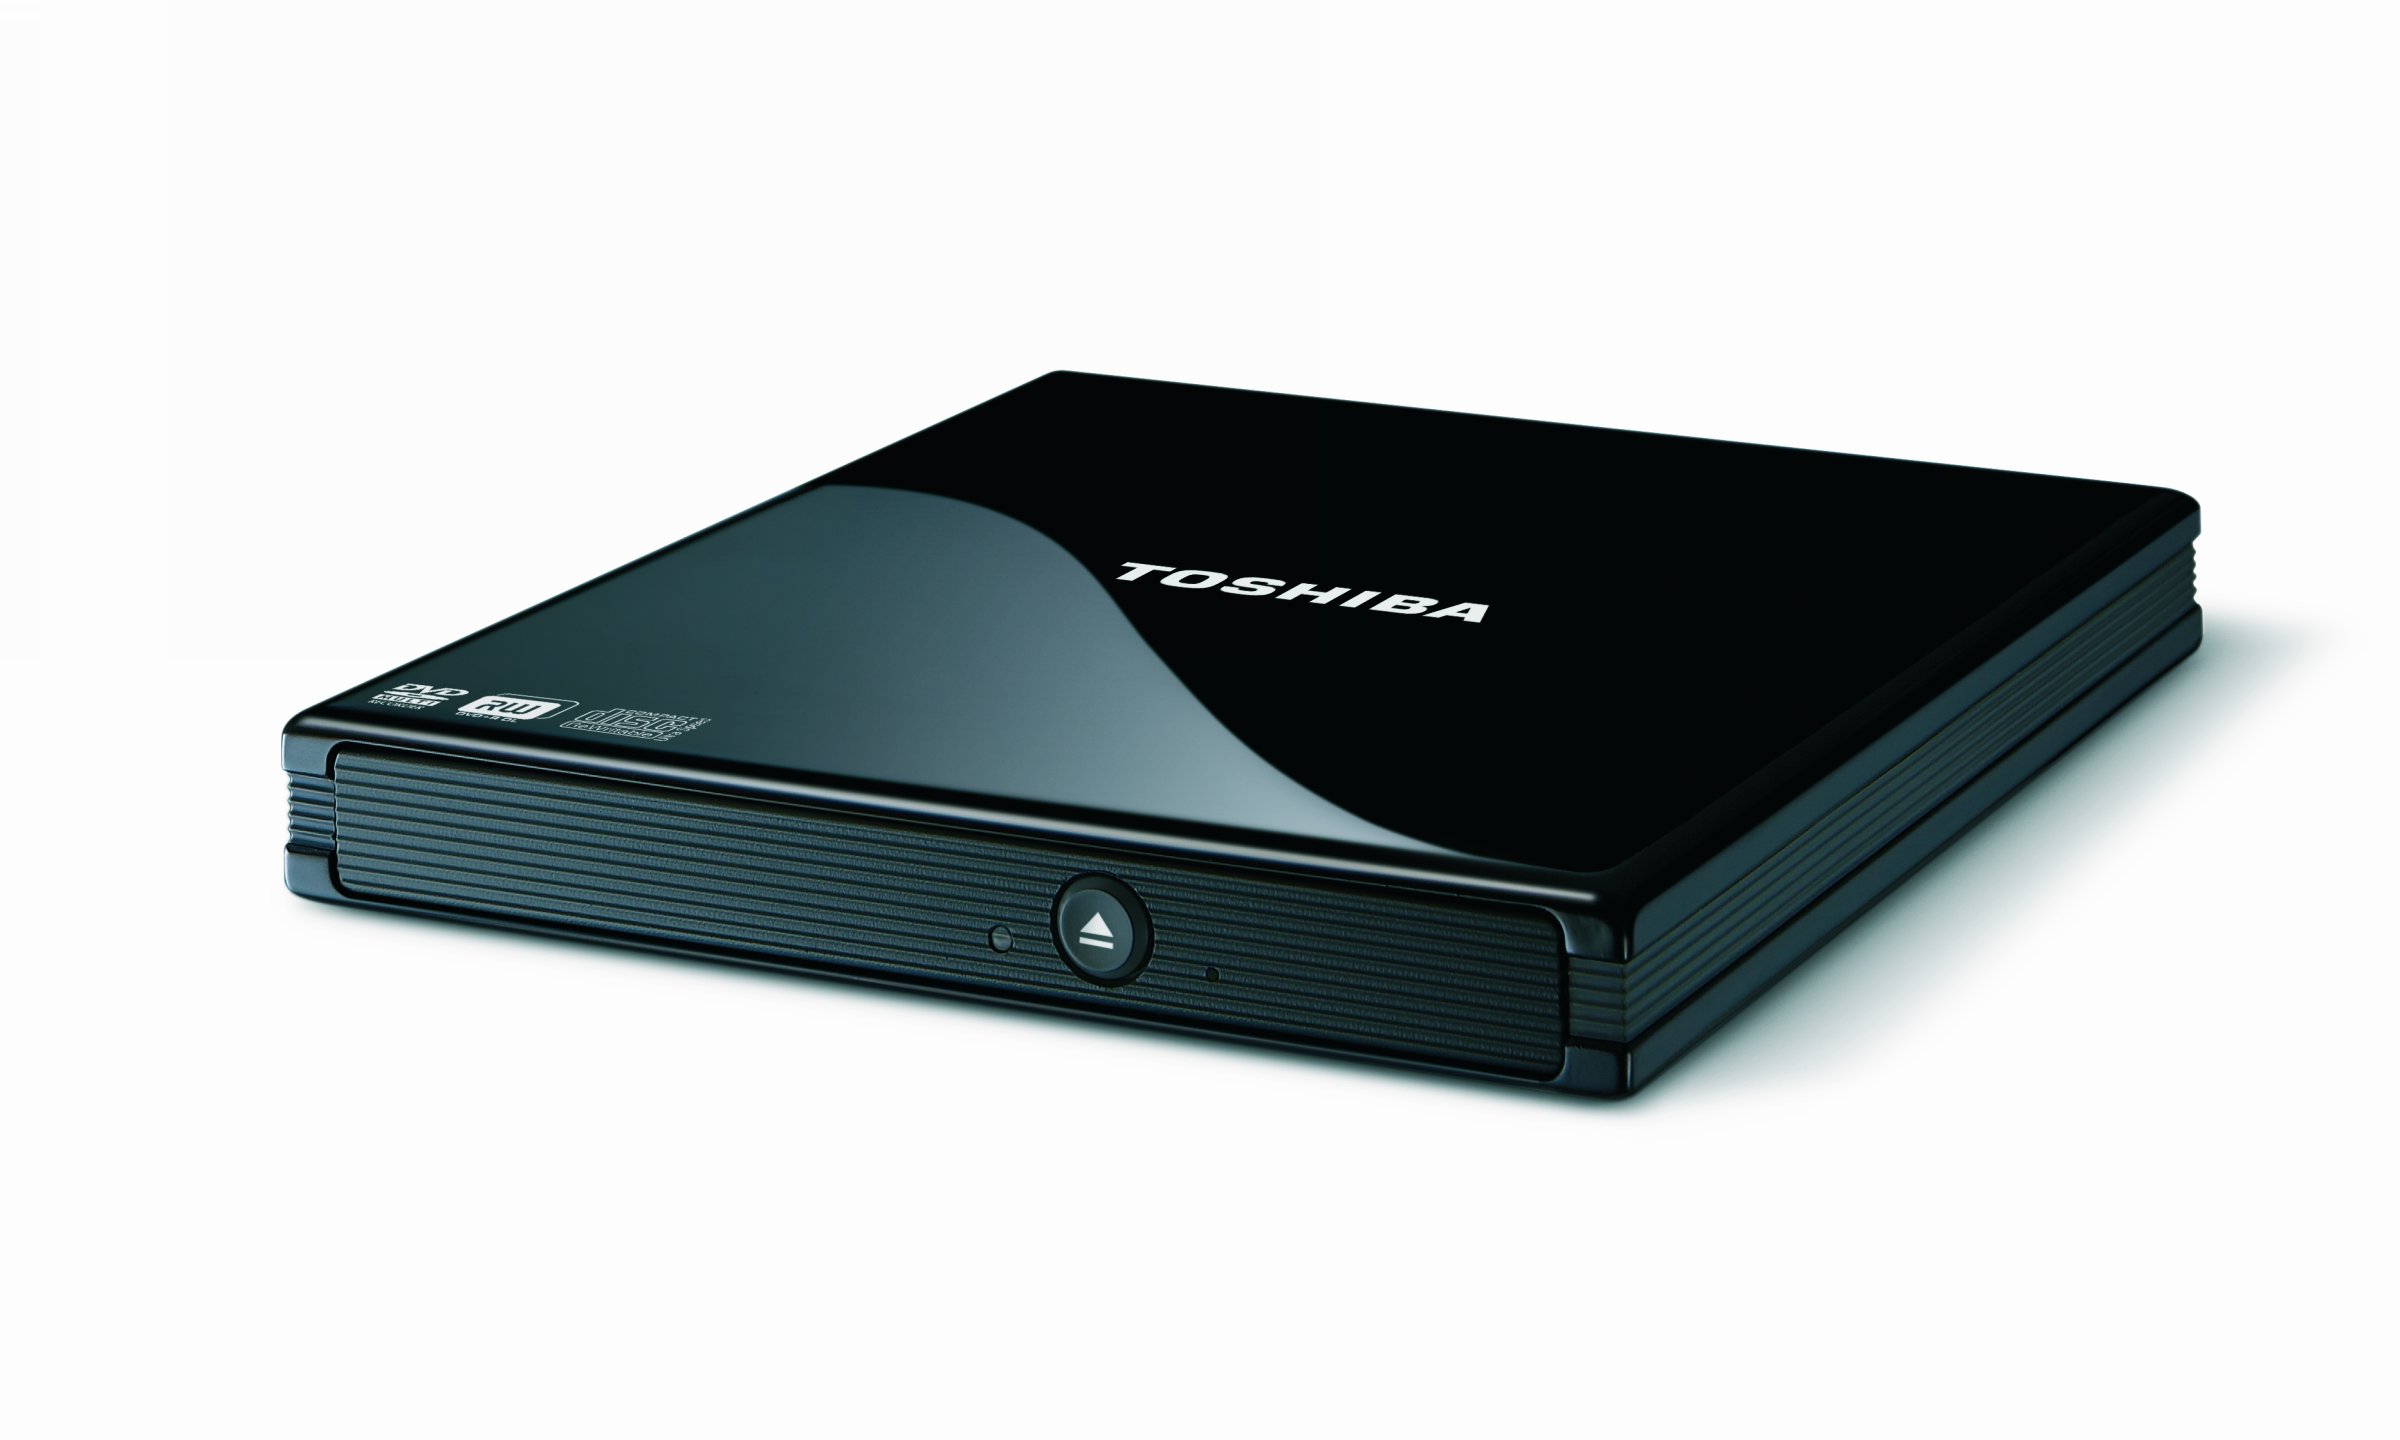
Key Features
- Supports CD-R/RW, DVD±R/±RW, +R/-R Double layer, and DVD-RAM media.
- Includes WinDVD, Burn.Now, and LinDVD software applications for playback and burning.
- Simple plug-and-play operation.
- Compatible with Windows and Linux operating systems.
- USB 2.0 powered, eliminating the need for an external AC adapter.
Setup
Package Contents
- Toshiba PA3761U-1DV2 Portable/Slim USB SuperMulti DVD-Writer
- USB Cable (Y-cable, typically with two USB-A connectors)
- Software Installation Disc (containing WinDVD, Burn.Now, LinDVD)
Connecting the DVD-Writer
The Toshiba PA3761U-1DV2 is USB 2.0 powered. For optimal performance and to ensure sufficient power, it is recommended to connect the drive using both USB connectors of the provided Y-cable to two available USB ports on your computer. If your computer has only one USB port, a powered USB hub or a cell charger with a standard USB-A port may be required to supply adequate power.
- Locate two available USB ports on your computer.
- Connect the Y-cable from the DVD-Writer to the two USB ports.
- Your operating system (Windows or Linux) should automatically detect the device.
Software Installation
The included software disc contains applications for DVD playback (WinDVD) and disc burning (Burn.Now, LinDVD). Follow these steps to install the software:
- Insert the software installation disc into the DVD-Writer.
- If an auto-run window appears, select the option to run the installer. If not, navigate to "My Computer" or "This PC," open the DVD-Writer drive, and double-click the setup file.
- Follow the on-screen prompts to install the desired applications.
- Important: During WinDVD installation, you may be prompted for a serial number. This serial number is typically printed on the installation disc itself. Pay close attention to characters that may appear similar (e.g., '1', 'I', 'l').
- Restart your computer if prompted after installation is complete.
Operating the DVD-Writer
Inserting and Ejecting Discs
- To open the disc tray, press the eject button located on the front of the DVD-Writer.
- Place the disc (CD or DVD) label-side up onto the tray spindle. Ensure it is seated correctly.
- Gently push the disc tray back into the drive until it clicks shut.
- To eject a disc, press the eject button again or use the eject function within your operating system (e.g., right-click the drive icon and select "Eject").
Playing CDs and DVDs
After installing the WinDVD software, you can play movie DVDs and audio CDs.
- Insert the CD or DVD.
- The WinDVD application may launch automatically. If not, open WinDVD manually and select the drive.
- For audio CDs, media players like Windows Media Player or VLC can also be used. Ensure the DVD-Writer is connected before opening the media player.
Burning CDs and DVDs
Use the included Burn.Now or LinDVD software to burn data, audio, or video to blank CD-R/RW or DVD±R/±RW discs.
- Insert a blank recordable disc into the DVD-Writer.
- Launch the Burn.Now or LinDVD application.
- Select the type of project you wish to create (e.g., Data Disc, Audio CD, Video DVD).
- Add the files you want to burn to the project.
- Follow the software's instructions to start the burning process.
- Do not interrupt the burning process to prevent disc errors.
Maintenance
Cleaning the Drive
To ensure longevity and optimal performance, keep the DVD-Writer clean.
- Exterior: Wipe the exterior with a soft, dry, lint-free cloth. Do not use liquid cleaners or abrasive materials.
- Disc Tray: Occasionally, gently wipe the disc tray with a soft, dry cloth. Avoid touching the internal lens.
- Discs: Always handle discs by their edges. Clean dirty discs with a soft, lint-free cloth, wiping from the center outwards.
Storage
Store the DVD-Writer in a cool, dry place away from direct sunlight and extreme temperatures when not in use. Keep it protected from dust and physical impact.
Troubleshooting
Common Issues and Solutions
- Drive not recognized or not functioning
-
- Insufficient Power: Ensure both USB connectors of the Y-cable are plugged into active USB ports on your computer. Some laptops may require a powered USB hub if they cannot supply enough power from a single port.
- Cable Connection: Verify that the USB cable is securely connected to both the DVD-Writer and your computer.
- Driver Issues: While typically plug-and-play, ensure your operating system's USB drivers are up to date.
- Disc read errors or skipping
-
- Dirty or Damaged Disc: Inspect the disc for scratches, smudges, or dirt. Clean the disc carefully.
- Disc Compatibility: Ensure the disc type is supported by the drive (CD-R/RW, DVD±R/±RW, +R/-R Double layer, DVD-RAM).
- Drive Lens: Avoid touching the drive's internal lens. If issues persist, professional cleaning may be required.
- Software installation issues (e.g., WinDVD serial number)
-
- Serial Number Clarity: The serial number for WinDVD is on the installation disc. Carefully distinguish between similar characters like '1' (one), 'I' (capital i), and 'l' (lowercase L). Try different interpretations if the first attempt fails.
- System Requirements: Ensure your computer meets the minimum system requirements for the software.
- Burning process fails
-
- Blank Disc Quality: Use high-quality blank discs.
- Disc Type: Ensure you are using the correct type of blank disc (e.g., CD-R for burning once, CD-RW for rewritable).
- Buffer Underrun: Close other applications during burning to free up system resources.
Specifications
| Feature | Detail |
|---|---|
| Model Number | PA3761U-1DV2 |
| Brand | TOSHIBA |
| Hardware Interface | USB 2.0 |
| Optical Storage Read Speed | 8X DVD |
| Supported Media | CD-R/RW, DVD±R/±RW, +R/-R Double layer, DVD-RAM |
| Hardware Platform | Laptop |
| Operating System Compatibility | Windows, Linux |
| Color | Black |
| Item Weight | 2.08 ounces (approx. 59 grams) |
| Cache Memory Installed Size | 2 MB |
Warranty and Support
Warranty Information
This Toshiba PA3761U-1DV2 Portable/Slim USB SuperMulti DVD-Writer comes with a One Year limited warranty from the date of purchase. Please retain your proof of purchase for warranty claims.
Customer Support
For technical assistance, troubleshooting, or warranty service, please refer to the official Toshiba support website or contact their customer service department. Contact information can typically be found on the Toshiba official website or in the documentation included with your product.