
1. Product Overview
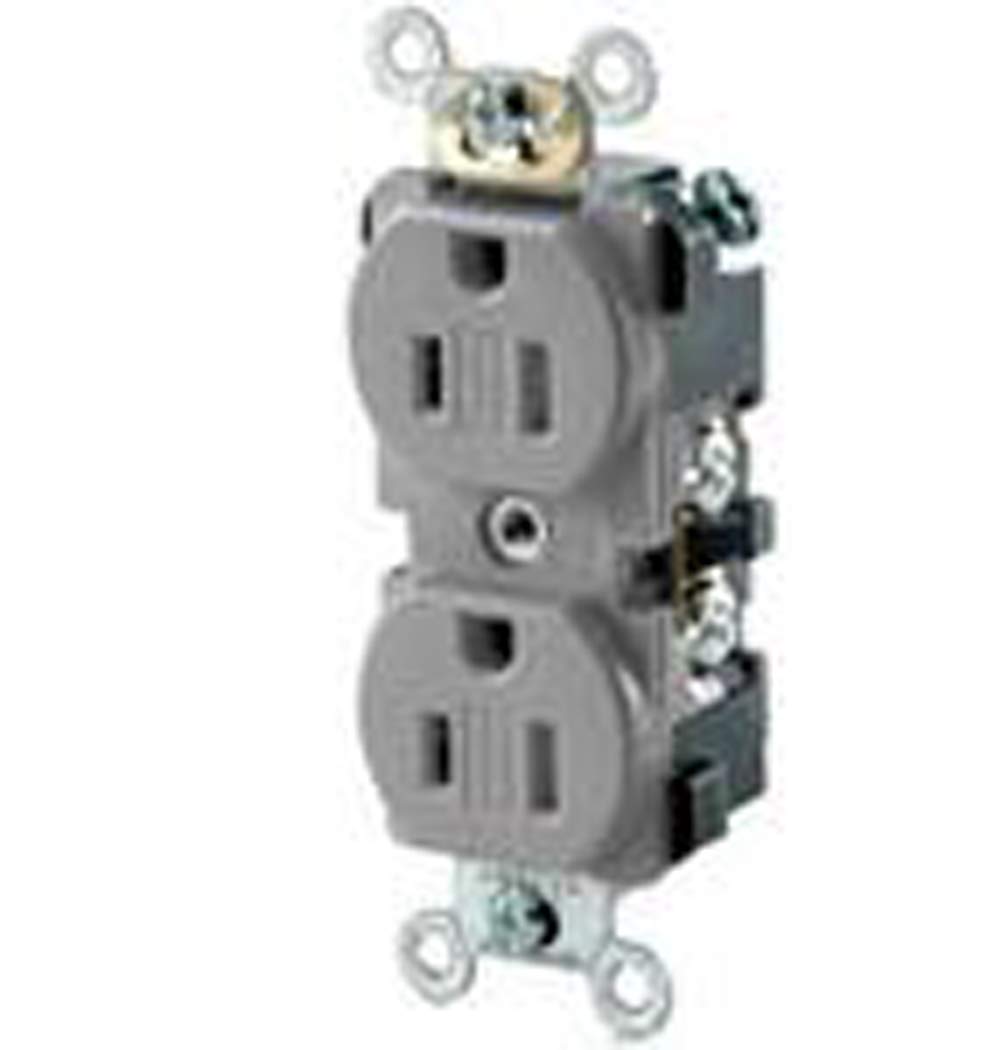
This manual provides instructions for the installation, operation, and maintenance of the Leviton TBR15-GY 15-Amp 125-Volt NEMA 5-15R Tamper Resistant Duplex Receptacle. This commercial-grade receptacle is designed for 125V, 15A applications, featuring a 5-15R configuration with 2 poles and 3 wires. Constructed from durable thermoplastic material, it is impact-resistant and includes a tamper-resistant mechanism for enhanced safety. The receptacle is UL 498, CSA C22.2, and NOM 057 approved, ensuring compliance with safety standards.
2. Safety Information
WARNING: To avoid fire, shock, or death, turn off power at the circuit breaker or fuse box and test that power is off before wiring. All wiring must be in accordance with national and local electrical codes. If you are unsure about any part of these instructions, consult a qualified electrician.
- Always disconnect power at the service panel before working with electrical wiring.
- Ensure proper grounding of the receptacle.
- Do not use this device with aluminum wiring unless specifically rated for it and appropriate connectors are used.
- Do not exceed the specified electrical ratings (15 Amps, 125 Volts).
- Keep children away from electrical work areas.
3. Package Contents
- One (1) Leviton TBR15-GY 15-Amp 125-Volt Tamper Resistant Duplex Receptacle (Gray)
4. Specifications
| Feature | Specification |
|---|---|
| Model Number | TBR15-GY |
| Current Rating | 15 Amps |
| Voltage Rating | 125 Volts |
| NEMA Configuration | 5-15R |
| Poles/Wires | 2-Pole, 3-Wire Grounding |
| Receptacle Type | Duplex, Narrow Body |
| Material | Thermoplastic |
| Color | Gray |
| Features | Tamper Resistant, Impact Resistant |
| Approvals | UL 498, CSA C22.2, NOM 057 |
| Product Dimensions | 12.25 x 7.75 x 8.75 inches |
| Item Weight | 3.2 ounces |
5. Installation
5.1 Tools Required
- Phillips and/or Flathead Screwdriver
- Wire Strippers/Cutters
- Voltage Tester
- Electrical Tape (optional)
5.2 Preparation
- Turn off power: Locate the circuit breaker or fuse that controls the outlet you are working on and turn it OFF.
- Verify power is off: Use a voltage tester to confirm that no power is present at the outlet.
- Remove the wallplate and the existing receptacle from the electrical box.
5.3 Wiring Instructions
Identify the wires in the electrical box:
- Hot Wire: Usually black or red. Connects to the brass-colored screw terminals.
- Neutral Wire: Usually white. Connects to the silver-colored screw terminals.
- Ground Wire: Usually bare copper or green. Connects to the green screw terminal.
Follow these steps to wire the new receptacle:
- If replacing an old receptacle, carefully disconnect the wires from it.
- Strip approximately 1/2 inch (12.7 mm) of insulation from the end of each wire.
- Connect the bare copper or green ground wire to the green grounding screw terminal on the receptacle. Tighten securely.
- Connect the white (neutral) wire to one of the silver-colored screw terminals. For side wiring, wrap the wire clockwise around the screw and tighten. For rear wiring, insert the straight wire into the appropriate channel under the screw plate and tighten the screw.
- Connect the black (hot) wire to one of the brass-colored screw terminals. For side wiring, wrap the wire clockwise around the screw and tighten. For rear wiring, insert the straight wire into the appropriate channel under the screw plate and tighten the screw.
- Ensure all connections are tight and no bare wire is exposed. If necessary, wrap electrical tape around the terminals.
5.4 Mounting and Finishing
- Carefully fold the wires into the electrical box, pushing the receptacle into place.
- Secure the receptacle to the electrical box using the mounting screws provided.
- Install the new wallplate over the receptacle and secure it with the wallplate screws.
- Restore power: Turn the circuit breaker or fuse back ON.
- Test the receptacle: Plug a device into the receptacle to ensure it is functioning correctly.
6. Operation
The Leviton TBR15-GY is a tamper-resistant receptacle. This means it has internal shutters that prevent the insertion of foreign objects into the slots, enhancing safety, especially for children. To insert a plug:
- Align the prongs of the electrical plug with the slots on the receptacle.
- Apply firm, even pressure to insert the plug. You may feel a slight resistance as the tamper-resistant shutters open.
- Ensure the plug is fully seated in the receptacle.
Do not force the plug if it does not insert easily. Realign and try again. The tamper-resistant feature requires both prongs to be inserted simultaneously to open the internal shutters.
7. Maintenance
The Leviton TBR15-GY receptacle requires minimal maintenance.
- Cleaning: Periodically wipe the surface of the receptacle and wallplate with a soft, damp cloth. Do not use abrasive cleaners or solvents. Ensure power is off before cleaning.
- Inspection: Regularly inspect the receptacle for any signs of damage, such as cracks, discoloration, or loose connections. If any damage is observed, turn off power and replace the receptacle.
- Loose Plugs: If plugs feel excessively loose when inserted, it may indicate wear. Consider replacing the receptacle if this occurs.
8. Troubleshooting
| Problem | Possible Cause | Solution |
|---|---|---|
| No power at the receptacle | Circuit breaker tripped or fuse blown | Check and reset the circuit breaker or replace the fuse. |
| Loose wiring connection | Turn off power, remove wallplate, and check wire connections at the receptacle. Tighten if loose. If unsure, consult an electrician. | |
| Plug does not insert easily | Tamper-resistant shutters not aligned | Ensure both prongs of the plug are aligned and apply firm, even pressure. Do not force. |
| Receptacle feels hot to the touch | Overload or loose connection | Immediately unplug devices. Turn off power. Check for overloaded circuits or loose wiring. Consult an electrician if the issue persists. |
9. Warranty and Support
For warranty information or technical support regarding your Leviton TBR15-GY receptacle, please refer to the documentation included with your purchase or visit the official Leviton website. You may also contact Leviton customer service directly for assistance.
Leviton Contact Information: Please refer to www.leviton.com for the most current contact details and support resources.