1. Introduction
Thank you for choosing the Comfee MDF2-20DEN3 Dehumidifier. This manual provides essential information for the safe and efficient operation, maintenance, and troubleshooting of your appliance. Please read it thoroughly before use and retain it for future reference.
The Comfee MDF2-20DEN3 is designed to reduce humidity levels in indoor spaces, preventing mold, mildew, and other moisture-related issues. It features a dehumidification capacity of 20 liters per 24 hours and is suitable for rooms up to approximately 40m² or 100m³.
2. Safety Instructions
Always follow basic safety precautions when using electrical appliances to reduce the risk of fire, electric shock, and injury.
- Read all instructions before using the appliance.
- Do not operate the unit with a damaged cord or plug.
- Ensure the power supply matches the voltage specified on the rating label.
- Do not block air inlets or outlets. Maintain at least 20 cm clearance around the unit.
- Do not insert objects into the air vents.
- Always place the unit on a stable, level surface.
- Unplug the unit before cleaning or performing any maintenance.
- Do not use the appliance in areas where flammable gases or liquids are present.
- Keep children and pets away from the unit during operation.
- This appliance is for indoor use only.
3. Product Overview
3.1 Components
- Control Panel with LED Display
- Air Outlet
- Air Inlet with Filter
- Water Tank (3.0 Liter capacity)
- Water Level Indicator
- Continuous Drain Outlet
- Power Cord
- Casters (Wheels)
- Foldable Handle
3.2 Visual Guide
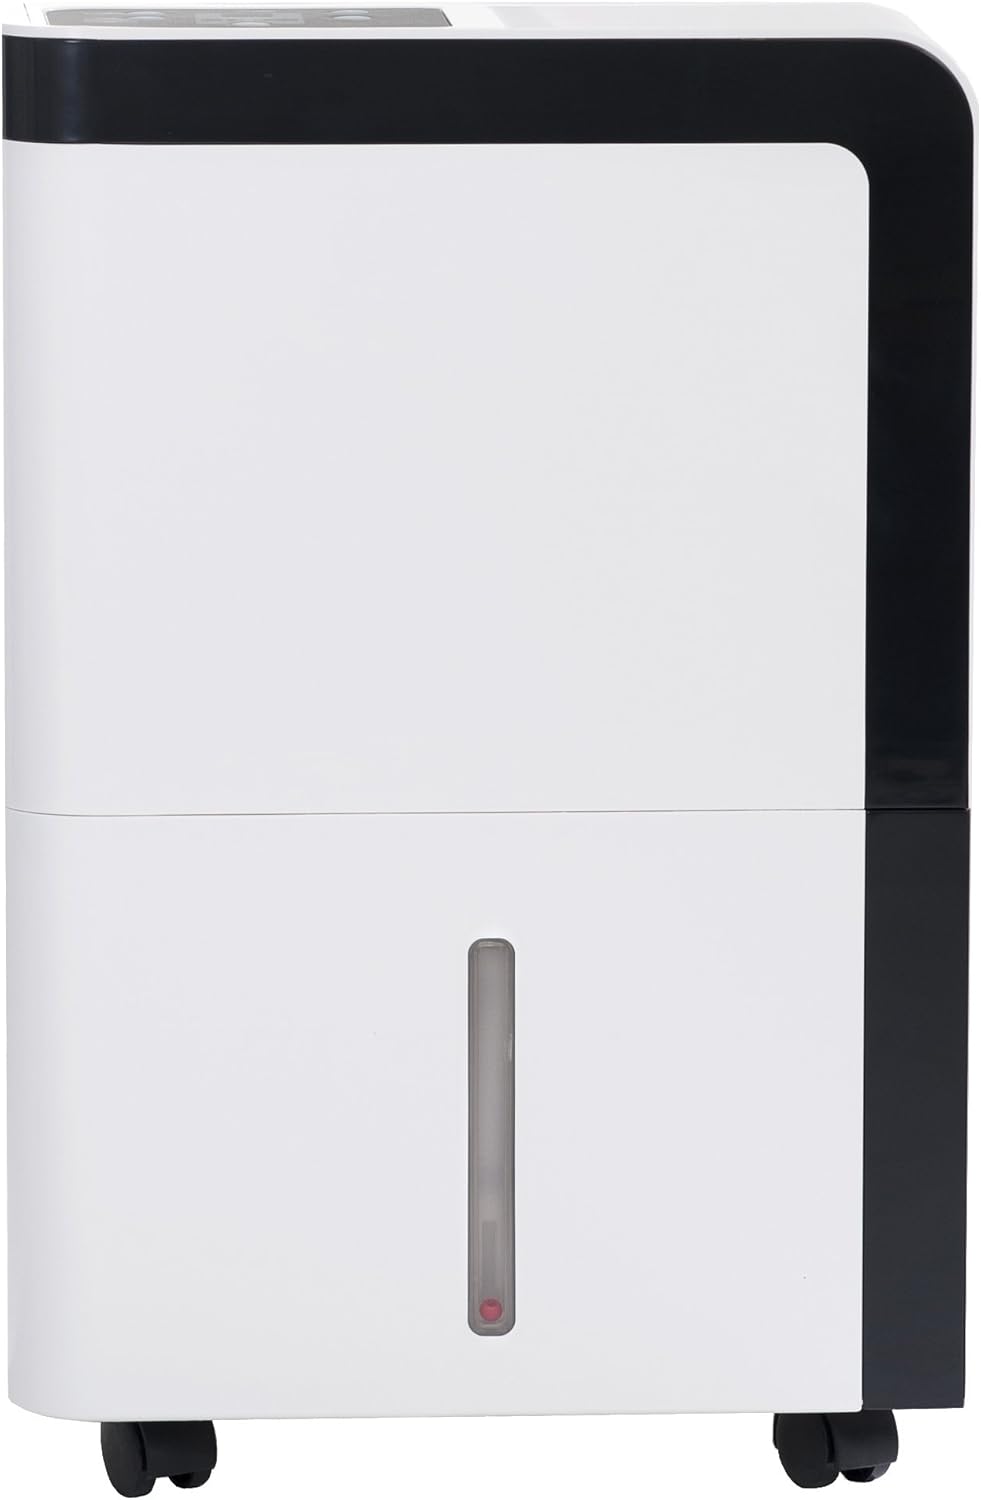
Figure 1: Front view of the dehumidifier.

Figure 2: Control panel with digital display for function settings and relative humidity display.

Figure 3: Easily removable water tank (3.0 liter capacity) with visible fill level indicator.

Figure 4: The air filter is easy to clean and accessible for installation.

Figure 5: Connection option for a water drain hose for permanent dehumidification without emptying the tank.

Figure 6: Casters for flexible use and easy movement.

Figure 7: Foldable handle allows the dehumidifier to be easily transported from one location to another.
4. Setup
4.1 Unpacking
- Carefully remove the dehumidifier from its packaging.
- Remove all packing materials and ensure no components are missing or damaged.
- Keep the packaging for future storage or transport.
4.2 Placement
- Place the dehumidifier on a firm, level surface in a location where the temperature will not fall below 5°C (41°F).
- Ensure there is at least 20 cm (8 inches) of space around the unit for proper air circulation.
- Avoid placing the unit near heat sources or in direct sunlight.
- For optimal performance, close all doors and windows in the room where the dehumidifier is operating.
4.3 Power Connection
- Ensure the power cord is fully extended and not damaged.
- Plug the power cord into a grounded electrical outlet with the correct voltage.
4.4 Continuous Drainage (Optional)
For continuous operation without emptying the water tank, you can connect a drain hose (not included).
- Locate the continuous drain outlet on the back of the unit (refer to Figure 5).
- Remove the rubber stopper from the drain outlet.
- Connect a suitable drain hose to the outlet. Ensure the hose is securely attached and free of kinks.
- Direct the other end of the hose to a floor drain or a large container, ensuring it is lower than the unit's drain outlet for gravity flow.
5. Operating Instructions
5.1 Power On/Off
- Press the Power button on the control panel to turn the unit ON or OFF.
- The LED display will show the current room humidity when the unit is on.
5.2 Setting Desired Humidity
- Press the Humidity button (often indicated by a droplet icon) to adjust the desired humidity level.
- Each press will cycle through available humidity settings (e.g., 40%, 45%, 50%, etc.).
- The unit will operate until the room humidity reaches the set level, then it will pause. It will resume operation if the humidity rises above the set level.
5.3 Fan Speed
- Press the Fan Speed button (often indicated by a fan icon) to select between different fan speeds (e.g., Low, High).
- Higher fan speed results in faster dehumidification but may produce more noise.
5.4 Timer Function
The unit may include a timer function to set a specific operating duration or a delayed start/stop.
- Press the Timer button.
- Use the Up/Down or +/- buttons to set the desired hours.
- The timer will activate after a few seconds of inactivity.
5.5 Water Tank Full Indicator
- When the water tank is full, the unit will automatically stop operating, and an indicator light (often a water droplet or 'Full' icon) will illuminate.
- Empty the water tank as described in the Maintenance section to resume operation.
6. Maintenance
Regular maintenance ensures optimal performance and extends the lifespan of your dehumidifier.
6.1 Emptying the Water Tank
- Turn off the dehumidifier and unplug it from the power outlet.
- Carefully pull out the water tank from the front of the unit (refer to Figure 3).
- Empty the collected water into a sink or drain.
- Rinse the tank with clean water if necessary. Do not use harsh detergents.
- Slide the empty water tank back into the unit until it clicks into place.
- Plug in the unit and turn it on.
6.2 Cleaning the Air Filter
The air filter should be cleaned every two weeks or more frequently if the unit is used in a dusty environment.
- Turn off the dehumidifier and unplug it.
- Locate the air filter on the back of the unit (refer to Figure 4).
- Gently pull out the filter.
- Wash the filter with warm, soapy water. Rinse thoroughly and allow it to air dry completely before re-installing. Do not use a dishwasher.
- Once dry, re-insert the filter into its slot.
6.3 Cleaning the Unit Exterior
- Wipe the exterior of the unit with a soft, damp cloth.
- Do not use abrasive cleaners, waxes, or solvents, as these may damage the surface.
6.4 Storage
- If storing the unit for an extended period, ensure the water tank is empty and clean, and the air filter is clean and dry.
- Wrap the power cord neatly.
- Cover the unit with a plastic bag to protect it from dust.
- Store the unit in an upright position in a cool, dry place.
7. Troubleshooting
Before contacting customer support, please refer to the following troubleshooting guide for common issues.
| Problem | Possible Cause | Solution |
|---|---|---|
| Unit does not turn on. | No power supply. Water tank is full or not properly installed. | Check if the unit is plugged in and the outlet is working. Empty the water tank and ensure it is correctly seated. |
| No dehumidification. | Air filter is clogged. Room temperature is too low. Humidity setting is too high. Doors/windows are open. | Clean the air filter. Ensure room temperature is above 5°C (41°F). Lower the desired humidity setting. Close all doors and windows. |
| Unit is noisy. | Unit is not on a level surface. Air filter is clogged. | Place the unit on a flat, stable surface. Clean the air filter. |
| Water leakage. | Water tank not properly installed. Continuous drain hose is kinked or blocked. | Re-install the water tank correctly. Check the drain hose for kinks or blockages and ensure proper downward slope. |
8. Specifications
| Feature | Specification |
|---|---|
| Model Number | MDF2-20DEN3 |
| Dehumidification Capacity | 20 Liters/24 hours |
| Water Tank Capacity | 3 Liters |
| Recommended Room Size | Approx. 40 m² / 100 m³ |
| Wattage | 370 Watts |
| Noise Level | 50 Decibels |
| Product Dimensions (L x W x H) | 34 x 22.5 x 48 cm |
| Weight | 12.5 kg |
| Special Features | LED Display, Water Level Indicator, Casters, Foldable Handle |
9. Warranty and Support
9.1 Warranty Information
The Comfee MDF2-20DEN3 Dehumidifier comes with a 3-year warranty from the date of purchase. This warranty covers defects in materials and workmanship under normal use. Please retain your proof of purchase for warranty claims.
The warranty does not cover damage resulting from misuse, accident, unauthorized repairs, or failure to follow the instructions in this manual.
9.2 Customer Support
If you encounter any issues not covered in the troubleshooting section or require further assistance, please contact Comfee customer support. Refer to the contact information provided with your product or visit the official Comfee website for support details.


