Introduction
This manual provides instructions for the Vivitar Vivicam 5024 5.1MP Digital Camera. It covers setup, operation, maintenance, and troubleshooting to help you get the most from your camera. The Vivicam 5024 features a 5.1-megapixel sensor, 8x digital zoom, and a 2.4-inch TFT preview screen, designed for capturing photos and videos.
Product Overview
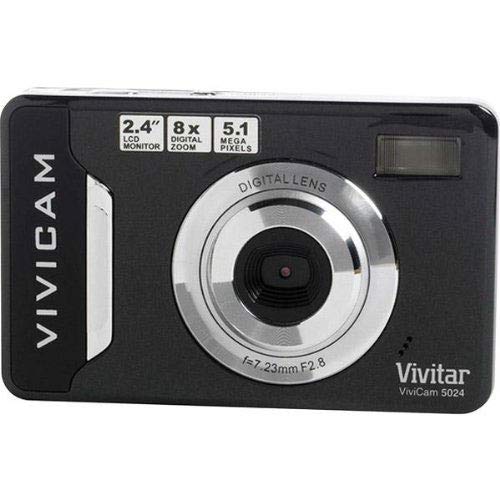
Image 1: Front view of the Vivitar Vivicam 5024 Digital Camera. Shows the lens, flash, and overall compact design.
The Vivitar Vivicam 5024 is a compact digital camera equipped with a 5.1-megapixel sensor for still images and video recording. It includes an 8x digital zoom and a 2.4-inch color LCD screen for framing shots and reviewing content. Key features include anti-shake technology, scene modes, ISO adjustment, and white balance settings.
Setup
1. Battery Installation
The Vivicam 5024 operates on three (3) AAA batteries. Ensure batteries are inserted with correct polarity.
- Locate the battery compartment cover on the bottom of the camera.
- Slide the cover open.
- Insert three fresh AAA batteries, matching the positive (+) and negative (-) terminals as indicated inside the compartment.
- Close the battery compartment cover securely.
2. SD Card Installation
The camera uses an SD (Secure Digital) card for storing photos and videos. A 4GB SD card is typically included.
- Locate the SD card slot, which does not have a cover, on the side of the camera.
- Insert the SD card into the slot with the metal contacts facing the front of the camera until it clicks into place.
- To remove, gently push the card further in until it springs out.
3. Initial Power On
Press and hold the Power button, usually located on the top of the camera, until the LCD screen illuminates.
Operating the Camera
1. Basic Controls
- Power Button: Turns the camera on/off.
- Shutter Button: Press halfway to focus, fully to take a picture.
- Zoom Buttons: Control the 8x digital zoom (usually marked 'W' for Wide and 'T' for Telephoto).
- Navigation Buttons: Used to navigate menus and playback images.
- LCD Screen: 2.4-inch display for framing shots, reviewing images, and accessing menus.
2. Taking Photos
- Turn on the camera.
- Frame your shot using the 2.4-inch LCD screen.
- Use the zoom buttons to adjust the 8x digital zoom as needed.
- Press the Shutter button halfway down to allow the camera to focus.
- Press the Shutter button fully to capture the image.
- Important: Due to the camera's design, it is crucial to hold the camera perfectly still for a couple of seconds after pressing the shutter button to ensure a clear image.
The camera features anti-shake technology to assist in reducing blur, but stable handling is still recommended.
3. Recording Videos
The Vivicam 5024 can record video. To switch to video mode, navigate through the camera's menu or use a dedicated mode button if available.
- Start recording by pressing the Shutter button (or dedicated record button).
- Stop recording by pressing the button again.
- Note: The Vivitar Vivicam 5024 records video without sound. This is a design characteristic and not a malfunction.
4. Playback Mode
To review your photos and videos:
- Enter Playback mode (usually via a dedicated button or menu option).
- Use the navigation buttons to scroll through your captured media.
- Press the Shutter button or OK button to view a video or a larger image.
5. Menu Settings
Access the camera's menu to adjust various settings:
- Scene Modes: Select pre-set modes for different shooting conditions (e.g., Portrait, Landscape).
- ISO: Adjust light sensitivity (e.g., for low-light conditions).
- White Balance: Correct color cast based on lighting (e.g., Daylight, Cloudy, Fluorescent).
- Flash Modes: Set the built-in flash to Automatic, Red-Eye Reduction, Fill-Flash, or Off.
- Self-Timer: Set a delay (e.g., 10 seconds) before taking a photo.
Connecting to a Computer
To transfer photos and videos to your computer:
- Ensure the camera is powered off.
- Locate the USB port on the bottom of the camera.
- Connect the camera to your computer using a compatible USB cable.
- Turn on the camera. It should appear as a removable disk drive on your computer.
- Drag and drop files from the camera's SD card folder to your computer.
- Safely eject the camera from your computer before disconnecting the USB cable.
Maintenance
1. Cleaning the Camera
- Use a soft, dry cloth to clean the camera body.
- For the lens and LCD screen, use a specialized lens cleaning cloth and solution.
- Avoid using abrasive cleaners or solvents.
- Note that the camera does not have a lens cover, so keep the lens area clean and protected from dust.
2. Battery Care
- Remove batteries if the camera will not be used for an extended period.
- Use high-quality AAA alkaline or rechargeable batteries for optimal performance.
3. SD Card Care
- Format the SD card periodically within the camera's menu to maintain performance.
- Avoid removing the SD card while the camera is writing data.
- The SD card slot does not have a cover; protect it from dust and moisture.
Troubleshooting
- Camera not turning on: Check battery installation and ensure batteries are fresh.
- Blurry photos: Ensure the camera is held still for a few seconds after pressing the shutter. Check lighting conditions and adjust ISO if necessary.
- Flash not working: Verify flash mode settings in the camera menu. Ensure batteries have sufficient power.
- No sound in videos: This camera model (Vivicam 5024) does not record audio with video. This is a normal operational characteristic.
- Cannot transfer files to computer: Ensure USB cable is securely connected to both camera (bottom port) and computer. Verify camera is powered on and recognized as a removable disk.
Specifications
| Model Name | 5024 |
| Photo Sensor Resolution | 5.1 Megapixels (Effective Still Resolution: 5 MP) |
| Digital Zoom | 8x |
| Screen Size | 2.4 Inches (TFT LCD) |
| Image Stabilization | Digital |
| Supported File Format | JPEG (Stills), MP4 (Video) |
| Built-In Media | SD Card (up to 4GB recommended) |
| Connectivity Technology | USB |
| Power Source | 3 x AAA Batteries |
| Flash | Built-In, Automatic modes |
| Self Timer | 10 Seconds |
| Item Weight | 100 Grams |
Warranty and Support
Specific warranty information for the Vivitar Vivicam 5024 is typically provided with the product packaging or can be found on the manufacturer's official website. For technical support or service inquiries, please refer to the contact information provided by Vivitar at the time of purchase or visit their official support channels.