1. Introduction
This manual provides comprehensive instructions for the safe and efficient operation of your JVC DR-MV150 DVD Video Recorder VHS Hi-Fi Stereo. Please read this manual thoroughly before using the unit and retain it for future reference. The DR-MV150 combines a DVD recorder and a VHS VCR into a single unit, offering versatile playback and recording capabilities for various media formats.
2. Safety Information
- Power Source: Connect the unit only to the specified power supply. Ensure the voltage matches the unit's requirements.
- Ventilation: Do not block ventilation openings. Allow adequate space around the unit for proper airflow to prevent overheating.
- Moisture: Do not expose the unit to rain, moisture, or excessive humidity. Avoid placing objects filled with liquids, such as vases, on the unit.
- Cleaning: Disconnect the power cord before cleaning. Use a soft, dry cloth. Do not use liquid or aerosol cleaners.
- Servicing: Do not attempt to service this unit yourself. Refer all servicing to qualified service personnel.
- Placement: Place the unit on a stable, level surface. Avoid placing it near heat sources or in direct sunlight.
3. Package Contents
Verify that all items are present in the package:
- JVC DR-MV150 DVD Video Recorder VHS Hi-Fi Stereo Unit
- Remote Control
- Power Cable
- HDMI Cable
- RCA Audio/Video Cables
- Instruction Manual (this document)

This image displays the JVC DR-MV150 DVD Video Recorder, its remote control, power cable, HDMI cable, RCA cables, and the included instruction manual, illustrating the complete package contents.
4. Setup
4.1 Connecting the Unit
Follow these steps to connect your DR-MV150 to your television and other audio/video equipment.
- Power Connection: Connect the supplied power cable to the AC IN port on the rear of the unit and then to a wall outlet.
- Video Connection (HDMI): For the best picture quality, connect an HDMI cable from the HDMI OUTPUT port on the rear of the DR-MV150 to an HDMI input on your television. This connection supports 1080p up-conversion.
- Video Connection (RCA): Alternatively, or for older televisions, connect the yellow video cable from the VIDEO OUT port on the DR-MV150 to the VIDEO IN port on your television. Connect the red and white audio cables from the AUDIO OUT (R/L) ports to the corresponding AUDIO IN (R/L) ports on your television or audio receiver.
- Antenna/Cable Connection: Connect your antenna or cable TV line to the ANTENNA IN port on the rear of the unit.
- External Device Connection (Front A/V Input): For connecting external devices like camcorders, use the front panel DV IN or analog audio/video input ports.
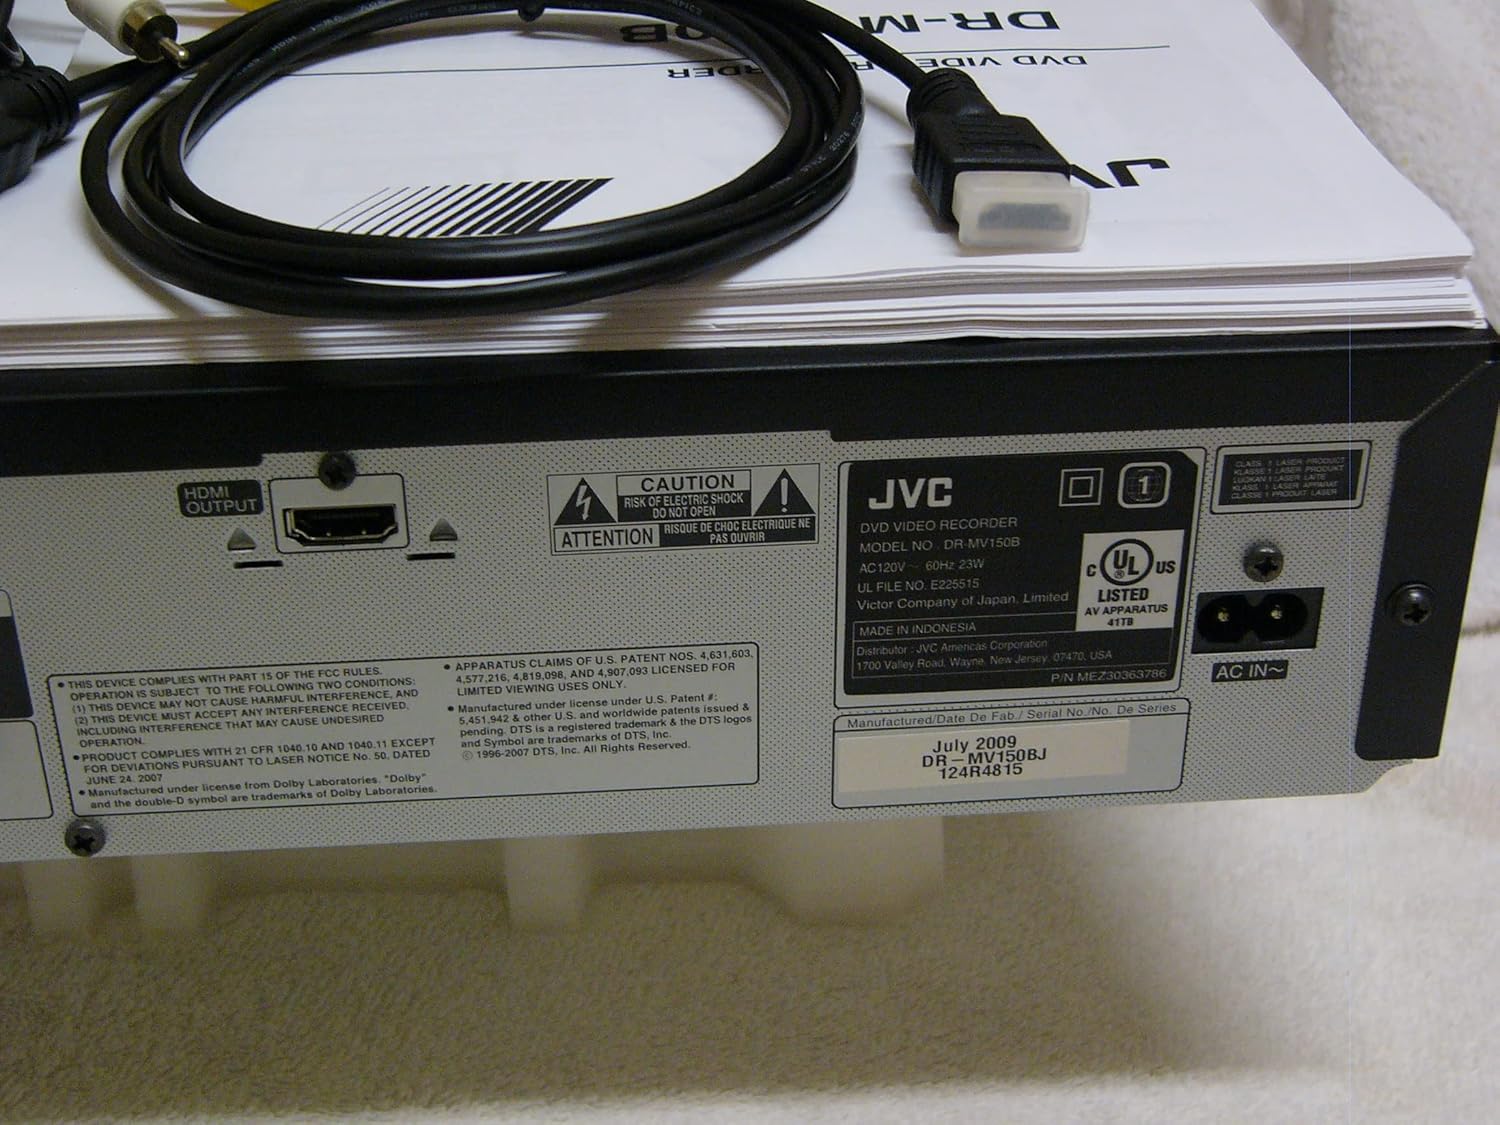
The rear panel of the JVC DR-MV150, displaying the HDMI OUTPUT port for high-definition connection, the AC IN power input, and various regulatory and manufacturing labels.

A detailed view of the front panel of the JVC DR-MV150, highlighting the DV IN port and the analog audio (white, red) and video (yellow) input jacks, typically used for connecting external devices like camcorders.
4.2 Remote Control Battery Installation
Insert two AAA batteries into the remote control, ensuring correct polarity (+/-). The remote control is essential for accessing all functions of the DR-MV150.

This image features the remote control for the JVC DR-MV150, alongside an HDMI cable and a set of RCA audio/video cables, which are essential for connecting and operating the device.
5. Operating Instructions
5.1 Basic Playback
- DVD Playback: Open the DVD tray, place a DVD disc (DVD-R/RW, CD, SVCD, VCD, CD-R/RW) with the label side up, and close the tray. The unit should automatically begin playback or display a menu.
- VHS Playback: Insert a VHS tape into the VCR slot. The unit will typically begin playback automatically.

This image focuses on the DVD tray section of the JVC DR-MV150, labeled 'Super MULTI' indicating its multi-format compatibility. Below the tray are various control buttons for DVD operation, along with logos for DivX, DTS, Dolby Digital Recording, and DVD Video.
5.2 Recording
The DR-MV150 supports recording to various DVD formats (DVD-RAM, DVD-RW, DVD-R, +RW, +R) and VHS Hi-Fi tapes.
- Recording to DVD: Insert a recordable DVD disc. Select the input source (e.g., TV tuner, external A/V input). Press the RECORD button on the unit or remote.
- Recording to VHS: Insert a VHS tape. Select the input source. Press the RECORD button.
- Simultaneous Operation: The unit allows for simultaneous DVD playback while recording to VHS, or vice-versa, depending on the source and destination.
- Finalizing Discs: After recording to a DVD-R, DVD+R, or DVD-RW (VR mode), the disc may need to be finalized to be playable on other DVD players. Refer to the on-screen menu for the finalizing option.
5.3 Advanced Features
- 1080p Up-conversion: When connected via HDMI, the unit can upscale standard definition content to 1080p resolution for improved picture quality on compatible displays.
- Progressive Scan: Provides a smoother, flicker-free image, especially beneficial for fast-moving scenes.
- ATSC Tuner: The integrated ATSC tuner allows reception of over-the-air digital television broadcasts.
6. Maintenance
6.1 Cleaning the Unit
- Exterior: Wipe the exterior surfaces with a soft, dry cloth. For stubborn marks, slightly dampen the cloth with water and then wipe dry. Avoid abrasive cleaners or solvents.
- Disc Tray/VCR Slot: Keep the disc tray and VCR slot free of dust and debris. Do not insert foreign objects.
6.2 General Care
- Avoid exposing the unit to extreme temperatures or direct sunlight.
- Do not place heavy objects on top of the unit.
- Handle discs and tapes carefully to prevent scratches or damage.
7. Troubleshooting
If you encounter issues with your DR-MV150, refer to the following common troubleshooting steps:
- No Power: Ensure the power cable is securely connected to both the unit and a working wall outlet.
- No Picture/Sound: Verify all audio and video cables (HDMI, RCA) are correctly connected to the appropriate input/output ports on both the DR-MV150 and your television/receiver. Ensure the correct input source is selected on your television.
- Disc Not Playing/Recording: Check that the disc is clean, free of scratches, and inserted correctly (label side up). Ensure the disc format is supported by the unit. For recording, ensure the disc is recordable and not full or finalized (if applicable).
- VHS Tape Issues: Ensure the tape is inserted correctly and not damaged.
- Remote Control Not Working: Check the batteries in the remote control and ensure there are no obstructions between the remote and the unit's sensor.
- Unit Unresponsive: Try unplugging the unit from the power outlet for a few minutes, then plug it back in to reset it.
If problems persist after attempting these steps, contact JVC customer support or a qualified service technician.
8. Specifications
| Feature | Specification |
|---|---|
| Model Name | DR-MV150 |
| Product Dimensions | 19 x 15 x 7 inches |
| Item Weight | 12.4 pounds |
| Media Type | CD, DVD, SVCD, VCD, VHS |
| Recordable Formats | VHS Hi-Fi, DVD-RAM, DVD-RW, DVD-R, +RW, +R |
| Special Feature | Progressive Scan |
| Resolution | 1920x1080 (HDMI output with 1080p up-conversion) |
| Connector Type | HDMI, RCA (Audio/Video) |
| Connectivity Technology | HDMI |
| Audio Output Mode | Stereo |
| Integrated Tuner | ATSC/QAM Tuner |
| Batteries (Remote) | 2 AAA batteries required |
| Manufacturer | JVC |
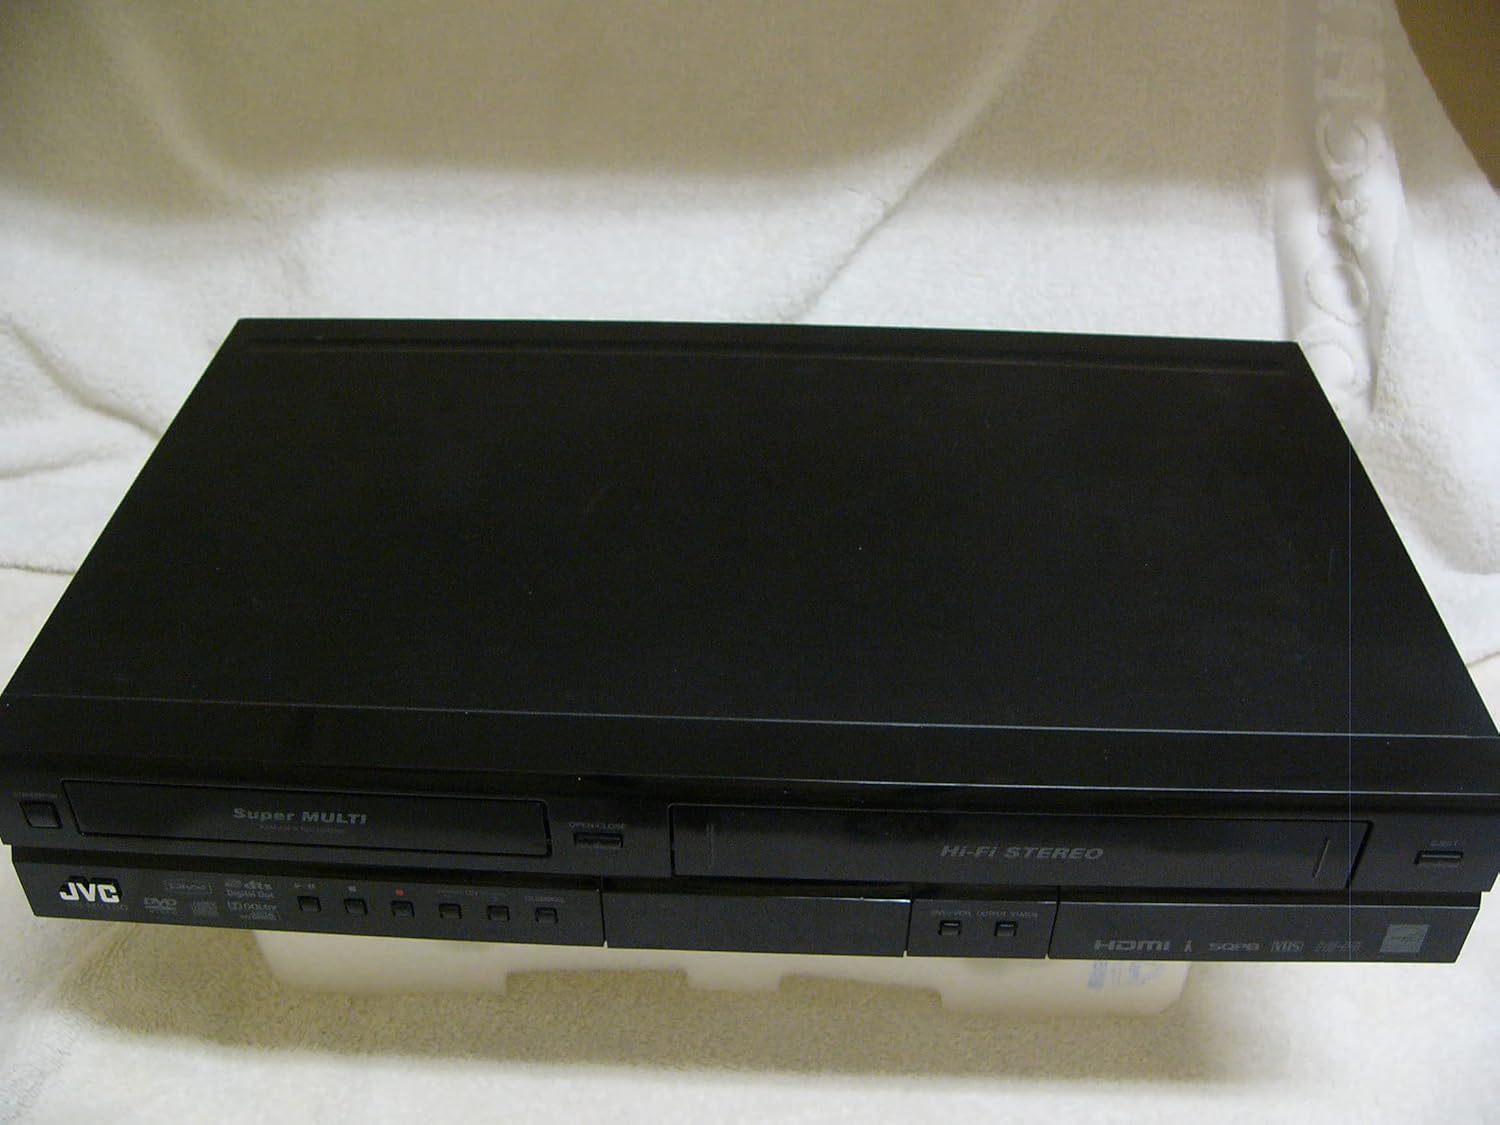
A top-down perspective of the JVC DR-MV150 unit, showcasing its sleek black design and dual-deck configuration for both DVD and VHS media.
9. Warranty and Support
For warranty information, please refer to the documentation included with your purchase or visit the official JVC website. JVC offers various protection plans for extended coverage. For technical support or service inquiries, please contact JVC customer service.
- 2-Year Protection Plan: Available for extended coverage.
- 3-Year Protection Plan: Available for extended coverage.
- Complete Protect: A monthly plan covering eligible past and future purchases.
Please note that protection plans are separate from the manufacturer's warranty and provide additional coverage options.


