Introduction
This manual provides comprehensive instructions for the safe and effective use of your Canon PowerShot SD1200IS Digital ELPH Camera. Please read this manual thoroughly before using the camera to ensure optimal performance and to prevent damage.
The Canon PowerShot SD1200IS is a 10.0-megapixel digital camera featuring a 3x optical zoom lens, a 2.5-inch LCD display, and Canon's DIGIC 4 Image Processor. It is designed for ease of use while delivering high-quality images.
Setup
1. Unpacking and Initial Inspection
Carefully unpack all items from the box. Ensure the following components are present:
- Canon PowerShot SD1200IS Digital ELPH Camera body
- Lithium-ion battery pack (NB-6L)
- Battery charger (CB-2LY)
- Wrist strap (WS-DC7)
- Digital Camera Solution CD-ROM
- USB interface cable (IFC-400PCU)
- AV cable (AVC-DC400)
Inspect the camera and accessories for any signs of damage. If any items are missing or damaged, contact your retailer.
2. Charging the Battery
- Insert the battery pack (NB-6L) into the battery charger (CB-2LY).
- Plug the charger into a power outlet. The charging indicator light will illuminate.
- Once charging is complete, the indicator light will change or turn off (refer to charger specific instructions for exact behavior). Remove the battery.
Note: A fully charged battery is essential for optimal camera performance.
3. Inserting the Battery and Memory Card
The Canon PowerShot SD1200IS uses SD/SDHC, MMC/MMC Plus/HC MMC Plus memory cards (not included). Ensure you have a compatible memory card before proceeding.
- Open the battery/card compartment cover located on the bottom of the camera.
- Insert the charged battery pack into the compartment, ensuring the correct orientation.
- Insert a compatible memory card into the card slot until it clicks into place.
- Close the compartment cover securely.

Image: Bottom view of the camera showing the open battery and memory card compartment. This illustrates where to insert the battery and memory card.
Operating Instructions
1. Powering On/Off
Press the ON/OFF button located on the top of the camera to power it on or off. The lens will extend when powered on.

Image: Top view of the camera, highlighting the ON/OFF button and shutter release.
2. Basic Photography
- Select a Shooting Mode: Use the mode dial or slider (if present) to select your desired shooting mode. For general use, select Smart AUTO.
- Frame Your Shot: Use the 2.5-inch LCD display to compose your image.
- Focus: Press the shutter button halfway down. The camera will automatically focus, and the focus frame will turn green when focus is achieved.
- Capture: Press the shutter button fully down to take the picture.

Image: Rear view of the camera, displaying the LCD screen and various control buttons for navigation and settings.
3. Smart AUTO Mode
In Smart AUTO mode, the camera intelligently analyzes the scene and shooting conditions, then automatically selects the most appropriate settings from 18 predefined options. This allows you to focus on your subject without worrying about technical adjustments.
4. Zoom Operation
The camera features a 3x optical zoom. Use the zoom lever (typically around the shutter button) to zoom in or out. Optical zoom maintains image quality, while digital zoom (up to 4x) can be used for further magnification but may reduce image clarity.
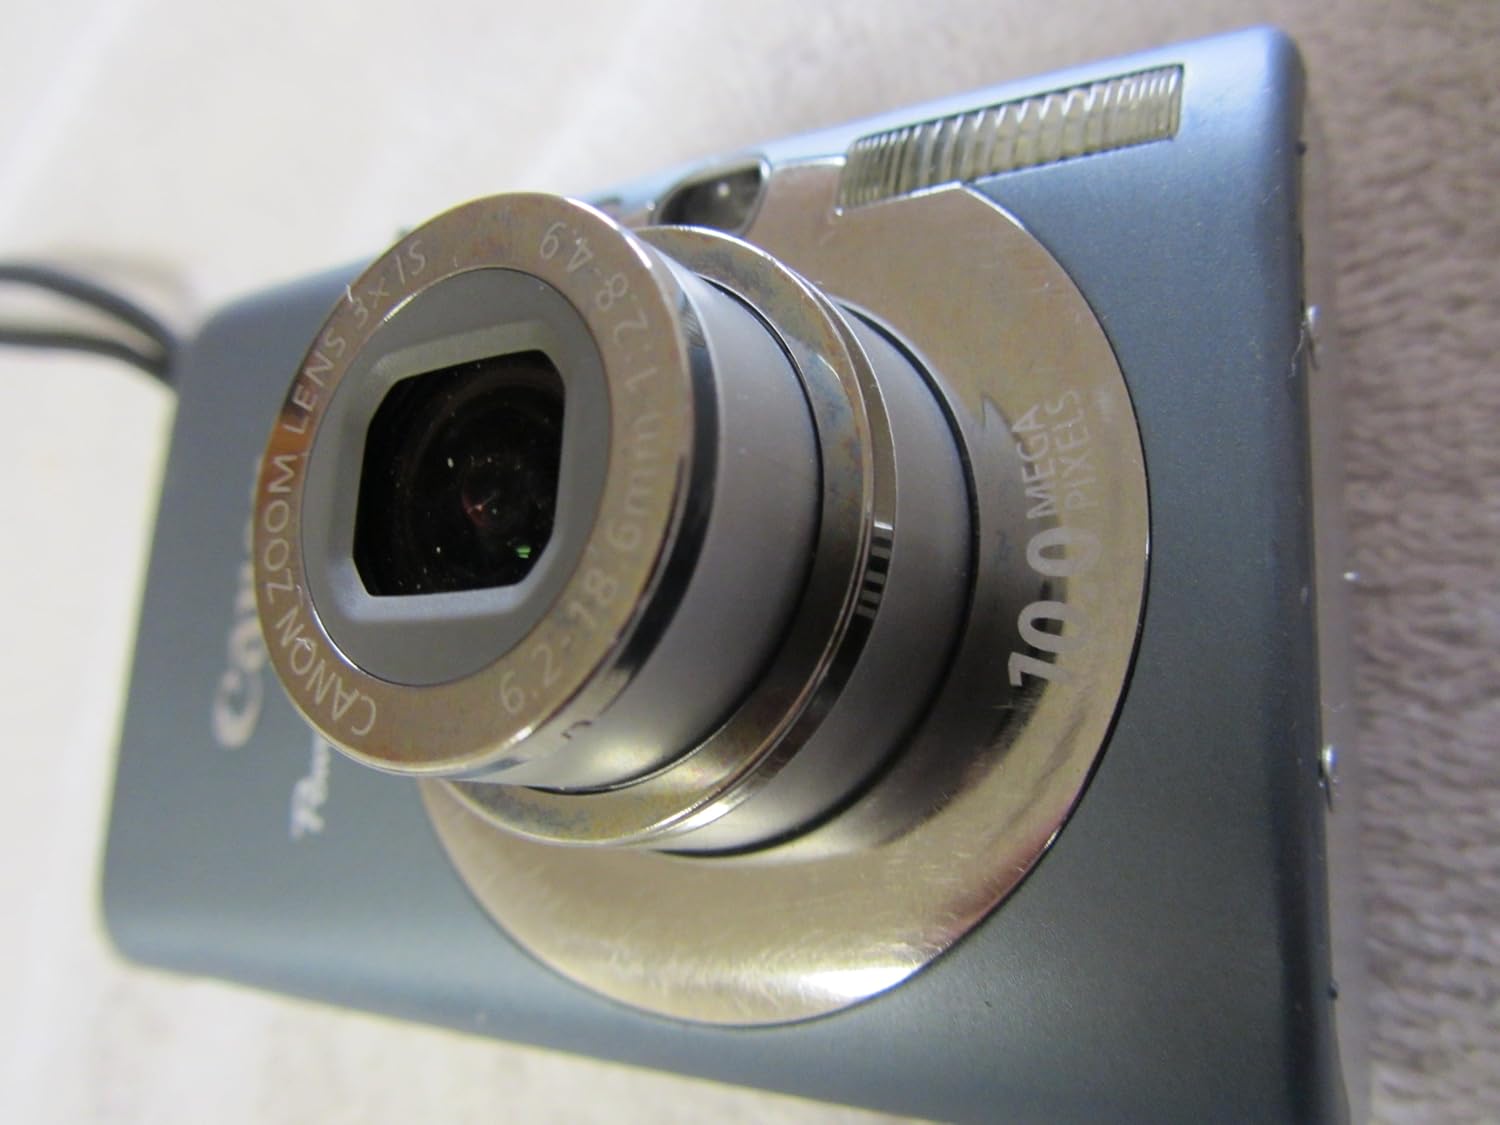
Image: Angled front view of the camera with its lens extended, demonstrating the optical zoom capability.
5. Special Features
- Face Detection Technology: The DIGIC 4 Image Processor includes evolved Face Detection Technology that tracks moving subjects' faces and optimizes focus, exposure, flash, and white balance for natural skin tones.
- Face Detection Self-Timer: This feature automatically detects an increase in the number of faces in the frame (e.g., when the photographer joins a group shot) and delays the shutter release until all faces are detected.
- Optical Image Stabilizer: Automatically detects and corrects camera shake, reducing blur in photos, especially when zoomed in or in low light.
- i-Contrast (Intelligent Contrast Correction): Brightens dark areas of an image while preserving bright areas, resulting in more balanced exposures. This can be applied during shooting or playback.
- Red-eye Correction: Offers options to correct red-eye during shooting, automatically during playback, or manually during playback.
- ISO 1600/3200: High ISO settings (up to 1600, expandable to 3200 in Special Scene mode) reduce the effects of camera shake and improve performance in low-light conditions.
6. Playback Mode
To review your captured images and videos, press the Playback button (often indicated by a triangle icon). Use the directional buttons to navigate through your media.
Maintenance
1. Cleaning the Camera
- Camera Body: Use a soft, dry cloth to wipe the camera body. For stubborn dirt, lightly dampen the cloth with water and then wipe dry. Avoid using organic solvents.
- Lens: Gently remove dust with a blower brush. For smudges, use a lens cleaning cloth specifically designed for optical surfaces. Do not touch the lens with your fingers.
- LCD Screen: Use a soft, dry cloth to clean the LCD. Avoid pressing hard on the screen.
2. Battery Care
- Store batteries in a cool, dry place when not in use.
- Avoid fully discharging the battery frequently to prolong its lifespan.
- Do not expose batteries to extreme temperatures.
3. Storage
When storing the camera for extended periods, remove the battery and memory card. Store the camera in a dry, well-ventilated area, away from direct sunlight and extreme temperatures.
Troubleshooting
This section addresses common issues you might encounter with your Canon PowerShot SD1200IS camera.
Camera Does Not Power On
- Ensure the battery is fully charged and correctly inserted.
- Check if the battery contacts are clean.
- Try using a different, fully charged battery if available.
"No Memory Card" Error
- Ensure a compatible memory card is inserted correctly and fully clicked into place.
- Check if the memory card is damaged or corrupted. Try a different card.
- Format the memory card (this will erase all data, so back up first).
Blurred Images
- Ensure the lens is clean and free from smudges or dust.
- Hold the camera steady during shooting. Utilize the Optical Image Stabilizer feature.
- Check lighting conditions; low light can lead to slower shutter speeds and blur. Increase ISO if necessary.
- Ensure the camera has focused correctly before taking the shot (half-press the shutter button).
Auto Focus Assist Beam Remains On/Flashes
- If you wish to disable the AF assist beam, ensure that the Red-Eye Lamp option is also turned off in the Flash menu settings, in addition to the AF assist beam setting itself.
Difficulty Transferring Photos to Computer
- Ensure the USB cable is securely connected to both the camera and the computer.
- Verify that the camera is powered on and in the correct connection mode (if applicable).
- For Windows XP users, the camera should be recognized as a removable drive without needing Canon software. For other operating systems, ensure the Canon Digital Camera Solution CD-ROM software is installed.
- Try using a memory card reader to transfer files directly from the card to the computer.
Specifications
| Feature | Detail |
|---|---|
| Model Name | Canon PowerShot SD1200IS |
| Photo Sensor Resolution | 10 MP |
| Photo Sensor Size | 1/2.3-inch |
| Optical Zoom | 3x |
| Digital Zoom | 4x |
| Image Stabilization | Optical |
| Screen Size | 2.5 Inches |
| Display Type | LCD (PureColor LCD II) |
| Supported File Format | JPEG |
| Video Resolution | 480p (640x480 at 30 fps) |
| Flash Memory Type | SD/SDHC/MMC/MMCplus/HC MMCplus |
| ISO Range | Auto, 80, 100, 200, 400, 800, 1600 (expandable to 3200) |
| Minimum Shutter Speed | 15 seconds |
| Maximum Shutter Speed | 1/1500 Seconds |
| Connectivity Technology | USB |
| Power Source | Lithium-ion battery pack (NB-6L) |
| Weight | 5.6 ounces (approx. 159 grams) |
| Dimensions (approx.) | Compact form factor |
Warranty Information
Please note that this product is sold "AS-IS" and does not include any warranty. There are no provisions for returns. For specific details regarding your purchase, please refer to the terms and conditions provided by your retailer at the time of sale.
Support
For further assistance, technical support, or to download the full user manual and software updates, please visit the official Canon website. You can typically find support resources by searching for "Canon Support" and your camera model (PowerShot SD1200IS).
Online resources may include:
- Canon USA Support Website (Example link, actual link may vary by region)
- Frequently Asked Questions (FAQs)
- Driver and Software Downloads
- Contact Information for Customer Service


