
Introduction
This manual provides comprehensive instructions for the installation, operation, and maintenance of your Sunforce 50033 15 Watt Solar Battery Charging Kit. This kit is designed to provide clean, free power for 12-volt battery charging in various applications, including RVs, cabins, homes, boats, and remote power setups. Please read this manual thoroughly before using the product to ensure safe and efficient operation.
Key Features
- Designed for RVs, cabins, homes, boats, back-up, and remote power use.
- Completely weatherproof for enhanced durability in various conditions.
- Features a sturdy and durable aluminum frame for extended outdoor use.
- Amorphous solar panel technology ensures functionality in all daylight conditions, including cloudy days.
- Built-in discharge protection to safeguard your battery from over-discharge.
- Kit includes: one 15 Watt amorphous solar panel, a 7 Amp solar charge controller, battery clamps, charge controller wire adapter, and mounting hardware.
Package Contents
Verify that all components listed below are included in your kit:
- 15 Watt Amorphous Solar Panel
- 7 Amp Solar Charge Controller
- Battery Clamps
- Charge Controller Wire Adapter
- Mounting Hardware

Image: Overview of the Sunforce 15 Watt Solar Battery Charging Kit components, showing the solar panel and the charge controller.
Setup and Installation
Follow these steps to properly set up your solar charging kit:
- Choose a Location: Select a location that receives optimal, unobstructed sunlight throughout the day. The panel can be mounted on a flat surface such as a roof (home or RV) or any other suitable area.
- Mount the Solar Panel:
- Assemble the mounting frame using the provided hardware.
- Securely attach the mounting frame to your chosen surface. Ensure all screws are tightened to prevent movement.
- Carefully place the solar panel onto the mounted frame. Align the brackets under the panel with the mounting frame and secure them firmly.
- Ideally, tilt the panels to a 20-degree angle for optimal sun exposure.
- Wiring the Solar Panel:
- Access the electrical terminals located in the black box on the back of the solar panel. Remove the cover.
- Route the wiring through the allocated holes and secure them.
- Loosen the positive terminal screw with a Phillips screwdriver, then place the positive wire under the loosened screw and tighten. Repeat this process for the negative terminal and wire.
- After connecting the wires, use a voltmeter to test the connections. The panel should output approximately 14.5 volts in direct sunlight.
- If installing multiple panels, connect them in parallel as shown in the installation video.
- Replace the cover over the electrical box.
- Connecting the Charge Controller:
- Connect the positive and negative wires from the solar panel to the "Array Terminal" on the charge controller.
- The charge controller can be permanently mounted indoors or in a protected area.
- Connecting to the Battery:
- Attach the negative wire from the solar charge controller to the negative terminal of your 12-volt battery.
- Attach the positive wire from the solar charge controller to the positive terminal of your 12-volt battery.
- Ensure all connections are secure.
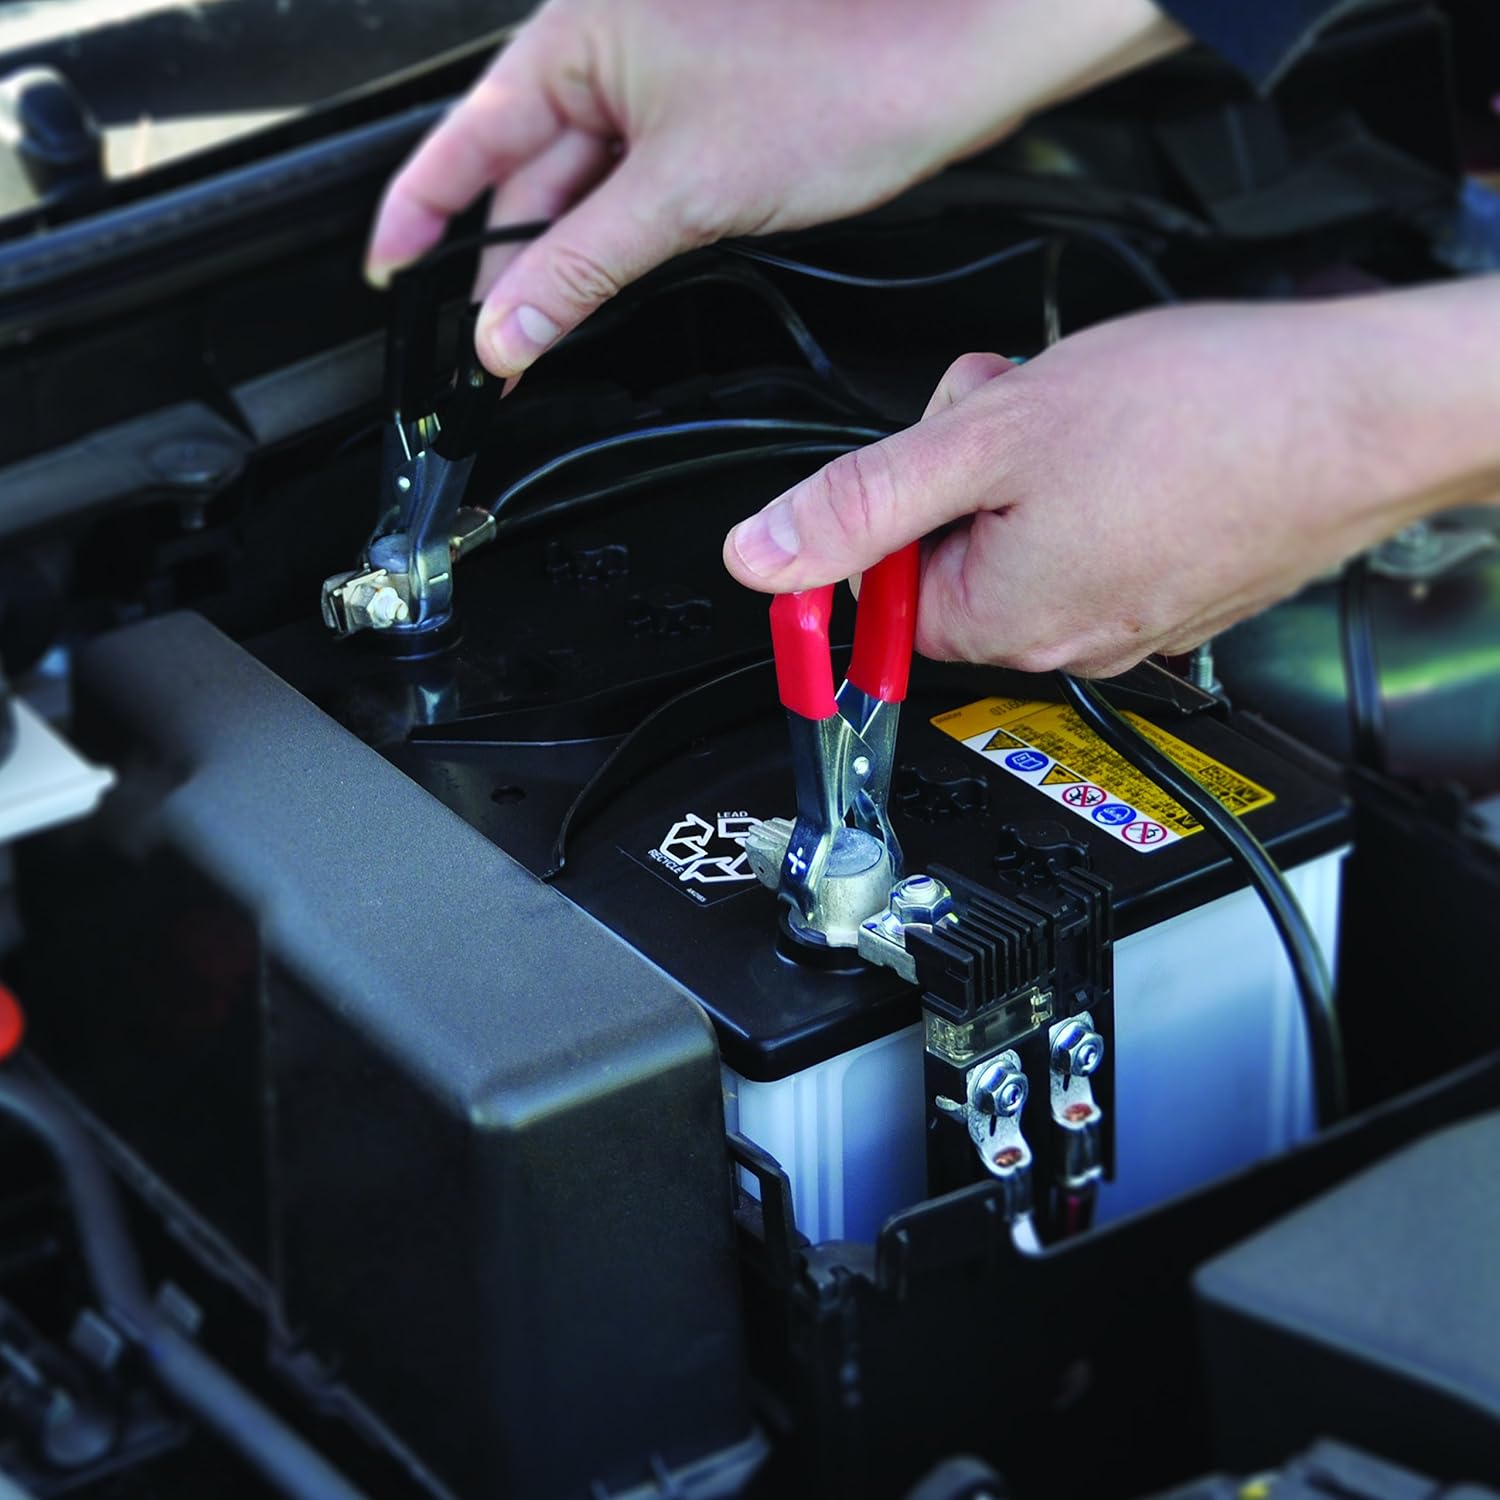
Image: Close-up of hands connecting battery clamps to the terminals of a car battery, illustrating the final connection step.
Installation Video Guide
Video: A detailed guide on how to install a solar panel system, covering mounting, wiring, and connecting to a battery. This video demonstrates the entire setup process for the solar charging kit.
Operation
Once installed, the Sunforce 15 Watt Solar Battery Charging Kit operates automatically. The solar panel converts sunlight into electrical energy, which is then regulated by the 7 Amp charge controller before being supplied to your 12-volt battery. The charge controller prevents overcharging and protects against battery discharge at night.
- Ensure the solar panel is clean and free of obstructions for maximum efficiency.
- Monitor the charge controller's indicators (if available) to confirm proper charging status.
- The system is designed for continuous trickle charging and maintenance of 12-volt batteries.
Maintenance
Regular maintenance ensures optimal performance and longevity of your solar charging kit:
- Panel Cleaning: Periodically clean the surface of the solar panel with a soft, damp cloth to remove dust, dirt, and debris. Avoid abrasive cleaners or harsh chemicals.
- Connection Checks: Annually inspect all electrical connections for tightness and corrosion. Tighten any loose connections and clean any corrosion with a wire brush if necessary.
- Cable Inspection: Check all cables for signs of wear, fraying, or damage. Replace damaged cables immediately.
- Battery Health: Regularly check the water levels in flooded lead-acid batteries and top up with distilled water if needed. For sealed batteries, ensure terminals are clean.
- Obstruction Removal: Ensure no new obstructions (e.g., tree branches, leaves, snow) are blocking sunlight from reaching the panel.
Troubleshooting
| Problem | Possible Cause | Solution |
|---|---|---|
| No charge or low charge output |
|
|
| Battery not holding charge |
|
|
| Charge controller not indicating charge |
|
|
Specifications
| Attribute | Value |
|---|---|
| Brand | Sunforce |
| Model Number | 50033 |
| Material | Aluminum |
| AC Adapter Current | 7 Amps |
| Maximum Voltage | 12 Volts |
| Maximum Power | 15 Watts |
| Item Weight | 8.58 pounds |
| Product Dimensions | 43 x 17 x 5 inches |
| UPC | 787769500339 |
Warranty and Support
For warranty information or technical support, please refer to the manufacturer's official website or contact their customer service directly. Keep your purchase receipt as proof of purchase for any warranty claims.


