Introduction
This manual provides detailed instructions for the installation, operation, and maintenance of the Rain Bird 200-PEB 2" Commercial Electric Control Valve. This industrial-strength glass-filled nylon globe valve is designed for commercial irrigation applications, offering reliable performance and durability.
The 200-PEB series is engineered for high leak resistance and features a robust construction suitable for demanding environments. It incorporates a forward flow design with slow closing action to prevent water hammer, protecting your irrigation system from damage.
Product Overview
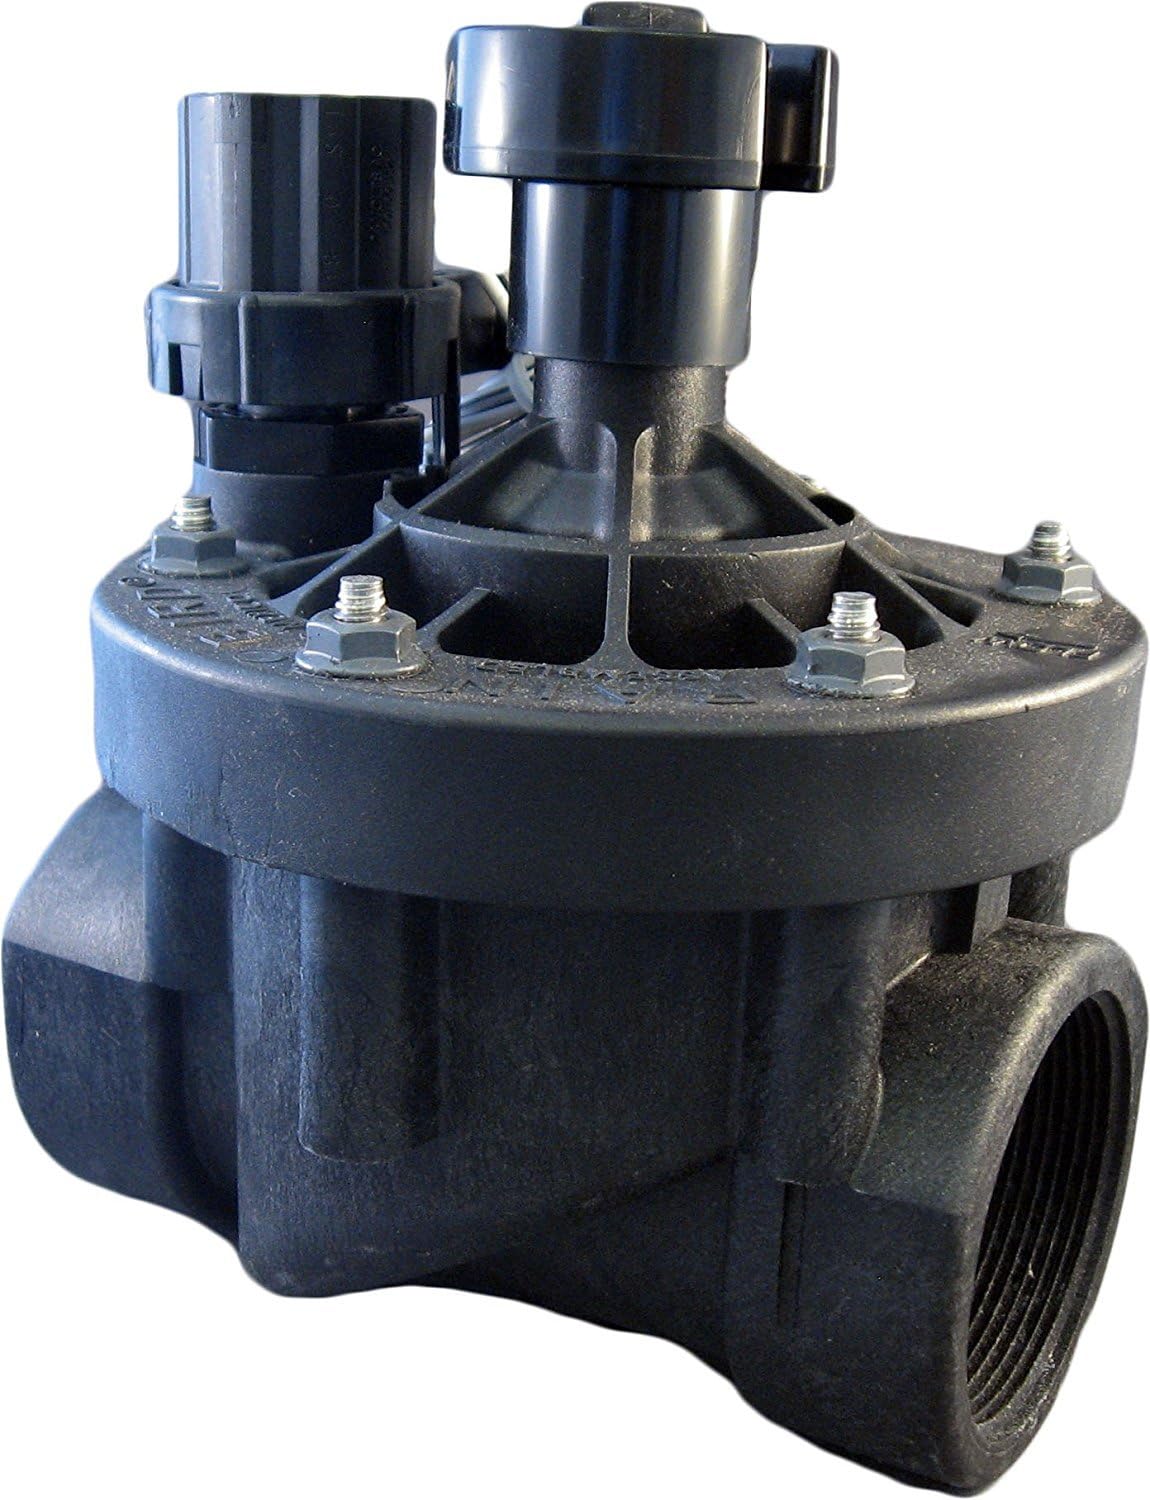
Figure 1: Rain Bird 200-PEB 2-inch Commercial Electric Control Valve. This image shows the black plastic valve body with threaded inlet/outlet ports and the solenoid assembly on top, secured by bolts.
The Rain Bird 200-PEB valve is a globe configuration valve with a 2-inch Female Pipe Thread (FPT) inlet and outlet. Key features include a one-piece solenoid design with a captured plunger and spring for simplified servicing, and a flow control handle for precise water flow adjustment.
Installation and Setup
1. Pre-Installation Checklist
- Ensure the water supply is turned off before beginning installation.
- Verify that the valve size (2 inches) matches your irrigation system's piping.
- Confirm the power supply is 24VAC 50/60Hz.
- Have appropriate tools ready: pipe wrench, thread sealant, wire strippers, electrical connectors.
2. Physical Installation
- Identify the inlet and outlet ports. The valve is a forward flow design.
- Apply thread sealant to the male threads of your irrigation pipes.
- Thread the valve onto the pipes, ensuring a secure, watertight connection. Do not overtighten.
- Position the valve in a location that allows for easy access for maintenance and operation.
3. Electrical Connection
- Connect the two wires from the solenoid to the corresponding wires from your irrigation controller.
- Ensure all electrical connections are secure and protected from moisture using waterproof connectors.
- The solenoid requires 24VAC 50/60Hz power. Inrush current is 0.41A (9.9VA) at 60Hz, and holding current is 0.14A (3.43VA) at 60Hz.
Operation
1. Initial System Start-up
- Slowly turn on the main water supply to the irrigation system.
- Use the manual external bleed feature to flush debris from the system before full operation. This is recommended for system start-up and after repairs.
2. Flow Control Adjustment
- The valve features a flow control handle. Turn the handle clockwise to decrease flow and counter-clockwise to increase flow.
- Adjust the flow as needed for specific irrigation zones to optimize water distribution.
3. Manual Operation
- Manual Internal Bleed: This feature allows manual operation of the valve without allowing water into the valve box. It is useful for adjusting pressure regulators without activating the valve via the controller.
- Manual External Bleed: This feature permits flushing debris from the system. It is recommended for system start-up and after repairs.
Maintenance
- Regularly inspect the valve for any signs of leaks or damage.
- If using the PESB series (which incorporates scrubber technology), the nylon scrubber scrapes a stainless steel screen to clean and break down grit and plant material, preventing debris build-up and clogging. For PEB series, periodic flushing via the manual external bleed is recommended to clear debris.
- The one-piece solenoid design with captured plunger and spring simplifies servicing. If solenoid replacement is needed, parts are less likely to be lost during field service.
- Ensure the bonnet is securely attached. Stainless steel studs molded into the body allow for easier and more frequent attachment and removal of the bonnet without damaging threads.
Troubleshooting
| Problem | Possible Cause | Solution |
|---|---|---|
| Valve does not open | No power to solenoid; clogged diaphragm; faulty solenoid. | Check electrical connections and controller output; inspect and clean diaphragm; test and replace solenoid if necessary. |
| Valve does not close completely (leaks) | Debris in valve; worn diaphragm; damaged seat. | Flush valve using manual external bleed; inspect and replace diaphragm; inspect valve seat for damage. |
| Water hammer (loud banging noise) | Rapid valve closure. | The 200-PEB is designed for slow closing. Ensure proper system pressure and check for any obstructions affecting valve operation. |
| Low flow rate | Partially closed flow control; clogged filter/screen; insufficient water pressure. | Adjust flow control handle; clean internal screen (if applicable); check main water supply pressure. |
Specifications
| Attribute | Detail |
|---|---|
| Model | 200-PEB |
| Material | Glass-filled Nylon (Durable plastic) |
| Inlet/Outlet Size | 2 Inches FPT (Female Pipe Thread) |
| Pressure Range | 20 to 200 psi (1.4 to 13.8 bar) |
| Flow Range (without PRS-D option) | 0.25 to 200 GPM (0.06 to 45 m³/h; 0.02 to 12.60 l/s) |
| Temperature | Up to 150°F (66°C) |
| Solenoid Power Requirement | 24VAC 50/60Hz |
| Solenoid Inrush Current | 0.41A (9.9VA) at 60Hz |
| Solenoid Holding Current | 0.14A (3.43VA) at 60Hz |
| Valve Type | Globe Valve |
| Configuration | Normally closed, forward flow design |
| Item Weight | 2.77 pounds |
| Dimensions (L x W x H) | 8 x 6 inches (approximate, based on item dimensions) |
Warranty Information
The Rain Bird 200-PEB Commercial Electric Control Valve comes with a Five-year trade warranty. For specific terms and conditions, please refer to the official Rain Bird warranty documentation or contact Rain Bird customer support.
Support and Contact
For further assistance, technical support, or inquiries regarding your Rain Bird 200-PEB valve, please visit the official Rain Bird website or contact their customer service department. You can find more information and resources at the Rain Bird Store on Amazon or their corporate website.