1. Introduction
This manual provides essential instructions for the safe and efficient installation, operation, and maintenance of your Insinkerator SS-200-29 Medium Capacity Commercial Waste Disposer. Please read this manual thoroughly before attempting to install or operate the unit. Retain this manual for future reference.
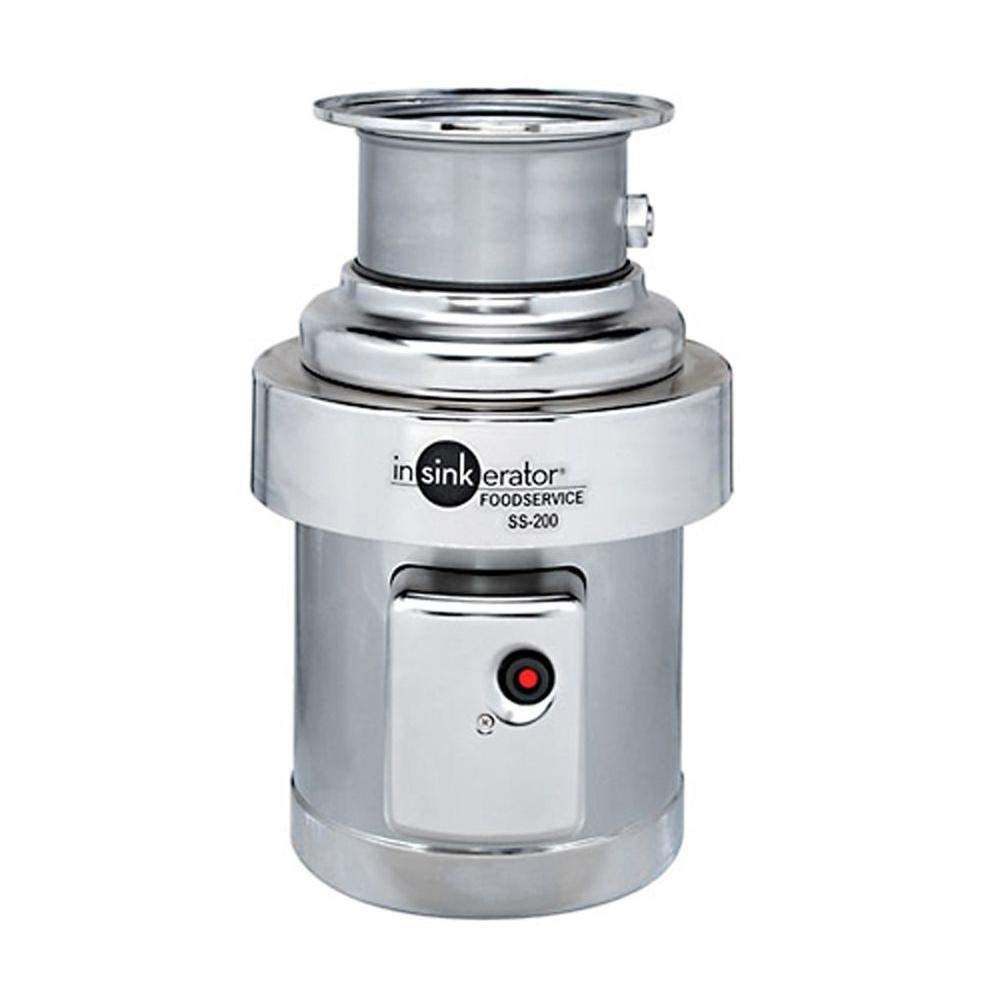
Figure 1: Insinkerator SS-200-29 Medium Capacity Commercial Waste Disposer. This image shows the main body of the disposer unit, typically installed under a sink or food preparation area.
2. Safety Information
WARNING: Failure to follow these safety instructions could result in fire, electric shock, serious injury, or property damage.
- Always disconnect power before installing, servicing, or cleaning the disposer.
- This appliance must be properly grounded.
- Do not put hands or other objects into the disposer opening while the unit is operating.
- Do not dispose of non-food items, glass, metal, plastic, or large bones.
- Ensure proper ventilation in the installation area.
- Installation and service should be performed by a qualified professional.
3. Setup and Installation
The Insinkerator SS-200-29 is a base unit disposer and gasket only, designed for commercial applications. Professional installation is highly recommended due to the electrical and plumbing requirements.
3.1 Pre-Installation Checklist
- Verify power supply: The unit requires 208 Volts.
- Ensure adequate space: Product dimensions are approximately 14.19 x 14.19 x 18.5 inches.
- Confirm plumbing connections are compatible with a 7 Gallons Per Minute flow rate.
- Gather necessary tools and additional plumbing/electrical components.
3.2 Mounting the Disposer
- Prepare the sink opening according to commercial plumbing standards.
- Install the mounting assembly securely to the sink flange, ensuring a watertight seal with the provided gasket.
- Carefully lift the 5-pound stainless-steel disposer unit and align it with the mounting assembly.
- Secure the disposer to the mounting assembly using the appropriate fasteners, ensuring it is level and stable.
3.3 Electrical Connection
- Ensure the main power supply is OFF at the circuit breaker.
- Connect the disposer's electrical wiring to a dedicated 208 Volt circuit, following all local electrical codes.
- Ensure proper grounding of the unit.
- All electrical connections must be made by a licensed electrician.
3.4 Plumbing Connection
- Connect the disposer's discharge outlet to the drain pipe.
- Ensure all plumbing connections are tight and leak-free.
- Test for leaks by running water through the sink before operating the disposer.
4. Operating Instructions
The Insinkerator SS-200-29 is a powerful 2 Horsepower commercial waste disposer designed for efficient food waste processing.
- Ensure the disposer is properly installed and connected to power.
- Turn on a medium to strong flow of cold water into the sink.
- Turn on the disposer using its dedicated switch.
- Slowly feed food waste into the disposer opening. Avoid overloading the unit.
- Allow the disposer to run until all waste is cleared and only the sound of water and the motor is heard.
- Turn off the disposer, then turn off the cold water after a few seconds to flush the drain line.
4.1 Acceptable and Unacceptable Items
Acceptable: Most food scraps, including fruit and vegetable peels, small bones, coffee grounds, and plate scrapings.
Unacceptable: Large bones, fibrous materials (e.g., corn husks, artichokes), grease, oil, fat, glass, metal, plastic, paper, fabric, chemicals, or anything non-food related.
5. Maintenance
Regular maintenance ensures optimal performance and extends the lifespan of your disposer.
- Cleaning: Periodically grind small amounts of citrus peels (lemon, orange) to help clean the grinding chamber and freshen the drain.
- Flushing: Always run cold water for several seconds after turning off the disposer to ensure all waste is flushed through the drain system.
- Avoid Grease Buildup: Do not pour grease or oil down the drain. Allow it to solidify and dispose of it in the trash.
- Inspection: Annually inspect the unit for any signs of leaks or unusual wear.
6. Troubleshooting
Before attempting any repairs, ensure the power to the disposer is disconnected at the circuit breaker.
| Problem | Possible Cause | Solution |
|---|---|---|
| Disposer does not start. | No power; tripped circuit breaker; jammed motor. | Check power supply. Reset circuit breaker. If jammed, turn off power, use a hex wrench in the bottom center hole to free the impellers, then press the red reset button on the bottom of the unit. |
| Disposer hums but does not grind. | Jammed grinding plate. | Turn off power. Use a hex wrench in the bottom center hole to free the impellers. Remove any foreign objects with tongs or pliers. Press the red reset button. |
| Leaks from the disposer. | Loose plumbing connections; faulty seal. | Check and tighten all plumbing connections. If the leak persists, contact a qualified plumber or service technician. |
| Unpleasant odors. | Food particles buildup. | Grind citrus peels or ice cubes with cold water to clean the grinding chamber. |
7. Specifications
- Model: SS-200-29
- Manufacturer: Insinkerator
- Part Number: SS-200-29
- Horsepower: 2 HP
- Voltage: 208 Volts
- Material: Stainless-steel
- Finish: Stainless
- Color: Gray
- Item Weight: 5 pounds
- Product Dimensions: 14.19 x 14.19 x 18.5 inches
- Flow Rate: 7 Gallons Per Minute
- Included Components: Commercial disposer (base unit and gasket only)
- Date First Available: September 2, 2011
8. Warranty and Support
For specific warranty details, please refer to the warranty card included with your product or visit the official Insinkerator website. Keep your purchase receipt as proof of purchase for warranty claims.
For technical assistance, service, or to inquire about replacement parts, please contact Insinkerator customer support. Contact information can typically be found on the manufacturer's website or in the product packaging.


