1. Product Overview
The Avery Dennison Mark III 10651 Regular Tagging Gun is designed for efficient and reliable attachment of tags to various materials, commonly used in retail and garment industries. This combo package provides everything needed to get started with tagging operations.
Included Components:
- Avery Dennison Mark III Regular Tagging Gun (Model 10651)
- 5,000 Regular Fasteners/Barbs (2-inch / 5.08 cm)
- 5 Regular Tagging Gun Replacement Needles
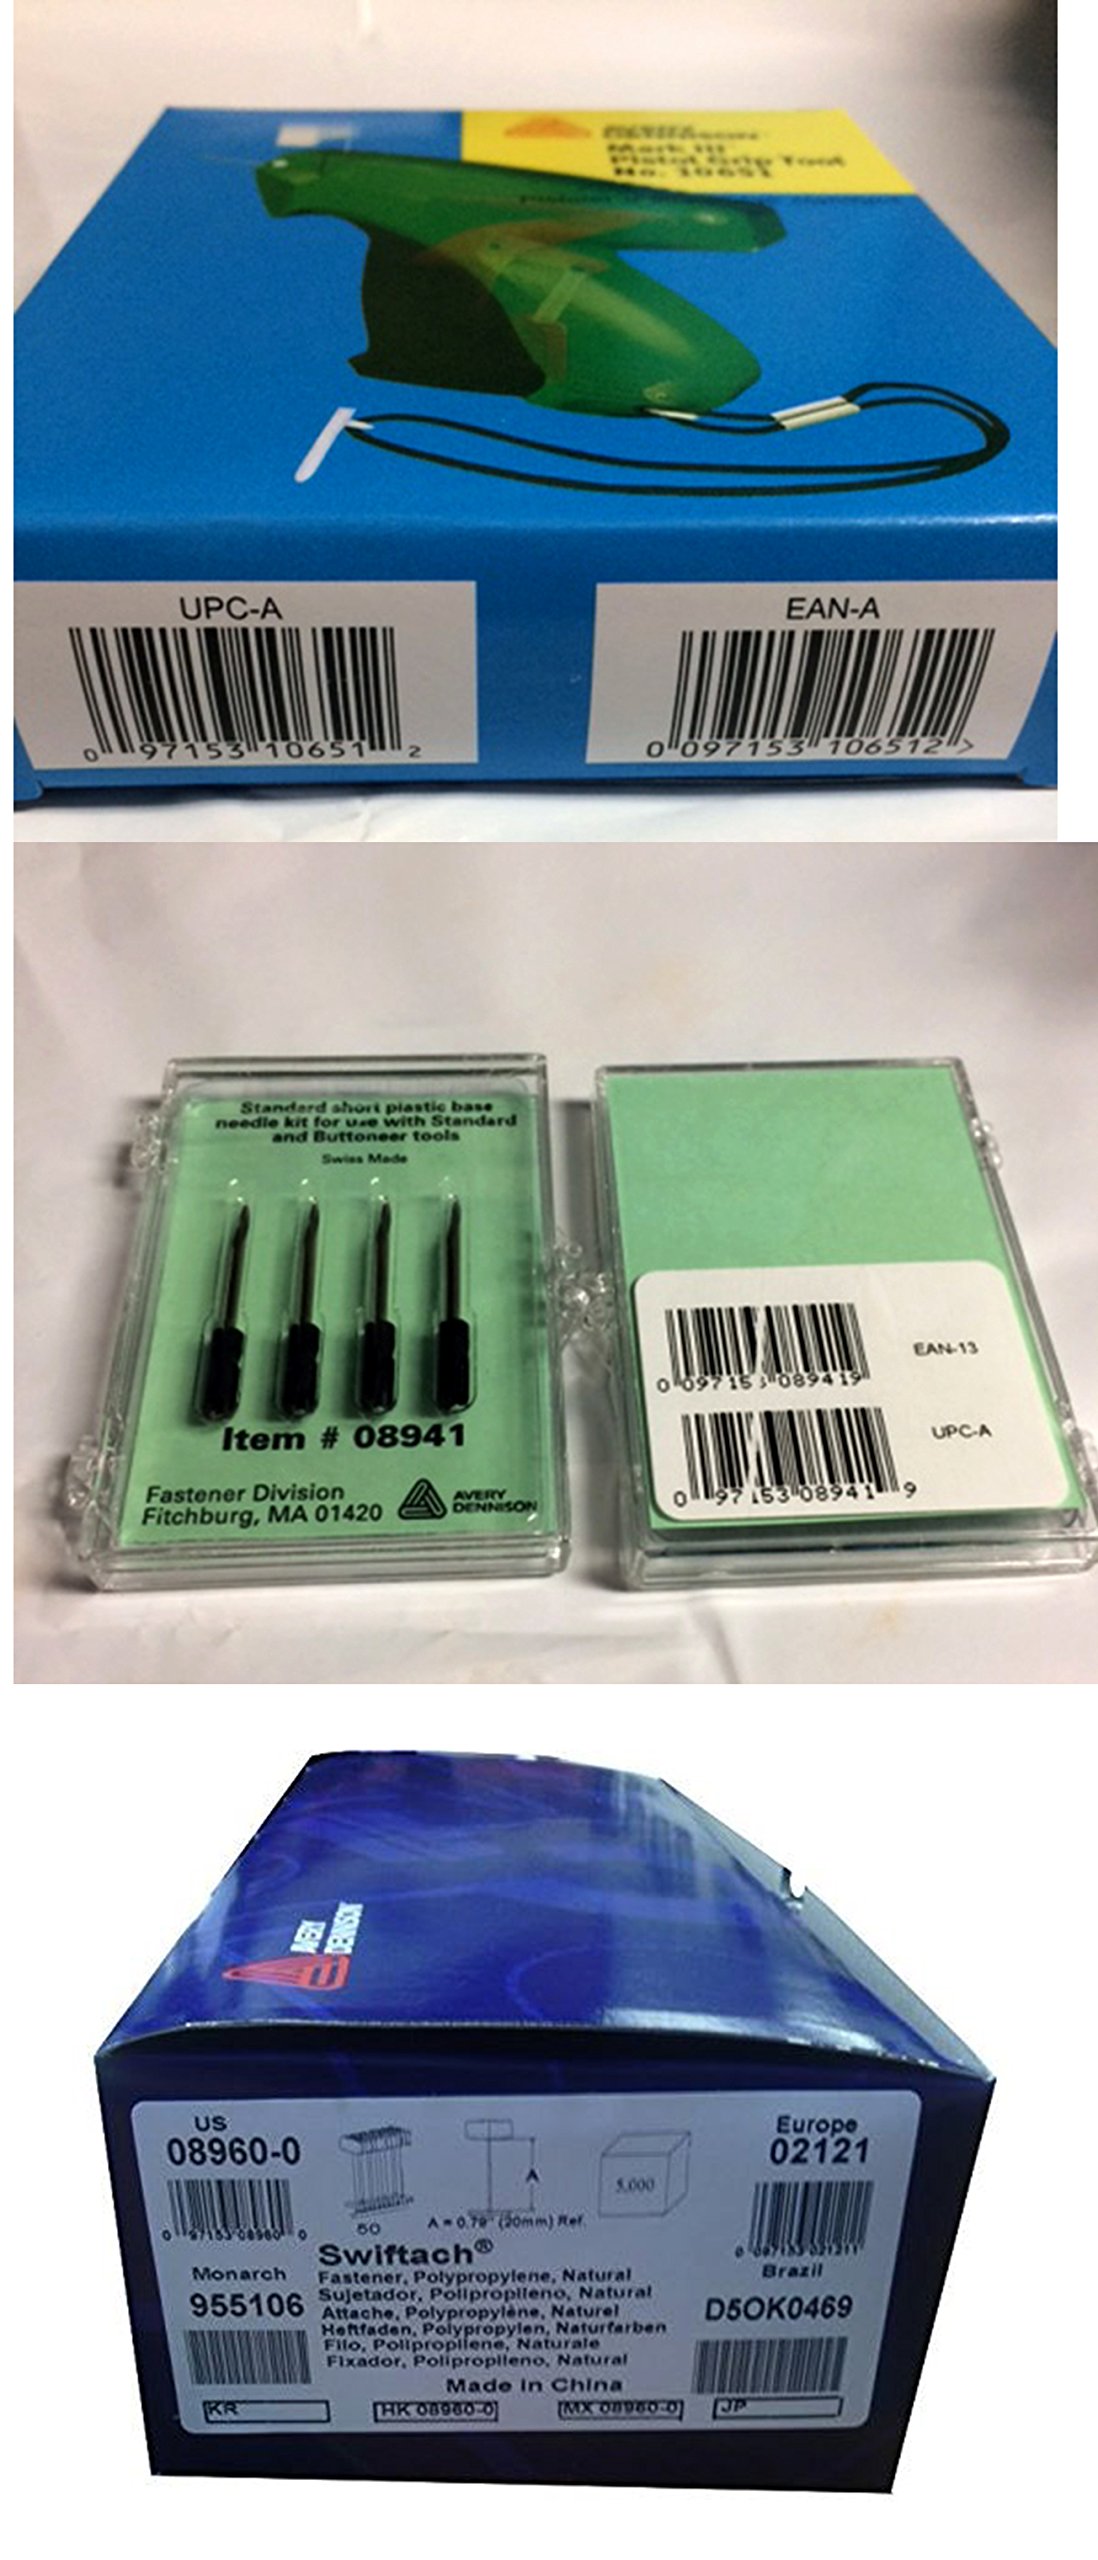
Image 1.1: The Avery Dennison Mark III 10651 Regular Tagging Gun, shown with a package of fasteners and replacement needles. This image illustrates the complete combo package.
2. Safety Information
Please read and understand all safety instructions before operating the tagging gun. Failure to follow these instructions may result in injury or damage to the product.
- Always point the needle away from yourself and others. The needle is sharp and can cause puncture wounds.
- Keep out of reach of children.
- Do not use excessive force when operating the gun.
- Ensure the needle guard is in place when not in use.
- Only use Avery Dennison regular fasteners and needles designed for this model to ensure proper function and safety.
3. Setup
3.1. Loading Fasteners
- Hold the tagging gun with the needle pointing away from you.
- Locate the fastener feed slot, typically on the top of the gun.
- Insert a strip of regular fasteners into the feed slot, ensuring the barbs are facing the correct direction (usually towards the front of the gun). Push the strip until it clicks into place.
- Gently pull the trigger a few times to ensure the fasteners feed smoothly.
3.2. Inserting the Needle
- Ensure the gun is unloaded (no fasteners in the feed slot).
- Locate the needle lock mechanism, usually a small lever or button near the needle.
- Push or slide the lock mechanism to release the old needle (if present) or open the needle slot.
- Carefully insert a new Avery Dennison regular replacement needle into the slot, ensuring it is fully seated.
- Engage the needle lock mechanism to secure the needle in place. Test by gently pulling on the needle to ensure it is firm.
4. Operating Instructions
4.1. Attaching Tags
- Prepare the item to be tagged and the tag itself.
- Hold the tagging gun firmly.
- Position the needle through the designated hole in the tag.
- Carefully push the needle through an appropriate, non-damaging part of the item (e.g., a seam, a label, or a woven area). Avoid delicate fabrics, leather, or areas that could be easily damaged.
- Once the needle has passed through both the tag and the item, fully depress the trigger. This will push a fastener through and secure the tag.
- Release the trigger and gently pull the gun away from the item. The tag should now be securely attached.
4.2. Best Practices
- Always test on an inconspicuous area or scrap material first, especially with new or delicate items.
- Ensure the needle is clean and sharp for smooth operation.
- Do not force the needle through thick or dense materials; this can bend or break the needle.
5. Maintenance
5.1. Needle Replacement
Needles should be replaced when they become dull, bent, or broken. Refer to Section 3.2 for detailed instructions on inserting a new needle.
5.2. Cleaning and Storage
- Wipe the exterior of the tagging gun with a clean, dry cloth to remove dust and debris.
- Do not use harsh chemicals or abrasive cleaners.
- Store the tagging gun in a dry, cool place, away from direct sunlight and moisture.
- Always store with the needle guard in place.
6. Troubleshooting
| Problem | Possible Cause | Solution |
|---|---|---|
| Fasteners not feeding | Fasteners incorrectly loaded; jammed fasteners; empty strip. | Ensure fasteners are loaded correctly. Clear any jammed fasteners. Replace with a new strip of fasteners. |
| Needle bending or breaking | Excessive force; dull needle; incorrect needle type; material too dense. | Reduce force. Replace with a new, sharp needle. Ensure correct needle type for regular fasteners. Avoid overly dense materials. |
| Tag not attaching securely | Fastener not fully ejected; incorrect fastener size; material too loose. | Ensure full trigger depression. Use correct fastener length for material thickness. |
7. Specifications
- Model: Avery Dennison Mark III 10651
- Product Model Number: 10651Combo1inch
- Manufacturer: Avery Dennison, TICKET2TAGGING
- Compatible Fasteners: Regular type, 2-inch (5.08 cm) recommended
- Compatible Needles: Regular Tagging Gun Needles
- Package Dimensions: 29.2 x 11.7 x 7.1 cm (approximately 11.5 x 4.6 x 2.8 inches)
- Item Weight: 0.28 g (Note: This weight appears unusually low based on typical product weights for similar items, but is provided as per product data.)
8. Warranty and Support
For warranty information, technical support, or to purchase additional accessories and replacement parts, please contact Avery Dennison customer service directly. Refer to the official Avery Dennison website or product packaging for the most current contact details.
Note: Specific warranty terms may vary by region and retailer. Please retain your proof of purchase.


