1. Introduction
This instruction manual provides comprehensive guidance for the proper use and maintenance of your Vivitar DVR545 5.0 Megapixel Digital Camcorder. Please read this manual thoroughly before operating the device to ensure optimal performance and longevity. Keep this manual for future reference.
2. Product Overview
2.1 Components
The Vivitar DVR545 is a compact digital camcorder designed for capturing videos and still images. It features an 8x digital zoom, a 2.4-inch LCD screen, and supports SD memory cards for expanded storage.

Figure 1: The Vivitar DVR545 Digital Camcorder shown alongside its protective carrying case.
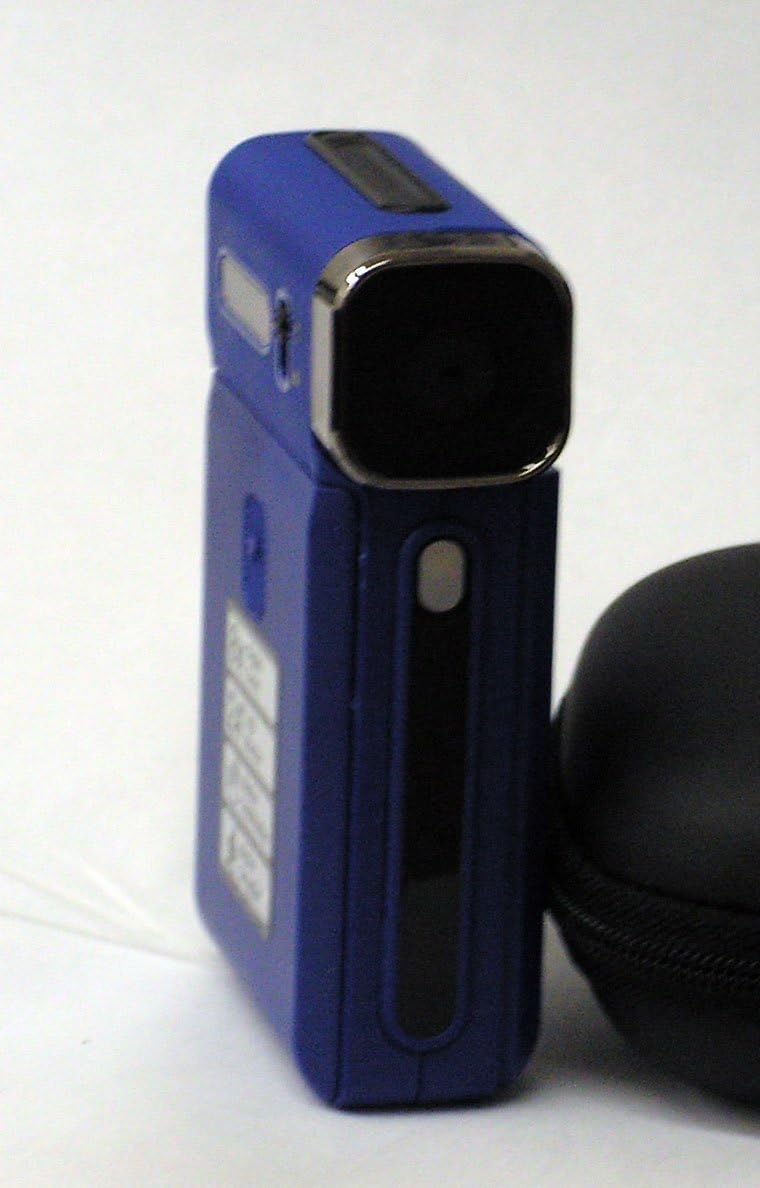
Figure 2: A closer view of the Vivitar DVR545 Digital Camcorder, highlighting its front panel and lens.
3. Setup
3.1 Battery Installation and Charging
- Locate the battery compartment on the camcorder.
- Open the compartment cover.
- Insert the provided rechargeable Li-ion battery, ensuring correct polarity as indicated inside the compartment.
- Close the battery compartment cover securely.
- Connect the camcorder to a power source using the supplied USB cable to charge the battery. The charging indicator light will illuminate.
- Allow the battery to charge fully before first use.
3.2 Memory Card Installation
The camcorder has 64MB of internal memory. For extended recording and storage, an SD card is recommended.
- Locate the SD card slot on the camcorder.
- Insert an SD card into the slot with the metal contacts facing down, until it clicks into place.
- To remove the SD card, gently push it inward until it springs out.
3.3 Initial Power On
Press and hold the power button (usually located on the side or top of the device) for a few seconds until the 2.4-inch LCD screen illuminates.
4. Operating Instructions
4.1 Basic Operation
- Power On/Off: Press and hold the power button.
- LCD Screen: The 2.4-inch LCD screen displays the live view, menu options, and playback.
- Navigation: Use the directional buttons to navigate through menus and settings.
4.2 Recording Videos
- Turn on the camcorder.
- Ensure the camcorder is in video recording mode (indicated by an icon on the LCD).
- Frame your subject using the LCD screen.
- Press the Record button (usually a red circle) to start recording. The recording indicator will flash.
- Press the Record button again to stop recording. Videos are captured at 1080p resolution.
4.3 Taking Photos
- Turn on the camcorder.
- Switch to still photo mode (indicated by a camera icon on the LCD).
- Frame your shot.
- Press the Shutter button (often separate from the Record button) to capture a 5.0 megapixel image.
4.4 Zoom Function
Use the zoom controls (often labeled 'W' for Wide and 'T' for Telephoto) to adjust the 8x digital zoom. Press 'T' to zoom in and 'W' to zoom out.
4.5 Connecting to a Computer (USB)
- Ensure the camcorder is powered on.
- Connect the camcorder to your computer using the supplied USB cable.
- The camcorder should appear as a removable disk drive on your computer.
- You can now access and transfer your video and photo files.
5. Maintenance
5.1 Cleaning the Camcorder
- Use a soft, lint-free cloth to clean the camcorder body.
- For the lens, use a specialized lens cleaning cloth and solution. Avoid touching the lens surface with your fingers.
- Do not use harsh chemicals or abrasive cleaners.
5.2 Battery Care
- Charge the battery regularly, even if not in use, to maintain its capacity.
- Avoid exposing the battery to extreme temperatures.
- If the camcorder will not be used for an extended period, remove the battery.
5.3 Storage
Store the camcorder in a cool, dry place, away from direct sunlight and excessive dust. Use the provided carrying case for protection during transport.
6. Troubleshooting
6.1 Common Issues and Solutions
- Device not turning on: Ensure the battery is correctly installed and fully charged.
- Cannot transfer files to computer: Verify the USB cable is securely connected to both the camcorder and the computer. Ensure the camcorder is powered on. Try a different USB port.
- Poor image/video quality: Check if the lens is clean and free from smudges. Ensure adequate lighting in your recording environment.
- "Memory Full" error: Delete unnecessary files from the internal memory or insert an SD card with sufficient free space.
- LCD screen not displaying: Check if the camcorder is powered on. Adjust the screen angle if it's a swivel screen.
7. Specifications
7.1 Technical Details
| Brand | Vivitar |
| Model Name | DVR545 |
| Megapixels | 5.0 |
| Video Capture Resolution | 1080p |
| Digital Zoom | 8x |
| Screen Size | 2.4 Inches |
| Internal Memory | 64MB |
| Flash Memory Type | SD |
| Connectivity Technology | USB |
| Image Stabilization | Digital, Optical |
| Included Components | Battery |
| Focus Range | 150cm to infinite |
8. Warranty and Support
For information regarding warranty coverage and customer support, please refer to the warranty card included with your product or visit the official Vivitar website. Keep your purchase receipt as proof of purchase.