
1. Introduction
The Stens Valve Spring Compressor 750-174 is a specialized tool designed for the safe and efficient removal and installation of valve springs on various small engines. This tool features adjustable jaws, making it compatible with a range of valve spring sizes. It is an OEM replacement for Briggs & Stratton 19063 and similar applications in outdoor power equipment.
Proper use of this tool ensures that valve service can be performed accurately and with reduced risk of injury. Please read this manual thoroughly before operating the valve spring compressor.
2. Safety Information
WARNING: Always wear appropriate personal protective equipment, including safety glasses and gloves, when working with tools and engine components. Valve springs are under tension and can cause serious injury if not handled correctly.
- Ensure the engine is cool and stable before beginning any work.
- Always use the tool on a stable, level work surface.
- Inspect the valve spring compressor for any damage or wear before each use. Do not use if damaged.
- Keep hands and fingers clear of moving parts and compressed springs.
- Do not over-compress valve springs beyond what is necessary to remove or install keepers.
- Store the tool in a clean, dry place away from children.
3. Product Overview
The Stens Valve Spring Compressor 750-174 consists of a main frame, two adjustable jaws, and a compression mechanism. The jaws are designed to securely grip the valve spring retainer, allowing the spring to be compressed by turning a screw or lever, thus exposing the valve keepers for removal or installation.
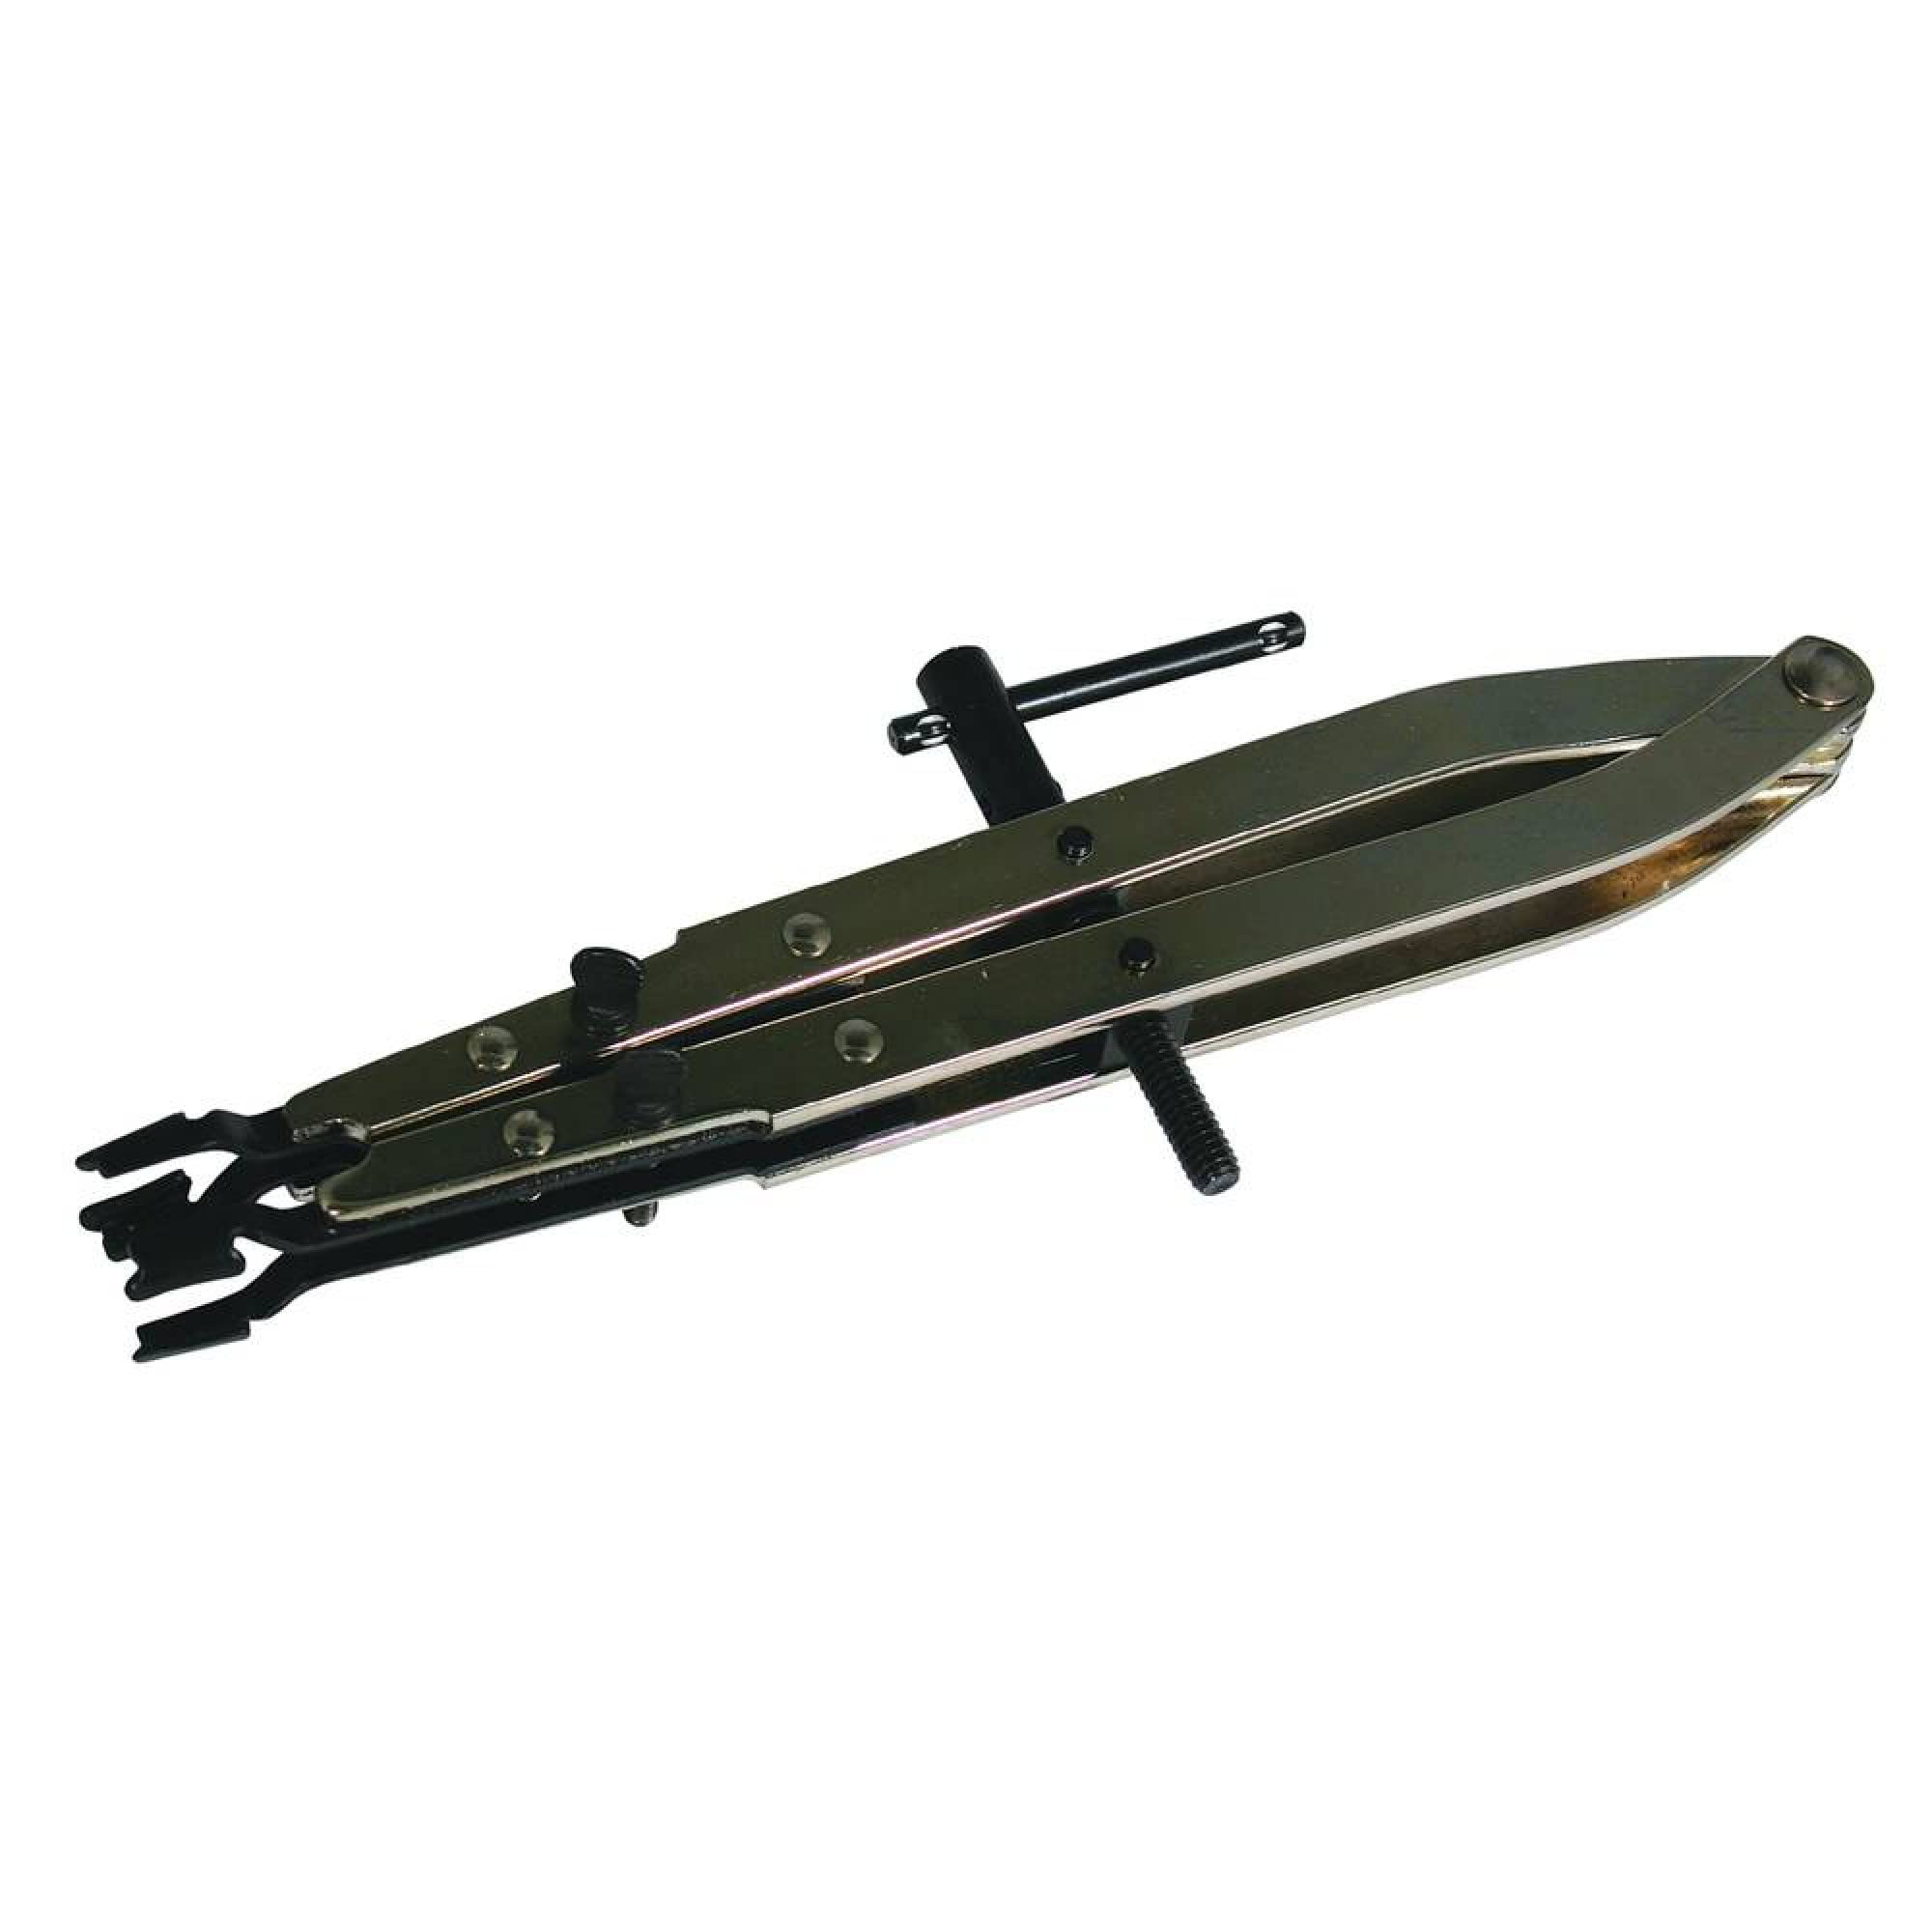
Image 3.1: The Stens Valve Spring Compressor 750-174. This image shows the tool's main body, adjustable jaws, and the screw mechanism used for compression.
4. Setup
- Prepare the Engine: Ensure the engine is clean, cool, and securely mounted on a workbench or stand. Identify the valve(s) requiring service.
- Inspect the Tool: Before each use, check the valve spring compressor for any signs of damage, cracks, or excessive wear on the jaws or threads. Ensure all moving parts operate smoothly.
- Position the Valve: For overhead valve (OHV) engines, ensure the piston is at Top Dead Center (TDC) on the compression stroke for the cylinder being worked on. This helps prevent the valve from dropping into the cylinder if the keepers are removed. For side-valve engines, ensure the valve is fully closed.
5. Operating Instructions
Follow these steps carefully for removing and installing valve springs:
5.1. Removing Valve Springs
- Position the Compressor: Place the lower jaw of the compressor under the valve spring seat or cylinder head, and the upper jaw over the valve spring retainer. Ensure both jaws are securely seated and aligned with the spring.
- Adjust Jaws: Loosen the adjustment screws on the jaws if necessary, then position them to encompass the valve spring and retainer. Tighten the adjustment screws to hold the jaws in place, but do not compress the spring yet.
- Compress the Spring: Slowly turn the compression screw or lever to compress the valve spring. Apply steady, even pressure. Compress the spring only enough to expose the valve keepers.
- Remove Keepers: Once the keepers are exposed and loose, carefully remove them using a magnetic pickup tool or small pliers. Store them safely.
- Release Spring Tension: Slowly and carefully release the compression on the valve spring by unscrewing the compression mechanism. Remove the spring, retainer, and any shims.
5.2. Installing Valve Springs
- Prepare for Installation: Place the valve spring, any shims, and the retainer back onto the valve stem.
- Position the Compressor: Place the lower jaw of the compressor under the valve spring seat or cylinder head, and the upper jaw over the valve spring retainer. Ensure secure seating and alignment.
- Compress the Spring: Slowly turn the compression screw or lever to compress the valve spring, exposing the groove for the keepers on the valve stem.
- Install Keepers: Carefully place the valve keepers into the groove on the valve stem. Ensure they are properly seated.
- Release Spring Tension: Slowly and carefully release the compression on the valve spring. As tension is released, the keepers should lock into the retainer. Gently tap the top of the valve stem with a plastic hammer to ensure the keepers are fully seated.
- Verify Installation: Check that the valve spring and keepers are correctly installed and secure before proceeding with engine reassembly.
6. Maintenance
- Cleaning: After each use, wipe down the tool with a clean cloth to remove any oil, grease, or debris.
- Lubrication: Periodically apply a light coat of machine oil to the compression screw threads and pivot points to ensure smooth operation and prevent corrosion.
- Storage: Store the valve spring compressor in a dry environment to prevent rust.
- Inspection: Regularly inspect the jaws for wear or damage. Replace the tool if any critical components are compromised.
7. Troubleshooting
- Problem: Spring not compressing or tool slipping.
Solution: Ensure the jaws are properly aligned and securely gripping the valve spring retainer. Adjust the jaw width if necessary. Verify the tool is positioned correctly on a stable part of the engine. - Problem: Keepers are difficult to remove or install.
Solution: The spring may not be compressed enough to fully expose the keeper groove. Apply a little more compression. Ensure the valve stem is clean and free of burrs. - Problem: Tool feels stiff or difficult to operate.
Solution: The compression screw or pivot points may require lubrication. Apply machine oil as described in the Maintenance section.
8. Specifications
| Feature | Detail |
|---|---|
| Model Number | 750-174 |
| Product Dimensions | 9.45 x 3.15 x 1.4 inches |
| Item Weight | 12.8 ounces |
| Manufacturer | Stens |
| Compatibility | Replaces Briggs & Stratton 19063 |
9. Warranty and Support
For information regarding warranty coverage or technical support for your Stens Valve Spring Compressor 750-174, please refer to the official Stens website or contact Stens customer service directly. Keep your purchase receipt for warranty claims.
For additional resources or to explore other Stens products, visit the Stens Store on Amazon.