Introduction
The Singer 8280 sewing machine is designed for ease of use, making it an excellent choice for beginners and those undertaking simple sewing projects. This manual provides comprehensive instructions for setting up, operating, maintaining, and troubleshooting your machine to ensure optimal performance and longevity.
Key features of your Singer 8280 sewing machine include:
- Quick-And-Easy threading for efficient setup.
- Adjustable stitch length and zigzag width for customized stitching.
- 8 built-in stitches, including a fully automatic 4-step buttonhole, suitable for various sewing tasks from fashion to home decor.
- Four snap-on presser feet to expand your creative sewing possibilities.
- Designed for 110-volt power, specifically for use in the United States and Canada.
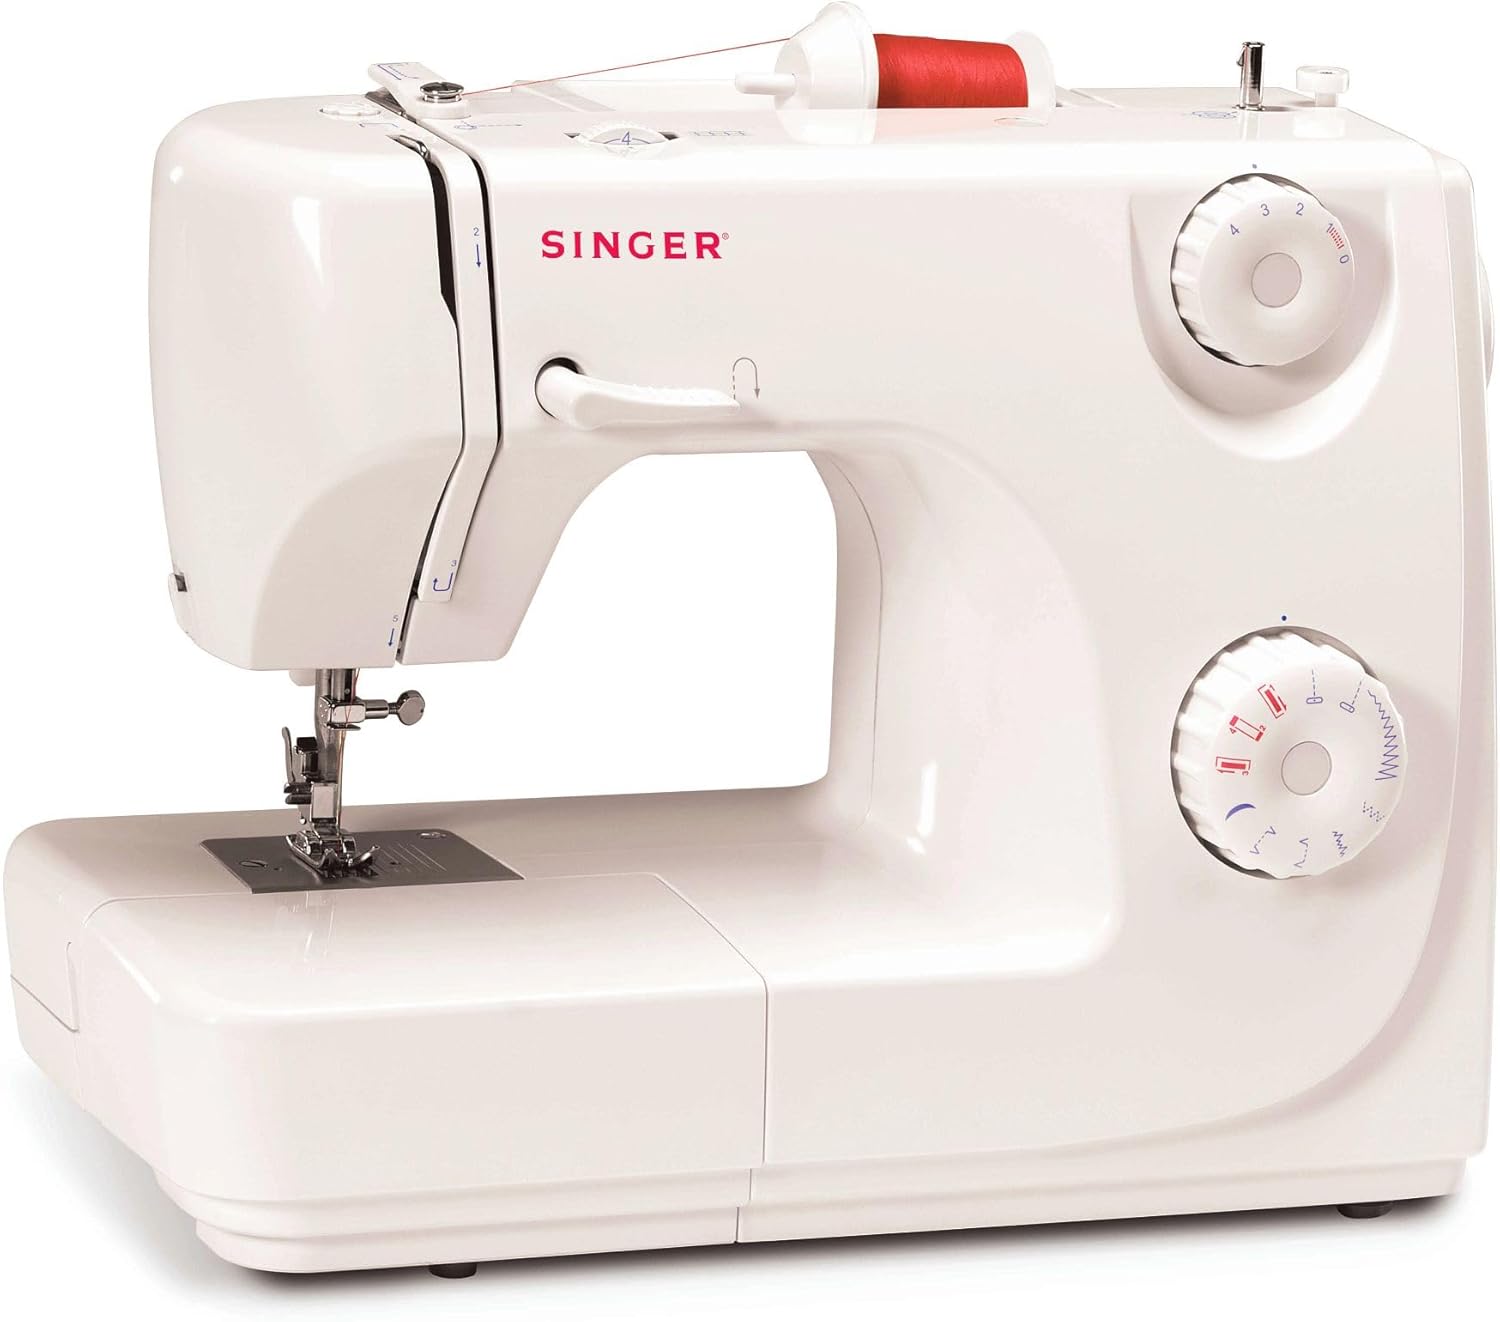
Figure 1: Front view of the Singer 8280 Sewing Machine, showcasing its compact design and control dials.
Setup
Unpacking and Initial Inspection
Carefully remove the sewing machine from its packaging. Inspect the machine for any visible damage. Ensure all included components are present. The Singer 8280 typically includes:
- All-Purpose Foot
- Zipper Foot
- Buttonhole Foot
- Button Sewing Foot
- Pack of Needles
- Bobbins
- Thread Spool Caps
- Darning Plate
- Screwdriver
- Seam Guide
- Seam Ripper/Lint Brush
Power Connection
- Place the machine on a stable, flat surface.
- Ensure the power switch is in the "OFF" position.
- Connect the power cord to the machine's power input jack.
- Plug the other end of the power cord into a standard 110-volt AC electrical outlet.
Note: This machine is designed for 110-volt systems only. Using it with a different voltage may cause damage.
Operating Instructions
Threading the Machine
The Singer 8280 features Quick-And-Easy threading. Follow these steps for proper upper thread and bobbin threading:
Upper Threading:
- Raise the take-up lever to its highest position.
- Place a spool of thread on the spool pin.
- Guide the thread through the upper thread guide.
- Follow the numbered threading path down to the tension discs and up through the take-up lever.
- Thread the needle from front to back.
Bobbin Winding and Insertion:
- Place an empty bobbin onto the bobbin winder spindle.
- Guide the thread from the spool through the bobbin winding tension disc.
- Wrap the thread around the bobbin a few times, then push the bobbin winder spindle to the right.
- Start the machine to wind the bobbin. Stop when full and trim the thread.
- Open the bobbin case cover and insert the wound bobbin according to the machine's markings, ensuring the thread unwinds in the correct direction.
- Pull the bobbin thread through the tension spring.
- Lower the needle to pick up the bobbin thread, then pull both threads under the presser foot.
Stitch Selection and Adjustment
The Singer 8280 offers 8 built-in stitches, including utility stitches and a 4-step buttonhole. Use the stitch selector dial to choose your desired stitch.
- Stitch Selector Dial: Rotate this dial to select one of the 8 available stitches.
- Stitch Length Dial: Adjusts the length of your stitches. Shorter lengths create denser stitches, while longer lengths create looser stitches.
- Zigzag Width Dial: Controls the width of zigzag stitches.
Using Presser Feet
Your machine comes with four snap-on presser feet, each designed for specific tasks:
- All-Purpose Foot: Standard foot for most general sewing.
- Zipper Foot: Used for sewing zippers, cording, and piping.
- Buttonhole Foot: Essential for creating buttonholes with the 4-step buttonhole function.
- Button Sewing Foot: Designed to attach buttons easily.
To change a presser foot, raise the presser foot lever, press the release button (if present) to detach the current foot, and snap the new foot into place.
Maintenance
Cleaning Your Machine
Regular cleaning helps maintain your machine's performance. Always unplug the machine before cleaning.
- Lint Removal: Use the provided lint brush or a small, soft brush to remove lint and dust from the bobbin area, feed dogs, and needle plate.
- Needle Plate: Remove the needle plate (using the screwdriver if necessary) to access and clean the area beneath it.
- Exterior: Wipe the exterior of the machine with a soft, dry cloth. Avoid using harsh chemicals.
Needle Replacement
Replace needles regularly, especially when they become dull, bent, or if you notice skipped stitches or fabric damage. Always use the correct needle type and size for your fabric.
- Turn off and unplug the machine.
- Loosen the needle clamp screw.
- Remove the old needle.
- Insert the new needle with the flat side facing the back of the machine, pushing it up as far as it will go.
- Tighten the needle clamp screw securely.
Troubleshooting
This section addresses common issues you might encounter with your Singer 8280 sewing machine. For more detailed guidance, refer to the instructional materials that came with your machine or consult online resources.
| Problem | Possible Cause | Solution |
|---|---|---|
| Machine Jams / Thread Tangles | Incorrect threading, improper bobbin insertion, dull/bent needle, lint buildup. | Re-thread the machine completely (both upper and bobbin). Ensure bobbin is inserted correctly. Replace needle. Clean bobbin area thoroughly. |
| Skipped Stitches | Incorrect needle size/type, bent needle, improper threading, fabric not feeding correctly. | Change needle to appropriate type/size for fabric. Replace bent needle. Check threading path. Ensure presser foot is down. |
| Uneven Stitches | Incorrect tension settings, improper threading, dull needle. | Adjust tension dials. Re-thread machine. Replace needle. |
| Machine Not Starting | Power cord not connected, power switch off, foot pedal issue. | Check power cord connection. Ensure power switch is ON. Test foot pedal connection. |
Specifications
Below are the technical specifications for the Singer 8280 Sewing Machine:
- Model: 8280
- Brand: Singer
- Item Weight: 5.9 Kilograms
- Material: Metal
- Power Source: Corded Electric (110 Volt)
- Number of Built-in Stitches: 8 (including 1 x 4-step buttonhole)
- Included Components: All Purpose Foot, Zipper Foot, Buttonhole Foot, Button Sewing Foot, Pack of Needles, Bobbins, Thread Spool Caps, Darning Plate, Screwdriver, Seam Guide, Seam Ripper/Lint Brush.
- Dimensions (Approximate):
- Height: 12 cm
- Width: 15 cm
- Depth: 7.5 cm

Figure 2: Approximate dimensions of the Singer 8280 Sewing Machine.
Warranty and Support
For warranty information, please refer to the documentation included with your original purchase or visit the official Singer website. If you require technical assistance or have questions not covered in this manual, please contact Singer customer support.
You can often find additional support and video tutorials on the official Singer website or through authorized service centers. Keep your purchase receipt as proof of purchase for warranty claims.
For more information, visit the Singer Store on Amazon.


