1. Overview
The Sony Cybershot DSC-W220 is a compact digital camera designed for ease of use and high-quality image capture. Featuring a 12.1-megapixel sensor and 4x optical zoom, it is ideal for everyday photography, travel, and special events. Its intelligent features simplify the photography process, allowing users to focus on capturing memorable moments.
2. Product Features
- 12.1-megapixel Super HAD CCD Image Sensor: Captures high-resolution images with fine detail.
- Carl Zeiss 4x Optical Zoom Lens: Provides clear magnification for distant subjects without compromising image quality.
- Optical SteadyShot Image Stabilization: Reduces blur caused by camera shake, ensuring sharper photos and smoother videos.
- BIONZ Image Processor: Delivers fast performance and precise image processing for vibrant, natural-looking results.
- Face Detection: Automatically detects up to eight faces in a scene, optimizing focus, exposure, and white balance for clear portraits.
- Smile Shutter Technology: Automatically captures a photo when a smile is detected, ensuring you don't miss happy expressions.
- Intelligent Scene Recognition: Automatically identifies common shooting conditions (e.g., Backlight, Portrait, Twilight) and adjusts camera settings for optimal results.
- 15MB Built-in Memory: Offers limited internal storage for immediate use.
- Memory Stick Duo/PRO Duo Media Support: Expandable storage for a large number of photos and videos (memory card not included).
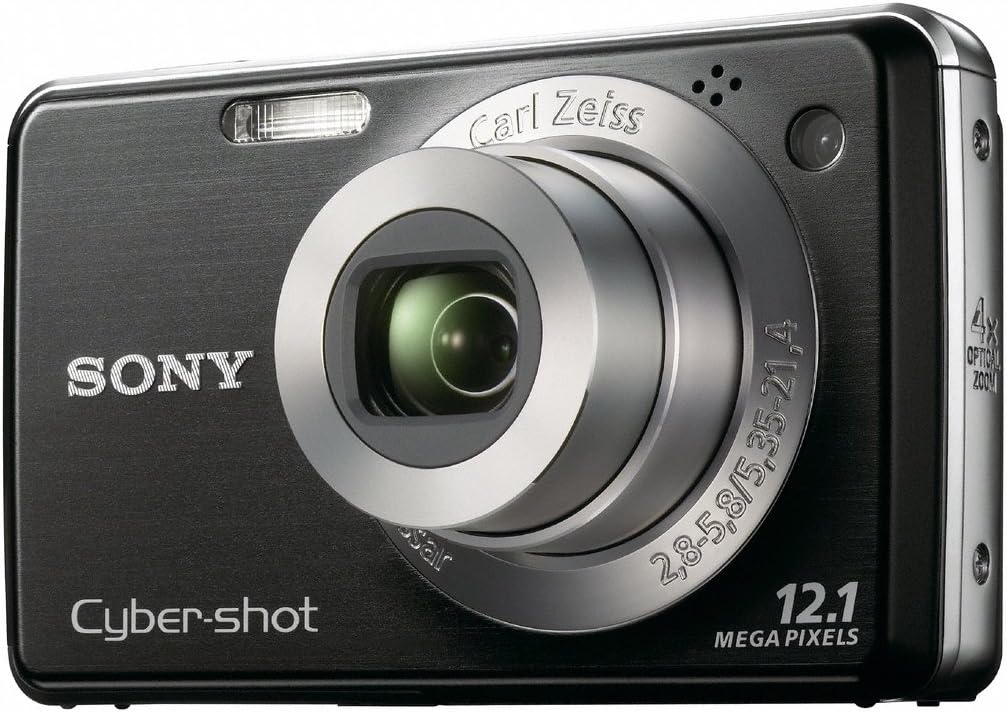
Figure 1: Front view of the Sony Cybershot DSC-W220 digital camera, showing the Carl Zeiss lens and flash.

Figure 2: Back view of the Sony Cybershot DSC-W220 digital camera, displaying the LCD screen and control buttons.
3. Setup
3.1. Inserting the Battery
- Open the battery cover located on the bottom of the camera.
- Insert the supplied Lithium Ion battery (NP-BG1) with the correct orientation, matching the polarity indicators.
- Close the battery cover securely.
3.2. Inserting a Memory Card
- Open the memory card slot cover, usually located near the battery compartment.
- Insert a Memory Stick Duo or Memory Stick PRO Duo card into the slot until it clicks into place. Ensure the card is facing the correct direction.
- Close the memory card slot cover.
3.3. Initial Power On
- Press the ON/OFF button located on the top of the camera.
- The LCD screen will display the startup sequence, and the lens will extend.
- Set the date and time if prompted.
4. Operating the Camera
4.1. Taking Photos
- Turn the mode dial to the desired shooting mode (e.g., Auto, Program Auto, Scene Selection).
- Frame your shot using the LCD screen.
- Press the shutter button halfway down to focus. The focus frame will turn green when focus is achieved.
- Press the shutter button fully down to take the picture.
4.2. Using the Optical Zoom
To zoom in or out, use the zoom lever located around the shutter button. Push the lever towards 'W' for wide-angle (zoom out) and 'T' for telephoto (zoom in).
4.3. Recording Videos
- Turn the mode dial to the Movie mode.
- Press the Movie button to start recording. A red dot will appear on the screen to indicate recording is in progress.
- Press the Movie button again to stop recording.
4.4. Image Stabilization (SteadyShot)
The Optical SteadyShot feature is automatically active in most shooting modes to minimize blur from camera movement. This is particularly useful in low light or when using the zoom.
4.5. Using the Flash
The built-in flash can be activated or adjusted via the flash mode setting in the camera's menu or by pressing the flash button (if available) on the control panel. Available modes include Auto Flash, Fill-Flash, Slow Sync, and Flash Off.
4.6. Reviewing Images and Videos
Press the Playback button (usually indicated by a triangle icon) to enter playback mode. Use the directional buttons to navigate through your photos and videos. Press the center button to view details or play videos.
5. Maintenance
5.1. Charging the Battery
To charge the NP-BG1 Lithium Ion battery, remove it from the camera and insert it into the supplied battery charger. The charger's indicator light will show the charging status (e.g., red for charging, green for full). Ensure the battery is inserted with the correct polarity.
Video 1: Instructions on how to charge the NP-BG1 battery using a compatible USB charger. The video demonstrates plugging the charging cable into a USB port, then into the charger, and finally sliding the battery into the charger. A red light indicates charging, and a green light indicates standby or full charge.
5.2. Cleaning the Camera
- Use a soft, lint-free cloth to clean the camera body.
- For the lens, use a lens brush or a blower to remove dust, then gently wipe with a lens cleaning cloth. Avoid touching the lens directly with your fingers.
- Clean the LCD screen with a soft, dry cloth.
5.3. Storage
When not in use, store the camera in a cool, dry place away from direct sunlight and extreme temperatures. Remove the battery if the camera will not be used for an extended period.
6. Troubleshooting Common Issues
| Problem | Possible Cause | Solution |
|---|---|---|
| Camera does not turn on | Battery is depleted or incorrectly inserted. | Charge the battery fully or reinsert it correctly. |
| Images are blurry | Camera shake, subject movement, or incorrect focus. | Hold the camera steady, use Optical SteadyShot, or ensure proper focus before shooting. |
| "No Memory Card" message appears | Memory card is not inserted or is corrupted. | Insert a Memory Stick Duo/PRO Duo card or try a different card. |
| Flash does not fire | Flash mode is set to "Flash Off" or battery is low. | Change flash mode to Auto or Fill-Flash, or charge the battery. |
7. Technical Specifications
- Image Sensor: 12.1-megapixel Super HAD CCD
- Lens: Carl Zeiss 4x Optical Zoom
- Image Stabilization: Optical SteadyShot
- Image Processor: BIONZ
- Built-in Memory: 15MB
- Compatible Memory: Memory Stick Duo/PRO Duo Media
- Battery: 1 Lithium Ion battery (included)
- Product Dimensions: 2.25 x 0.88 x 3.75 inches
- Item Weight: 5.9 ounces
- Supported File Format: JPEG, RAW
- Aspect Ratio: 16:9
8. Warranty and Support
For warranty information and customer support, please refer to the documentation included with your product or visit the official Sony website. Sony provides comprehensive support for its products, including troubleshooting guides, software updates, and service options.


