
Weller 6150
Weller 6150 Cut Tip Instruction Manual
Model: 6150
1. Introduction
This manual provides comprehensive instructions for the safe and effective use of the Weller 6150 Cut Tip. This accessory is designed to be used with compatible Weller 8200/D550 soldering guns, transforming them into versatile cutting tools for various materials such as nylon, plastic, and rope. Please read this manual thoroughly before installation and operation to ensure optimal performance and safety.
2. Safety Information
WARNING: Always observe basic safety precautions when using electrical tools to reduce the risk of fire, electric shock, and personal injury.
- Ensure the soldering gun is unplugged and cool before installing or removing the tip.
- Always wear appropriate personal protective equipment, including safety glasses, to protect against flying debris or splashes.
- Use the tool in a well-ventilated area to avoid inhaling fumes from heated materials.
- Do not touch the hot tip. Allow it to cool completely before handling or storing.
- Keep the work area clean and well-lit. Cluttered or dark areas invite accidents.
- Do not operate power tools in explosive atmospheres, such as in the presence of flammable liquids, gases, or dust.
- Store idle tools out of reach of children and other untrained persons.
3. Setup and Installation
The Weller 6150 Cut Tip is designed for easy installation on compatible Weller 8200/D550 soldering guns.

Image: The Weller 6150 Cut Tip, showing its U-shaped cutting edge and connection prongs.
- Ensure your Weller 8200/D550 soldering gun is unplugged from the power outlet and completely cool.
- If a tip is currently installed, carefully remove it by gently pulling it out from the gun's terminals.
- Align the two prongs of the Weller 6150 Cut Tip with the terminal holes on the soldering gun.
- Gently push the prongs into the terminal holes until the tip is securely seated. Do not force it.
- Verify that the tip is firmly in place and makes good contact with both terminals.
4. Operating Instructions
Once the 6150 Cut Tip is installed, your soldering gun is ready for cutting operations.
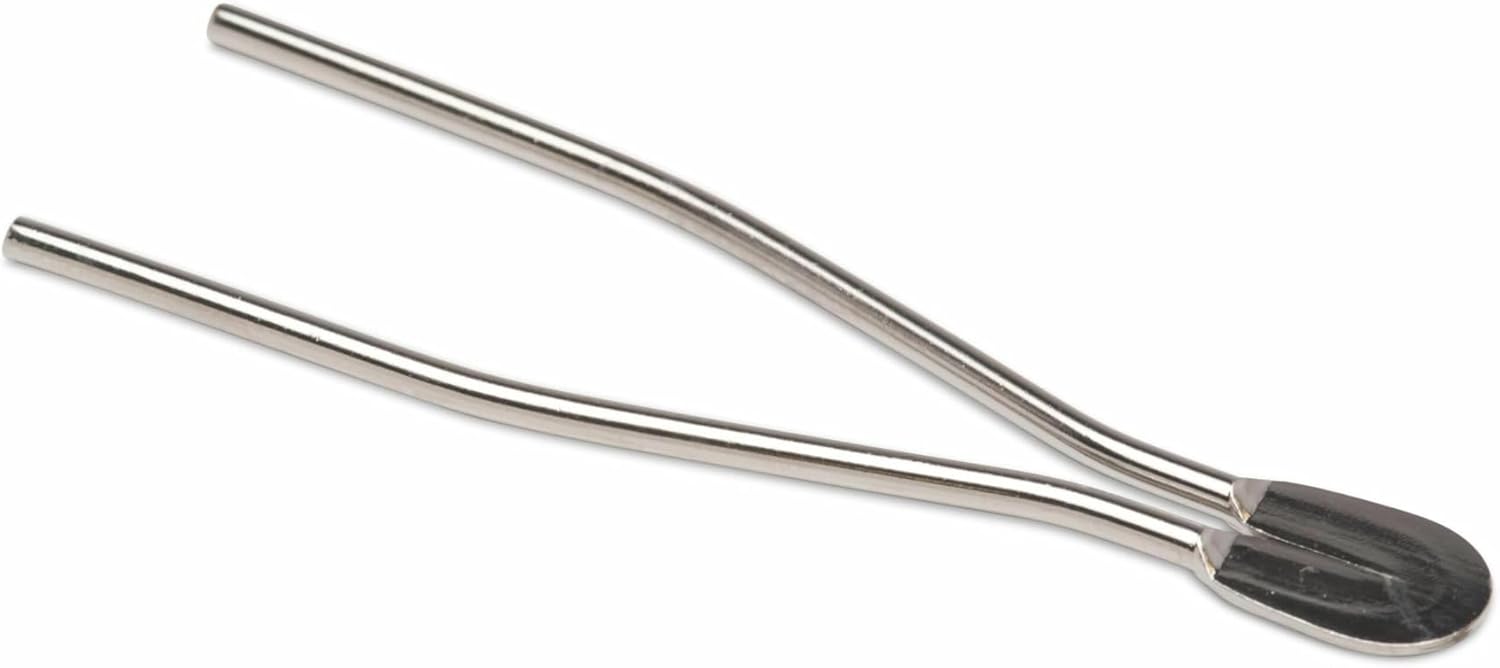
Image: Side view of the Weller 6150 Cut Tip, illustrating its slender profile for precise work.
- Plug the Weller soldering gun into a suitable power outlet (refer to your soldering gun's manual for power requirements).
- Press the trigger on the soldering gun. The tip will begin to heat rapidly.
- Allow a few seconds for the tip to reach its operating temperature. The tip will glow slightly or you may see smoke if there's residue.
- Carefully bring the heated cutting edge of the tip into contact with the material you wish to cut. Apply gentle, steady pressure.
- Move the tip slowly through the material. The heat will melt and cut the material.
- Release the trigger when cutting is complete or if the tip becomes too hot. The tip will cool down quickly.
- For continuous cutting, periodically release the trigger to allow the tip to cool slightly and prevent overheating of the gun.
5. Maintenance
Proper maintenance ensures the longevity and performance of your Weller 6150 Cut Tip.

Image: Angled view of the Weller 6150 Cut Tip, highlighting the connection points.
- Cleaning: After use, and once the tip has completely cooled, gently wipe any residue from the cutting edge with a dry cloth. Do not use abrasive materials or solvents.
- Storage: Store the tip in a dry, clean environment, away from moisture and corrosive substances.
- Inspection: Periodically inspect the tip for any signs of wear, damage, or corrosion. Replace the tip if it shows significant wear or damage that could affect performance or safety.
- Terminal Contact: Ensure the prongs of the tip remain clean and free of oxidation to maintain good electrical contact with the gun's terminals.
6. Troubleshooting
If you encounter issues with your Weller 6150 Cut Tip, refer to the following table for common problems and solutions.
| Problem | Possible Cause | Solution |
|---|---|---|
| Tip does not heat up. | Loose connection; Faulty gun; Damaged tip. | Ensure tip is fully inserted. Check gun's power. Inspect tip for damage. |
| Poor cutting performance. | Tip not hot enough; Tip worn or dirty; Incorrect technique. | Allow more heat-up time. Clean tip. Apply steady, gentle pressure. |
| Excessive smoke/fumes. | Material burning; Insufficient ventilation. | Reduce contact time. Ensure adequate ventilation. |
7. Specifications
| Attribute | Value |
|---|---|
| Manufacturer | Weller |
| Part Number | 6150 |
| Item Model Number | 6150 |
| Item Weight | 8 pounds (Note: This weight seems unusually high for a tip and may refer to a package or shipping weight.) |
| Product Dimensions | 2.6 x 0.9 x 0.2 inches |
| Material | Lead (Note: This likely refers to the material composition of the tip or its coating, or a historical material used in soldering products.) |
| Item Package Quantity | 1 |
| Number Of Pieces | 1 |
| Included Components | 1 Weller Branded Product (Cut Tip) |
8. Warranty and Support
For specific warranty information regarding the Weller 6150 Cut Tip, please refer to the warranty documentation included with your Weller soldering gun or visit the official Weller website. Warranty terms may vary by region and product.
For technical support, replacement parts, or further assistance, please contact Weller customer service or visit their official website:
Related documents6150


Ask a question about this manual
Ask about setup, troubleshooting, compatibility, parts, safety, or missing instructions. Manuals+ will review the question and use this page’s manual context to help answer it.