
Introduction
Thank you for purchasing the Karlsson KA4819 LED Cube Alarm Clock. This manual provides detailed instructions for setting up, operating, and maintaining your new alarm clock. Please read this manual thoroughly before use to ensure proper function and longevity of the product. Keep this manual for future reference.
Safety Information
- Ensure the power adapter voltage matches your local power supply.
- Do not expose the device to water, moisture, or extreme temperatures.
- Avoid dropping or subjecting the device to strong impacts.
- Do not attempt to disassemble or repair the device yourself. Refer all servicing to qualified personnel.
- Keep the device away from direct sunlight and heat sources.
- Unplug the device during lightning storms or when unused for long periods.
Package Contents
Please check the package for the following items:
- Karlsson KA4819 LED Cube Alarm Clock
- Power Adapter
- User Manual (this document)
Note: Batteries are not included and are not required for primary operation as the device is electric. This model's specifications indicate that batteries are not included.
Product Overview
The Karlsson KA4819 is a stylish LED alarm clock designed in a cube shape, featuring a clear digital display. Its primary function is to display time and act as an alarm. The exterior is made of plastic with a walnut finish, giving it a natural aesthetic.
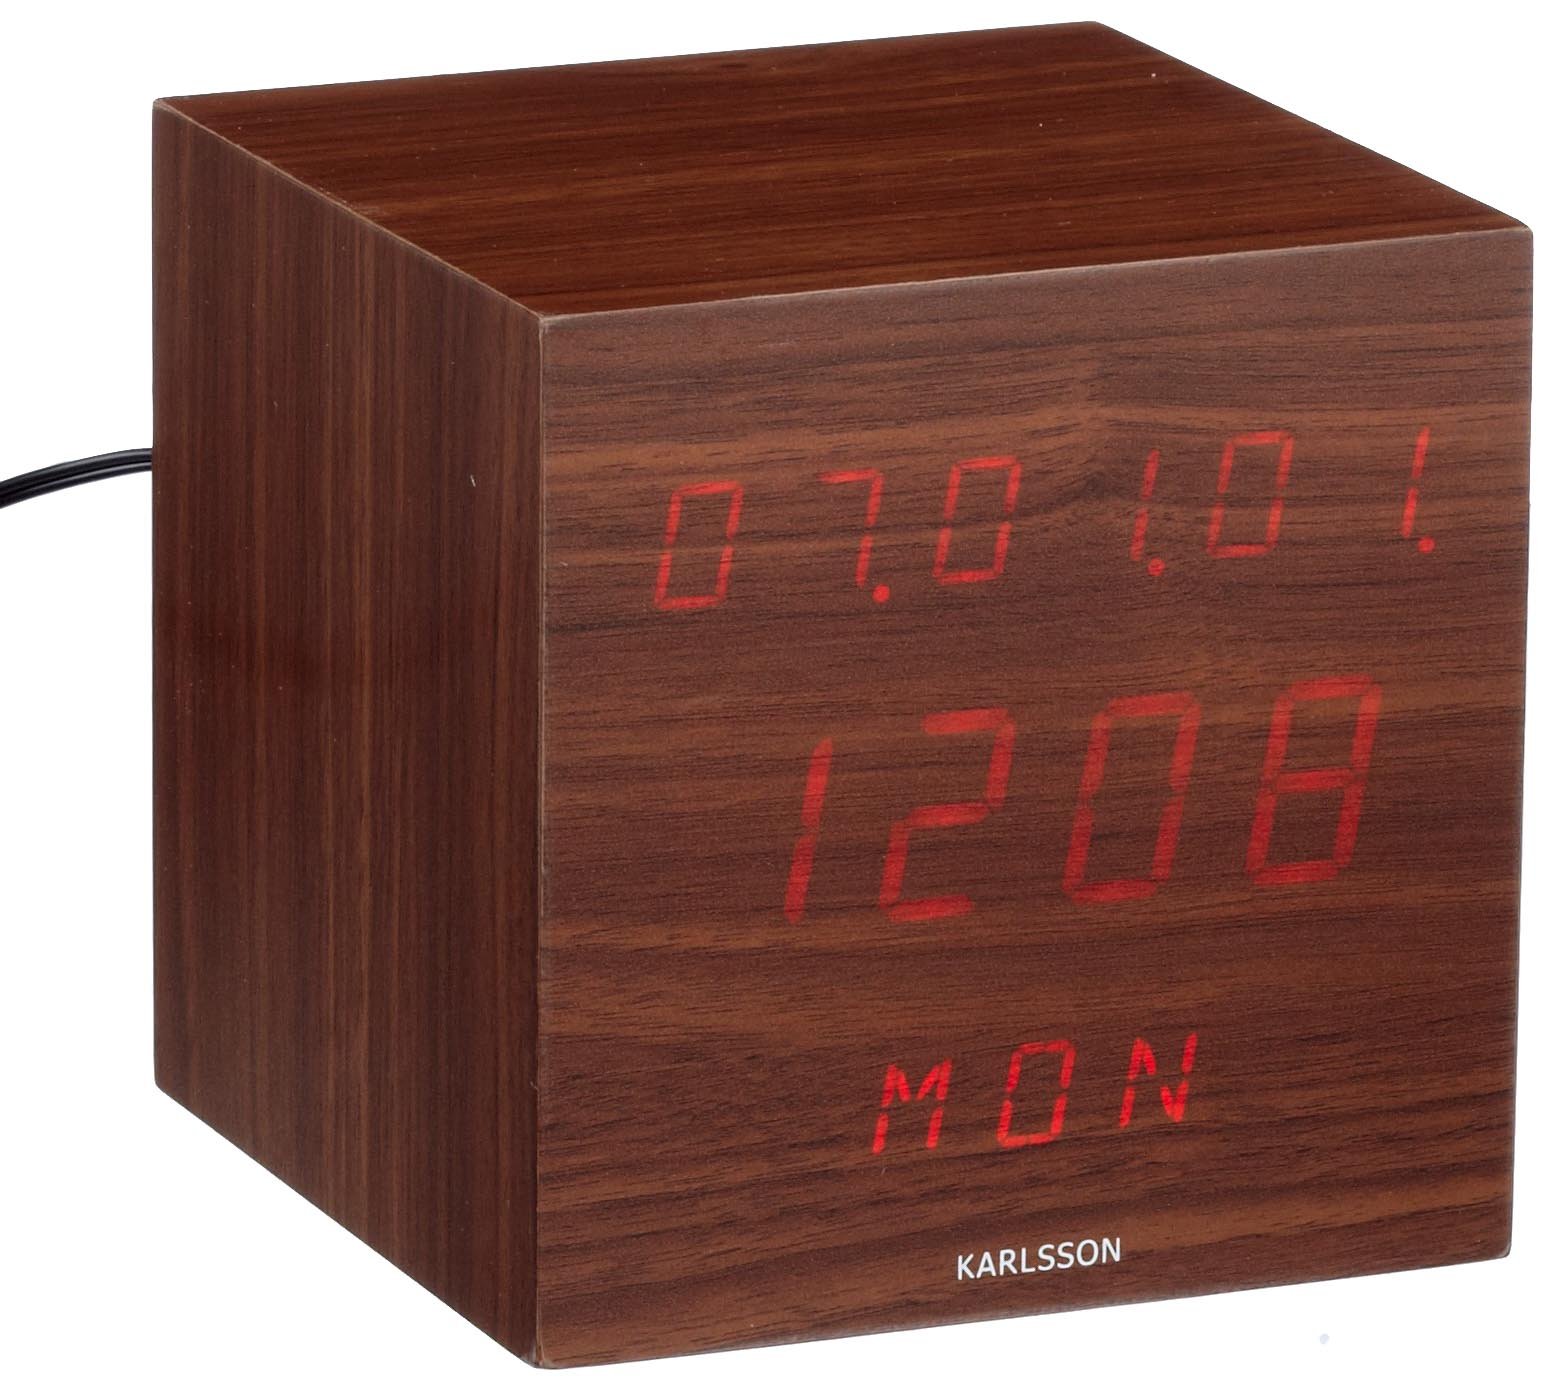
Figure 1: Front view of the Karlsson KA4819 LED Cube Alarm Clock. The clock features a digital LED display showing the time, encased in a cube-shaped housing with a walnut wood-like finish.
The control buttons are typically located on the back or bottom of the unit, allowing for time setting, alarm setting, and display adjustments.
Setup
- Unpack the Device: Carefully remove the alarm clock and all accessories from the packaging.
- Connect Power: Insert the small end of the power adapter cable into the DC input port on the back or bottom of the alarm clock. Plug the other end of the power adapter into a standard electrical outlet.
- Initial Display: Upon connecting power, the LED display should light up, typically showing a default time or flashing digits.
Operating Instructions
Setting the Time
- Locate the SET or MODE button, usually on the back or bottom of the clock. Press and hold this button for a few seconds until the hour digits start flashing.
- Use the UP and DOWN (or + and -) buttons to adjust the hour.
- Press the SET or MODE button again to move to the minute setting. The minute digits will flash.
- Use the UP and DOWN buttons to adjust the minutes.
- Press SET or MODE one more time to confirm the time and exit the setting mode. The display will stop flashing.
- Note: Some models may offer 12-hour or 24-hour format selection during the time setting process. Look for an indicator like "AM/PM" or a specific button press to toggle this.
Setting the Alarm
- Locate the ALARM or MODE button. Press it once to enter alarm setting mode. The alarm time will typically be displayed, or an alarm icon will appear.
- Press and hold the ALARM or SET button until the alarm hour digits start flashing.
- Use the UP and DOWN buttons to adjust the alarm hour.
- Press the ALARM or SET button again to move to the alarm minute setting. The minute digits will flash.
- Use the UP and DOWN buttons to adjust the alarm minutes.
- Press ALARM or SET one more time to confirm the alarm time.
- To activate or deactivate the alarm, press the ALARM ON/OFF button (if available) or cycle through modes using the ALARM button until an alarm icon (e.g., a bell) appears or disappears on the display.
Snooze Function
When the alarm sounds, press any button (often the top button or a dedicated SNOOZE button) to activate the snooze function. The alarm will temporarily stop and sound again after a set interval (e.g., 5-10 minutes).
Stopping the Alarm
To turn off the alarm completely after it sounds, press a specific button (often ALARM OFF or MODE) or let it ring for its full duration, after which it may automatically turn off or reset for the next day.
Adjusting Display Brightness
Some models allow adjustment of the LED display brightness. Look for a DIMMER or BRIGHTNESS button, or a combination of buttons (e.g., UP/DOWN while not in setting mode) to cycle through brightness levels. A user review indicates that even the lowest brightness setting might still be quite bright.
Maintenance
- Cleaning: Use a soft, dry cloth to clean the surface of the alarm clock. Do not use abrasive cleaners, waxes, or solvents, as these can damage the finish.
- Storage: If storing the device for an extended period, unplug it from the power outlet and store it in a cool, dry place.
- Power Cord: Regularly inspect the power cord for any signs of damage. If damaged, discontinue use and replace it with an approved adapter.
Troubleshooting
| Problem | Possible Cause | Solution |
|---|---|---|
| Display is blank or not lighting up. | No power connection or power outage. | Ensure the power adapter is securely plugged into both the clock and a working electrical outlet. Check if the outlet has power. |
| Time is incorrect after a power interruption. | The clock does not have a backup battery for memory retention. | Reset the time manually following the "Setting the Time" instructions. |
| Alarm does not sound. | Alarm is not activated or set incorrectly. | Verify that the alarm time is set correctly and that the alarm function is turned ON (look for an alarm icon on the display). |
| Buttons are unresponsive. | Temporary software glitch or power issue. | Unplug the power adapter, wait 30 seconds, then plug it back in to perform a soft reset. |
| Display is too bright at night. | Brightness setting is too high or no dimmer function. | If a dimmer function is available, adjust it to a lower setting. If not, consider placing the clock further away or using a light-filtering film. |
Specifications
- Brand: Karlsson
- Model Number: KA4819
- Material: Plastic (with Walnut finish)
- Movement Type: Quartz
- Power Source: Electric (Mains powered)
- Alarm Function: Yes
- Mounting Type: Tabletop
- Batteries Included: No
Warranty and Support
The Karlsson KA4819 LED Cube Alarm Clock comes with a 1-year warranty from the date of purchase, as indicated in the product features. This warranty covers manufacturing defects under normal use.
For warranty claims, technical support, or further assistance, please contact your retailer or the official Karlsson customer service. Please retain your proof of purchase for warranty validation.
For more information about Karlsson products, you may visit the official Karlsson brand store: Karlsson Brand Store