
1. Introduction
This manual provides essential information for the safe operation, maintenance, and setup of your Powermatic 209HH 20-Inch Helical Planer. Please read this manual thoroughly before operating the machine to ensure proper use and to prevent injury or damage.
The Powermatic 209HH planer is designed for dimensioning wood with parallel faces and producing a smooth, tear-out-free surface. It features a robust construction, a powerful 5 HP motor, and a helical cutterhead system.

Figure 1: Powermatic 209HH 20-Inch Helical Planer in a workshop setting.
2. Safety Information
Always prioritize safety when operating power tools. Familiarize yourself with all safety decals on the machine and follow general workshop safety practices.
- Wear appropriate personal protective equipment (PPE), including eye protection, hearing protection, and dust masks.
- Ensure the work area is clean, well-lit, and free from obstructions.
- Never operate the planer without all guards in place.
- Disconnect power before performing any maintenance, adjustments, or when changing accessories.
- Keep hands and fingers away from the cutterhead and feed rollers during operation.
- Use anti-kickback fingers and pressure bars as designed to prevent material kickback.
- Ensure proper dust collection is connected and functioning to maintain a clear workspace and reduce airborne dust.
3. Product Overview and Components
The Powermatic 209HH planer is equipped with several key features for performance and safety:
- Helical Cutterhead: Features 100 four-sided carbide knife inserts for smoother, quieter cutting and extended tool life.
- Feed Rate System: Offers two material-feed-rate ranges with four actual speeds (16, 20, 24, and 31 FPM) for versatile planing.
- Cast Iron Construction: Solid cast iron base, table, and head provide stability and durability.
- Integrated Caster System: Allows for easy mobility within the workshop.
- Dust Port: A 5-inch dust port for efficient chip extraction.
- Anti-Kickback Fingers and Pressure Bar: Located near the cutterhead for enhanced operator safety and reduced snipe.

Figure 2: Key components and features of the Powermatic 209HH Planer.
Cutterhead and Knives

Figure 3: The helical cutterhead with 100 four-sided carbide knife inserts.
Feed Rate Mechanism

Figure 4: The gear system for adjusting feed rates.

Figure 5: Diagram indicating feed rate settings and gear changes.
Drive System
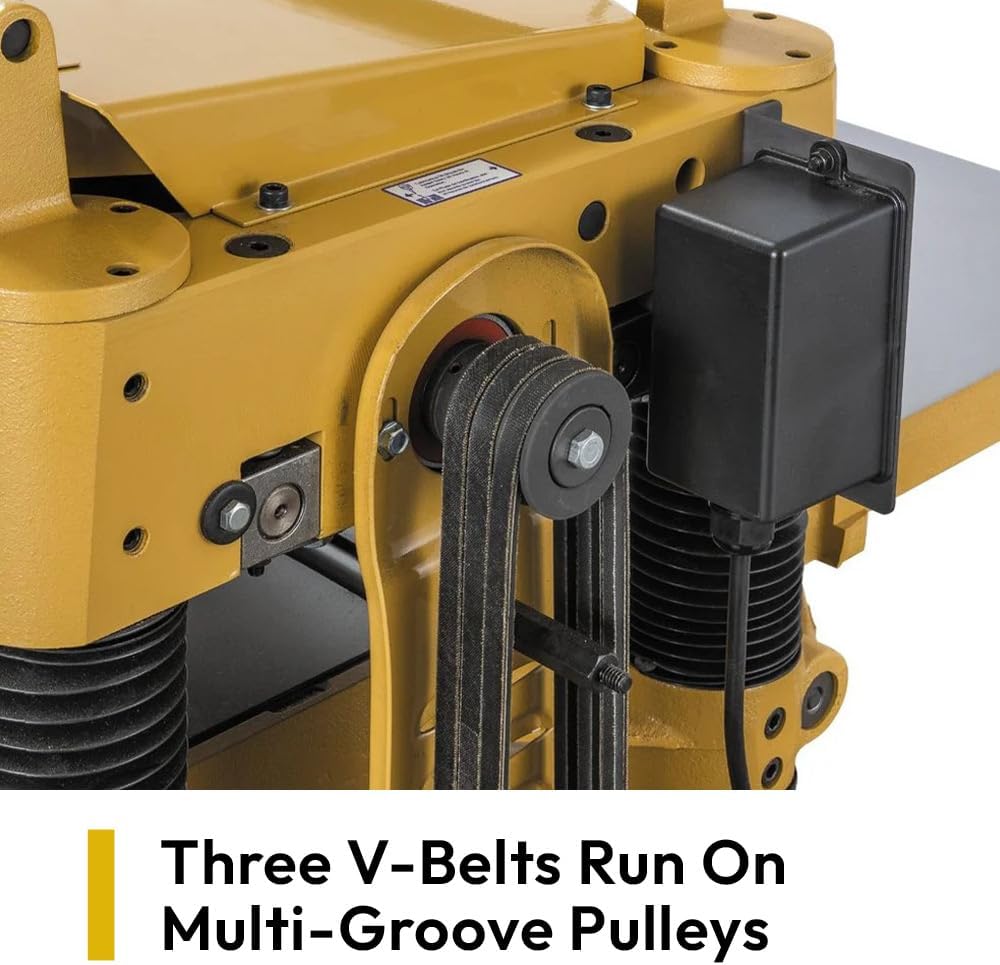
Figure 6: Three V-belts running on precision-machined multi-groove pulleys for smooth power transmission.

Figure 7: Side view of the V-belt drive system.
Anti-Kickback and Pressure Bar

Figure 8: The chip breaker and pressure bar system designed to reduce snipe and prevent kickback.
Depth Adjustment
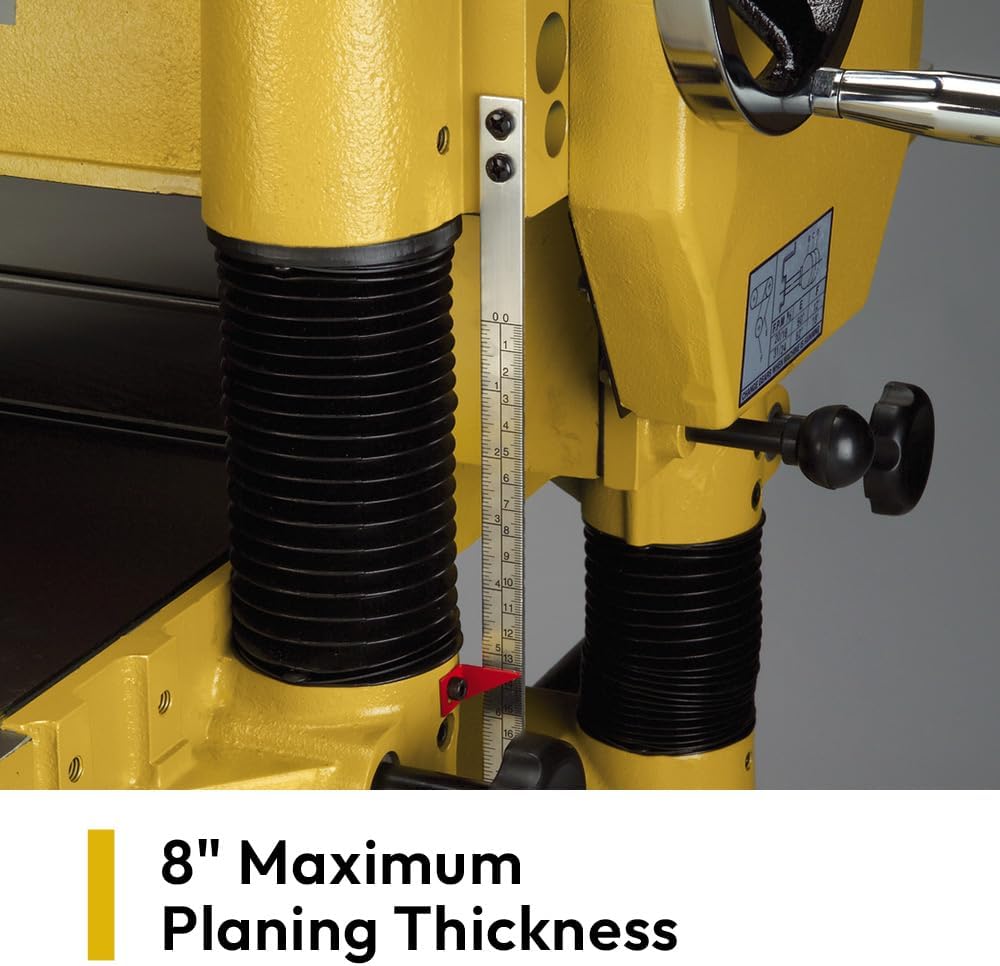
Figure 9: The scale for adjusting planing thickness, showing up to 8 inches maximum.

Figure 10: Detailed view of the depth adjustment scale and locking mechanism.

Figure 11: The chrome-plated, ergonomic handwheel for smooth and easy depth adjustments.
Mobility
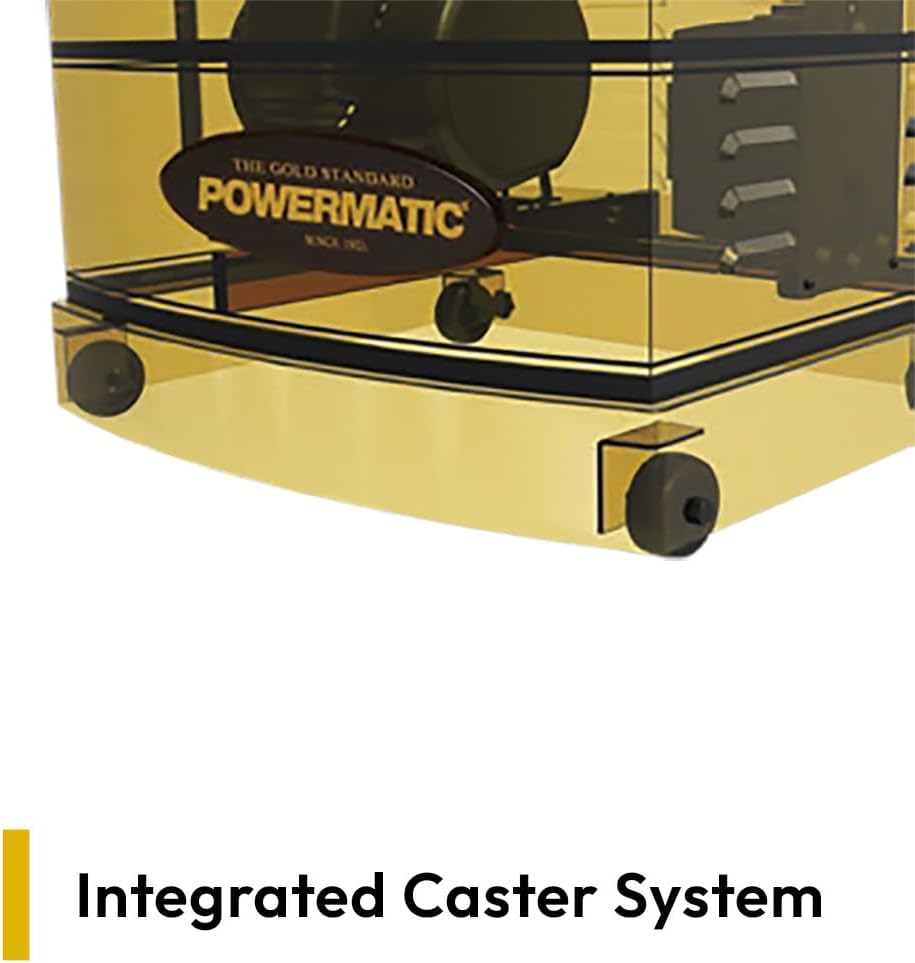
Figure 12: The integrated caster system for easy movement of the planer.
Control Panel
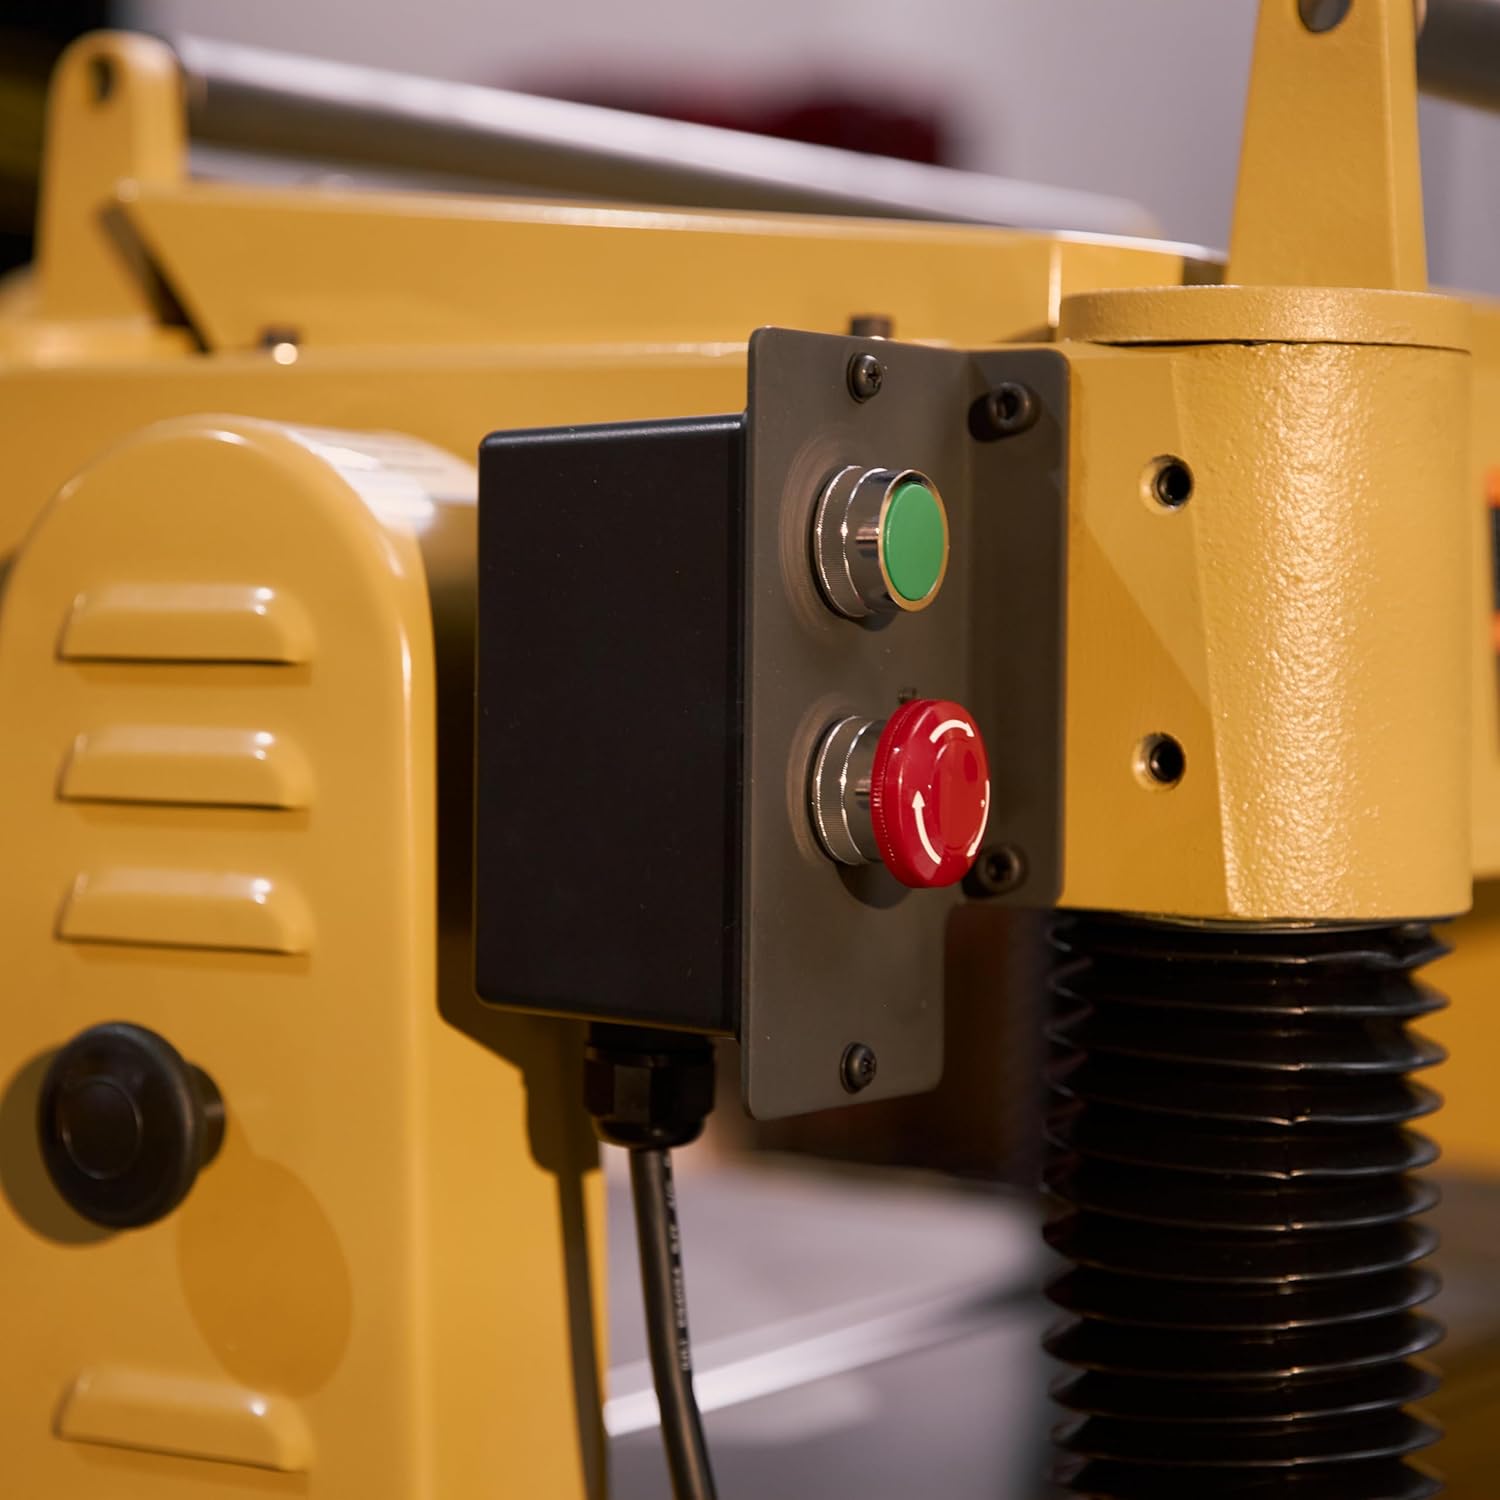
Figure 13: The control panel featuring start (green) and stop (red) buttons.
4. Setup
Proper setup is crucial for the safe and effective operation of your planer. The planer comes with a fully enclosed, welded-steel base cabinet and an integrated locking-caster system for stability and mobility.
Unpacking and Placement
- Carefully unpack all components, including the planer, dust hood, cast iron extension tables, handwheel, low-speed gear kit, and hardware bags.
- Place the planer on a level, stable surface in your workshop. Utilize the integrated locking casters to position the machine and then lock them to prevent movement during operation.
- Attach the cast iron extension tables to provide a larger working area (55.5" x 20").
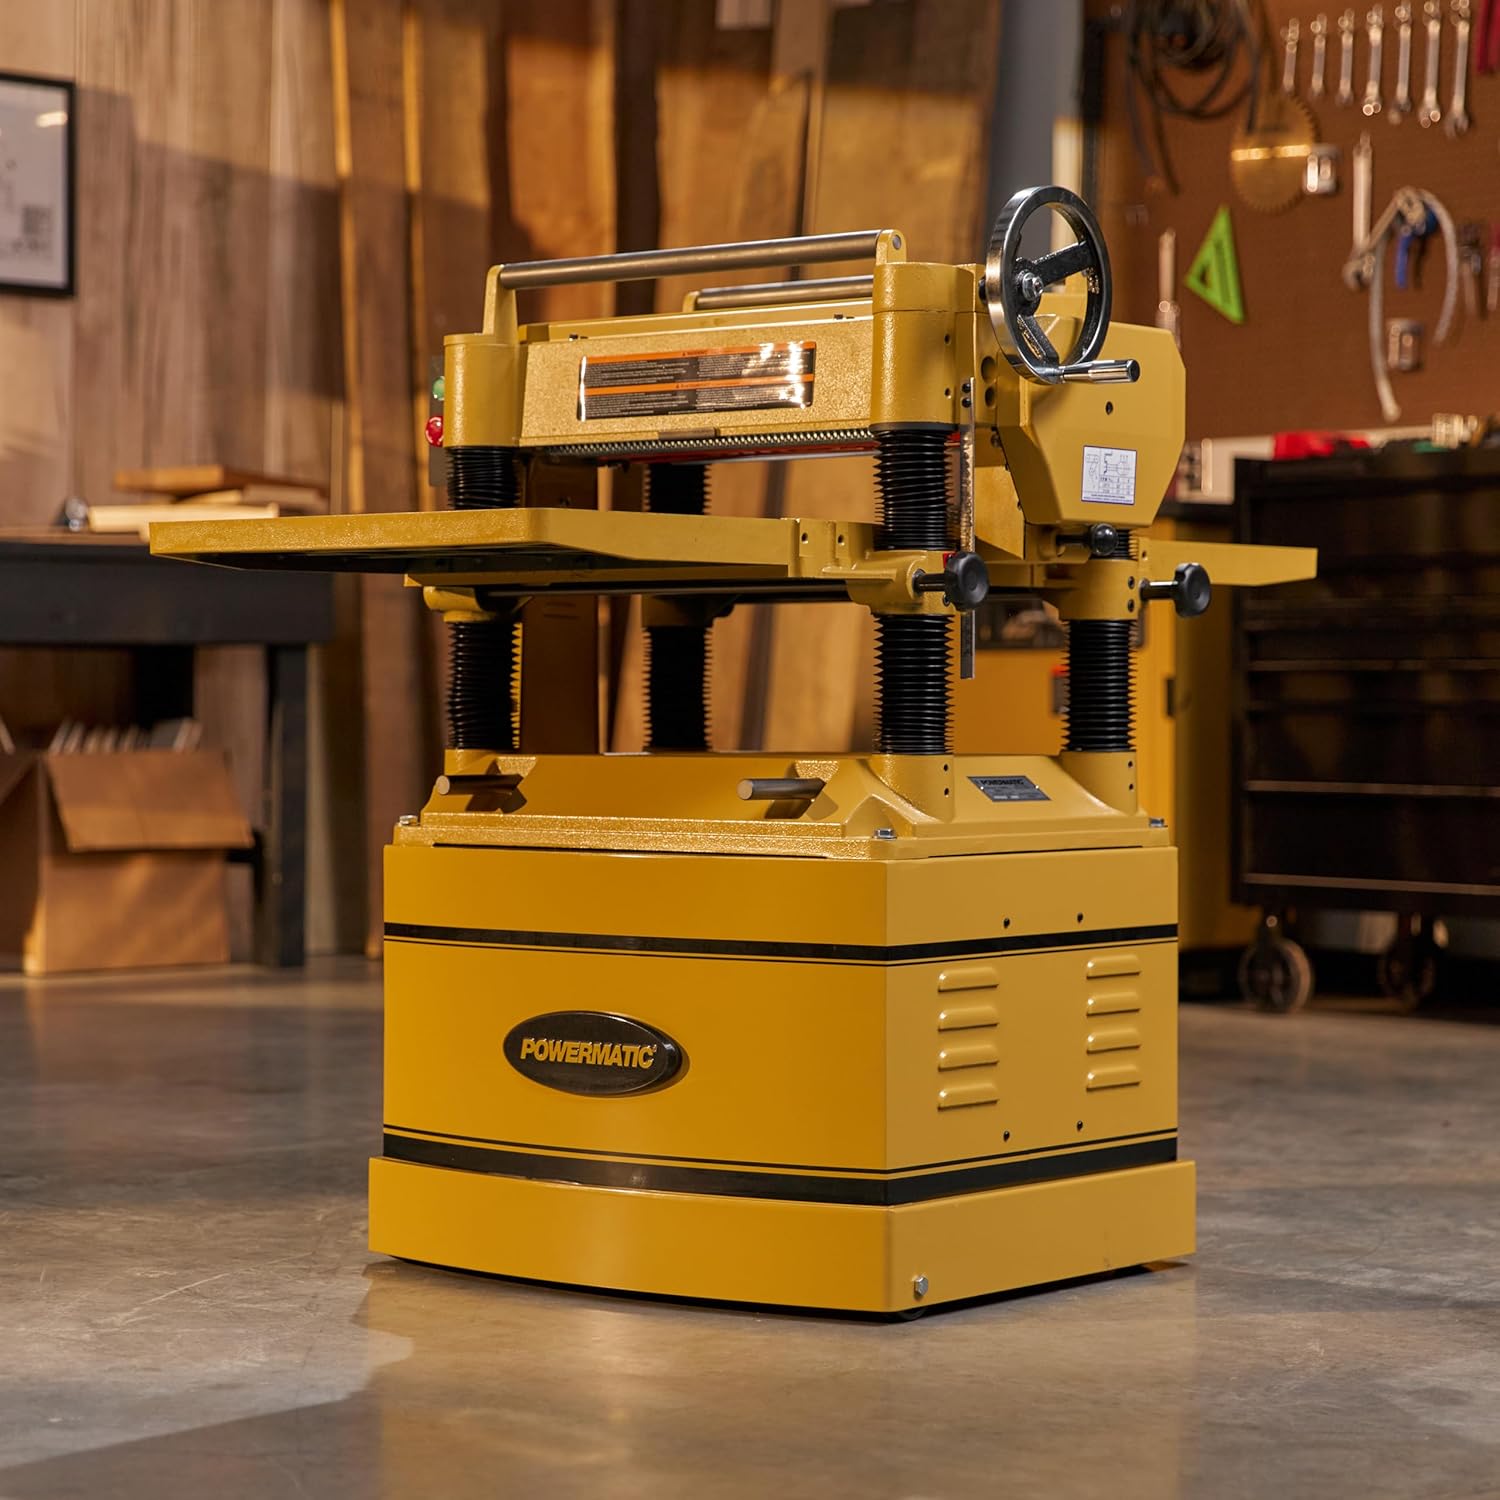
Figure 14: The planer with its heavy cast iron extension wings installed, providing ample support for large workpieces.
Electrical Connection
The planer requires a 230V, 1-phase power supply. Ensure your electrical system can support the 5 HP motor and 40 A amperage. Consult a qualified electrician if you are unsure about your electrical setup.
Video 1: Instructions on starting Powermatic Planers using the Buss Bar. This video demonstrates the electrical connection and initial startup procedure.
Dust Collection
Connect a suitable dust collector to the 5-inch dust port to manage wood chips and dust effectively. Proper dust collection improves air quality and machine performance.
5. Operating Instructions
Before operating, ensure all safety precautions are understood and followed. Always wear appropriate PPE.
Adjusting Planing Depth
- Use the chrome-plated handwheel to raise or lower the cutterhead assembly.
- Refer to the depth scale to set the desired planing thickness. The maximum depth of cut is 3/32 inches (0.09 inches).
- Ensure the locking knobs are tightened after adjusting the depth to secure the setting.

Figure 15: A piece of wood being fed into the planer for dimensioning.
Selecting Feed Rate
The planer offers four feed rates: 16, 20, 24, and 31 FPM. The 24 and 31 FPM speeds are standard for rough dimensioning. The lower speeds of 16 and 20 FPM can be achieved by changing the internal gears (low-speed gear kit included) for a finer finish.
- Use the push/pull knob on the side of the machine to select the desired feed rate range.
- For changing between the two speed ranges (e.g., 24/31 FPM to 16/20 FPM), refer to the gear change instructions in the full owner's manual.
Feeding Material
- Ensure the workpiece is free of knots, nails, or other foreign objects.
- Feed the material slowly and steadily into the infeed roller. The serrated steel infeed roller and smooth steel outfeed roller ensure a consistent feed.
- Avoid forcing the material. Let the machine feed at its set rate.
- For long stock, utilize the extension tables for support.
Video 2: Overview of the Powermatic 20-Inch Helical Planer, demonstrating its features and operation.
6. Maintenance
Regular maintenance ensures the longevity and optimal performance of your planer.
Cleaning
- After each use, clear all wood chips and dust from the machine, especially around the cutterhead, feed rollers, and table surfaces.
- Use compressed air or a brush to clean hard-to-reach areas.
- Keep the cast iron table clean and waxed to prevent rust and ensure smooth material feeding.
Cutterhead Knife Maintenance
- The four-sided carbide knife inserts can be rotated to a new sharp edge when one side becomes dull.
- Refer to the full owner's manual for detailed instructions on rotating or replacing knife inserts. Ensure the machine is disconnected from power before performing this task.
Lubrication
- Periodically lubricate moving parts as specified in the full owner's manual.
- The 2-speed oil bath gearbox requires periodic oil checks and changes.
7. Troubleshooting
This section provides general guidance for common issues. For detailed troubleshooting, refer to the complete owner's manual.
| Problem | Possible Cause | Solution |
|---|---|---|
| Machine does not start | No power, emergency stop engaged, circuit breaker tripped. | Check power connection, disengage emergency stop, reset circuit breaker. |
| Excessive snipe on workpiece | Improper table alignment, worn rollers, incorrect pressure bar adjustment. | Adjust infeed/outfeed tables, inspect and clean rollers, adjust pressure bar. |
| Rough finish | Dull or damaged knife inserts, too deep a cut, too fast a feed rate. | Rotate or replace knife inserts, reduce depth of cut, select a slower feed rate. |
| Material stops feeding | Worn feed rollers, excessive depth of cut, motor overload. | Inspect/clean feed rollers, reduce depth of cut, check for motor issues. |
8. Specifications
| Specification | Value |
|---|---|
| Brand | Powermatic |
| Model Number | 209HH |
| Motor | 5 HP, 1 Phase |
| Input Voltage | 230V AC |
| Amperage | 40 A |
| Cutterhead Type | Helical with Carbide Inserts |
| Number of Knife Inserts | 100 |
| Maximum Planing Width | 20 inches |
| Maximum Planing Thickness | 8 inches |
| Maximum Depth of Cut | 3/32 inches (0.09 inches) |
| Feed Rates | 16, 20, 24, 31 FPM |
| Cutterhead Speed | 5000 RPM |
| Product Dimensions (L x W x H) | 36.75" x 26" x 41.38" |
| Material | Cast Iron |
| Dust Port Diameter | 5 inches |
9. Warranty and Support
The Powermatic 209HH Planer comes with a 5-year manufacturer's warranty. For warranty claims, technical assistance, or to purchase replacement parts, please contact Powermatic Customer Support.
For additional support and resources, visit the official Powermatic website or contact their customer service department. Keep your purchase receipt and model number handy when contacting support.
Manufacturer: JPW Industries