1. Introduction
The Xantrex Link Pro Battery Monitor (Model 84-2031-00) is an advanced battery monitoring system designed to provide accurate and comprehensive information about your battery bank's status. It measures current in and out of the battery to calculate the State of Charge (SOC), voltage, and amp-hours consumed or remaining. This manual provides detailed instructions for the installation, operation, and maintenance of your Link Pro Battery Monitor.
2. Safety Information
Please read and understand all safety instructions before installing or operating the Xantrex Link Pro Battery Monitor. Failure to follow these instructions may result in electric shock, fire, or serious injury.
- Ensure all power sources are disconnected before installation or maintenance.
- Installation should be performed by qualified personnel familiar with electrical systems.
- Wear appropriate personal protective equipment (PPE), including safety glasses and insulated gloves.
- Do not expose the unit to water or excessive moisture.
- Verify correct wiring polarity to prevent damage to the unit and connected equipment.
3. Package Contents
Verify that all items listed below are included in your package:
- Xantrex 84-2031-00 Link Pro Battery Monitor Unit
- Mounting Hardware
- User Manual (this document)
- Small screwdriver
4. Installation
The Link Pro Battery Monitor is designed for easy integration into existing electrical systems. Proper wiring is crucial for accurate readings and safe operation.
4.1 Mounting the Unit
The unit has a compact, round design, making it suitable for panel installation. Ensure sufficient space behind the mounting surface for wiring connections.
- Choose a dry, protected location away from direct sunlight and extreme temperatures.
- Cut a circular opening in the mounting panel according to the provided template.
- Secure the Link Pro unit using the supplied mounting hardware.
4.2 Wiring Connections
The Link Pro monitors battery activity via a shunt. Connect the monitor to your battery bank and shunt according to the wiring diagram provided in the full product documentation.
Important: While the unit comes with a screwdriver for connections, ensure you use appropriate gauge wiring for your application. A 16-gauge wire is often suitable for signal connections, but power connections may require heavier gauge.
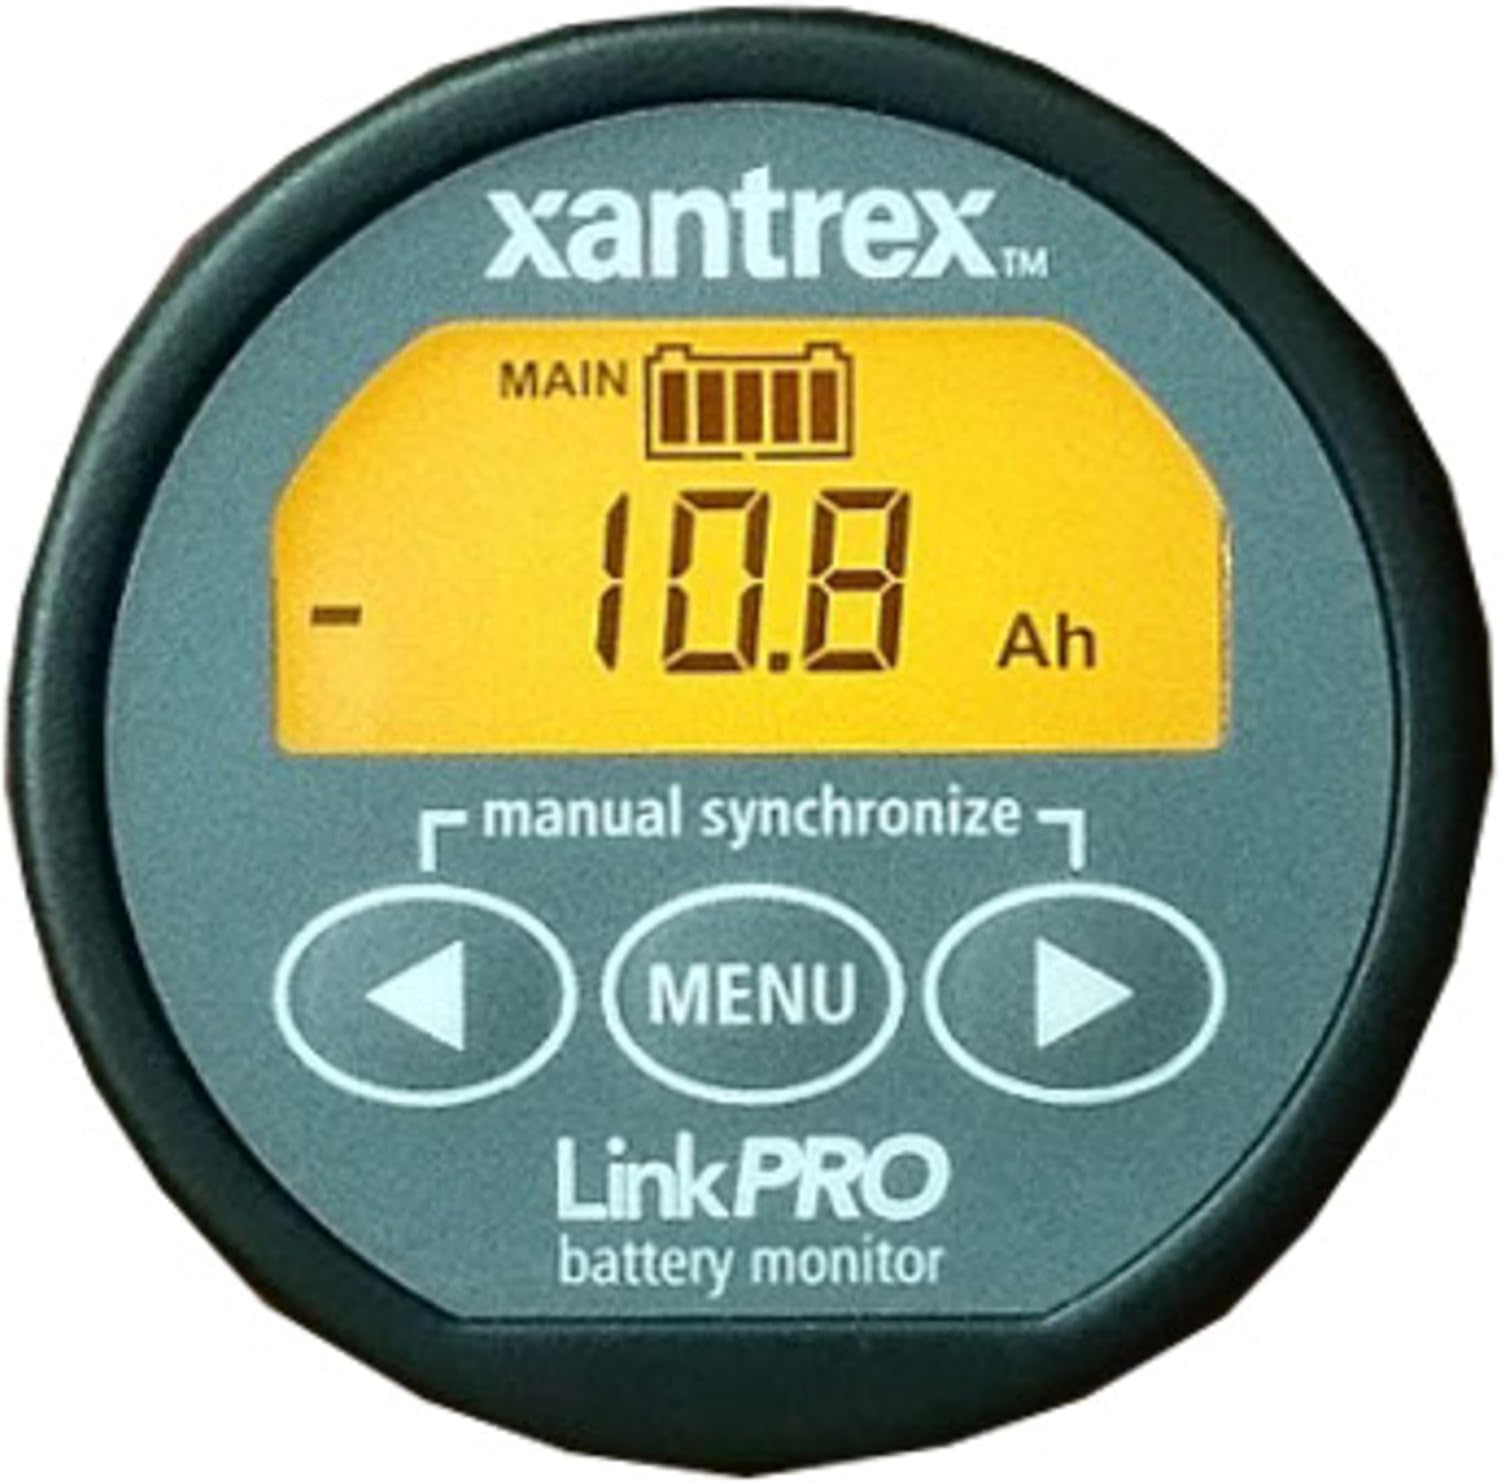
Figure 1: Front view of the Xantrex Link Pro Battery Monitor, displaying battery status and control buttons.
5. Operating Instructions
The Link Pro Battery Monitor provides real-time data through its clear display and intuitive controls.
5.1 Display Overview
The main display shows critical battery parameters. As seen in Figure 1, the display typically shows the main battery bank status, including a battery icon, numerical value (e.g., 10.8 Ah), and units (e.g., Ah for Amp-hours).
5.2 Navigation and Settings
Use the control buttons located below the display to navigate through different screens and access settings:
- Left Arrow Button (◀): Used to scroll through display screens or decrease values in settings.
- MENU Button: Used to enter the menu, confirm selections, or exit a menu.
- Right Arrow Button (▶): Used to scroll through display screens or increase values in settings.
Commonly displayed information includes:
- Voltage (V): Current battery voltage.
- Current (A): Amps flowing into or out of the battery.
- Amp-hours (Ah): Amp-hours consumed or remaining.
- State of Charge (SOC): Percentage of battery capacity remaining.
5.3 Synchronization
For accurate State of Charge readings, it is important to synchronize the monitor. This is typically done by bringing the main battery bank to a full charge. The display includes a "manual synchronize" indicator, suggesting a manual synchronization option is available through the buttons.
6. Maintenance
The Xantrex Link Pro Battery Monitor requires minimal maintenance to ensure long-term performance.
- Keep the display clean using a soft, dry cloth. Avoid abrasive cleaners.
- Periodically check all wiring connections for tightness and corrosion.
- Ensure the unit is not exposed to extreme temperatures or direct water spray.
7. Troubleshooting
If you encounter issues with your Link Pro Battery Monitor, refer to the following common problems and solutions:
| Problem | Possible Cause | Solution |
|---|---|---|
| No display/Power off | No power to the unit; loose wiring. | Check power connections and ensure battery voltage is within operating range. |
| Inaccurate readings | Incorrect calibration; shunt wiring issues; battery not fully charged for synchronization. | Perform a full battery charge and synchronize the monitor. Verify shunt connections. |
| Buttons unresponsive | Temporary software glitch; physical damage. | Try power cycling the unit. If problem persists, contact Xantrex support. |
For more detailed troubleshooting, refer to the complete product manual or contact Xantrex customer support.
8. Specifications
Key specifications for the Xantrex Link Pro Battery Monitor:
- Model Number: 84-2031-00
- Product Dimensions: 14 x 12 x 10 inches (Packaging dimensions, actual unit is smaller and round)
- Item Weight: 11.2 ounces
- Display Features: Wireless
- Manufacturer: Xantrex
- First Available: October 1, 2001
Note: Product dimensions listed are for the package. The unit itself is designed for panel mounting.
9. Warranty and Support
For warranty information, technical support, or service inquiries, please contact Xantrex customer service. Refer to the official Xantrex website or the documentation included with your purchase for the most current contact details and warranty terms.
Xantrex Official Website: www.xantrex.com


