Introduction

Image: The Faithfull 16 Litre Knapsack Pressure Sprayer, showcasing its overall design and components.
Thank you for choosing the Faithfull 16 Litre Knapsack Pressure Sprayer. This manual provides essential information for the safe and effective operation, maintenance, and troubleshooting of your sprayer. Please read it thoroughly before first use and retain it for future reference.
This knapsack sprayer is designed for applying water-based garden chemicals, including pest control, sanitizing solutions, and weed control. Its robust construction from shatterproof and frost-resistant materials ensures durability.
Safety Information
Always observe the following safety precautions to prevent injury or damage:
- Read Chemical Labels: Always read and follow the instructions and safety warnings on the labels of any chemicals you intend to use with this sprayer.
- Personal Protective Equipment (PPE): Wear appropriate PPE, such as gloves, eye protection, and protective clothing, when handling chemicals and operating the sprayer.
- Ventilation: Use the sprayer in well-ventilated areas.
- Pressure Release: The sprayer is equipped with a pressure release safety valve. Always release pressure before opening the tank or performing maintenance.
- Storage: Store the sprayer and chemicals out of reach of children and pets.
- Disposal: Dispose of chemical residues and empty containers according to local regulations. Clean the sprayer thoroughly after each use, especially when changing chemicals.
- Do Not Modify: Do not attempt to modify the sprayer or its components. Use only genuine Faithfull spare parts.
Components Overview
Familiarize yourself with the main components of your Faithfull 16 Litre Knapsack Pressure Sprayer.
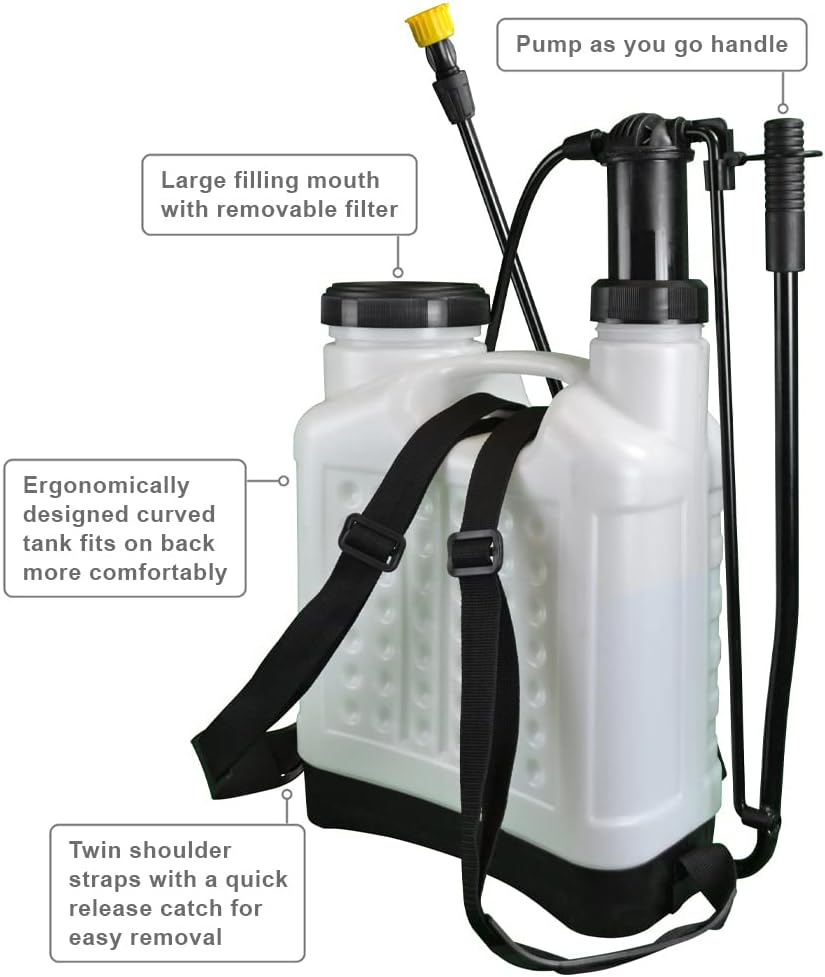
Image: Overview of the Faithfull 16 Litre Knapsack Pressure Sprayer, highlighting key features such as the pump-as-you-go handle, large filling mouth with removable filter, ergonomically designed curved tank, and twin shoulder straps with quick-release buckles.
- Tank: 16 Litre capacity, made from shatterproof and frost-resistant plastic.
- Pump Assembly: Integrated 'pump-as-you-go' mechanism for pressure generation.
- Filling Mouth: Large opening with a removable filter for easy filling and cleaning.
- Shoulder Straps: Twin adjustable shoulder straps with quick-release buckles for comfortable carrying.
- Hose: 140cm flexible hose connecting the tank to the lance.
- Lance: 90cm spray lance with an adjustable nozzle and trigger lock.
- Nozzles: Includes three adjustable spray nozzles: 30-degree twin spray, fan spray, and four-hole spray.
- Service Kit: Contains essential spare parts for maintenance.

Image: Contents of the service kit, including various nozzles, O-rings, and other small components for maintenance and repair.
Setup and Assembly
- Unpack Components: Carefully remove all components from the packaging. Verify that all parts listed in the "Set Contains" section are present.
- Attach Shoulder Straps: Connect the twin shoulder straps to the designated lugs on the sprayer tank. Adjust the strap length for a comfortable fit when worn.
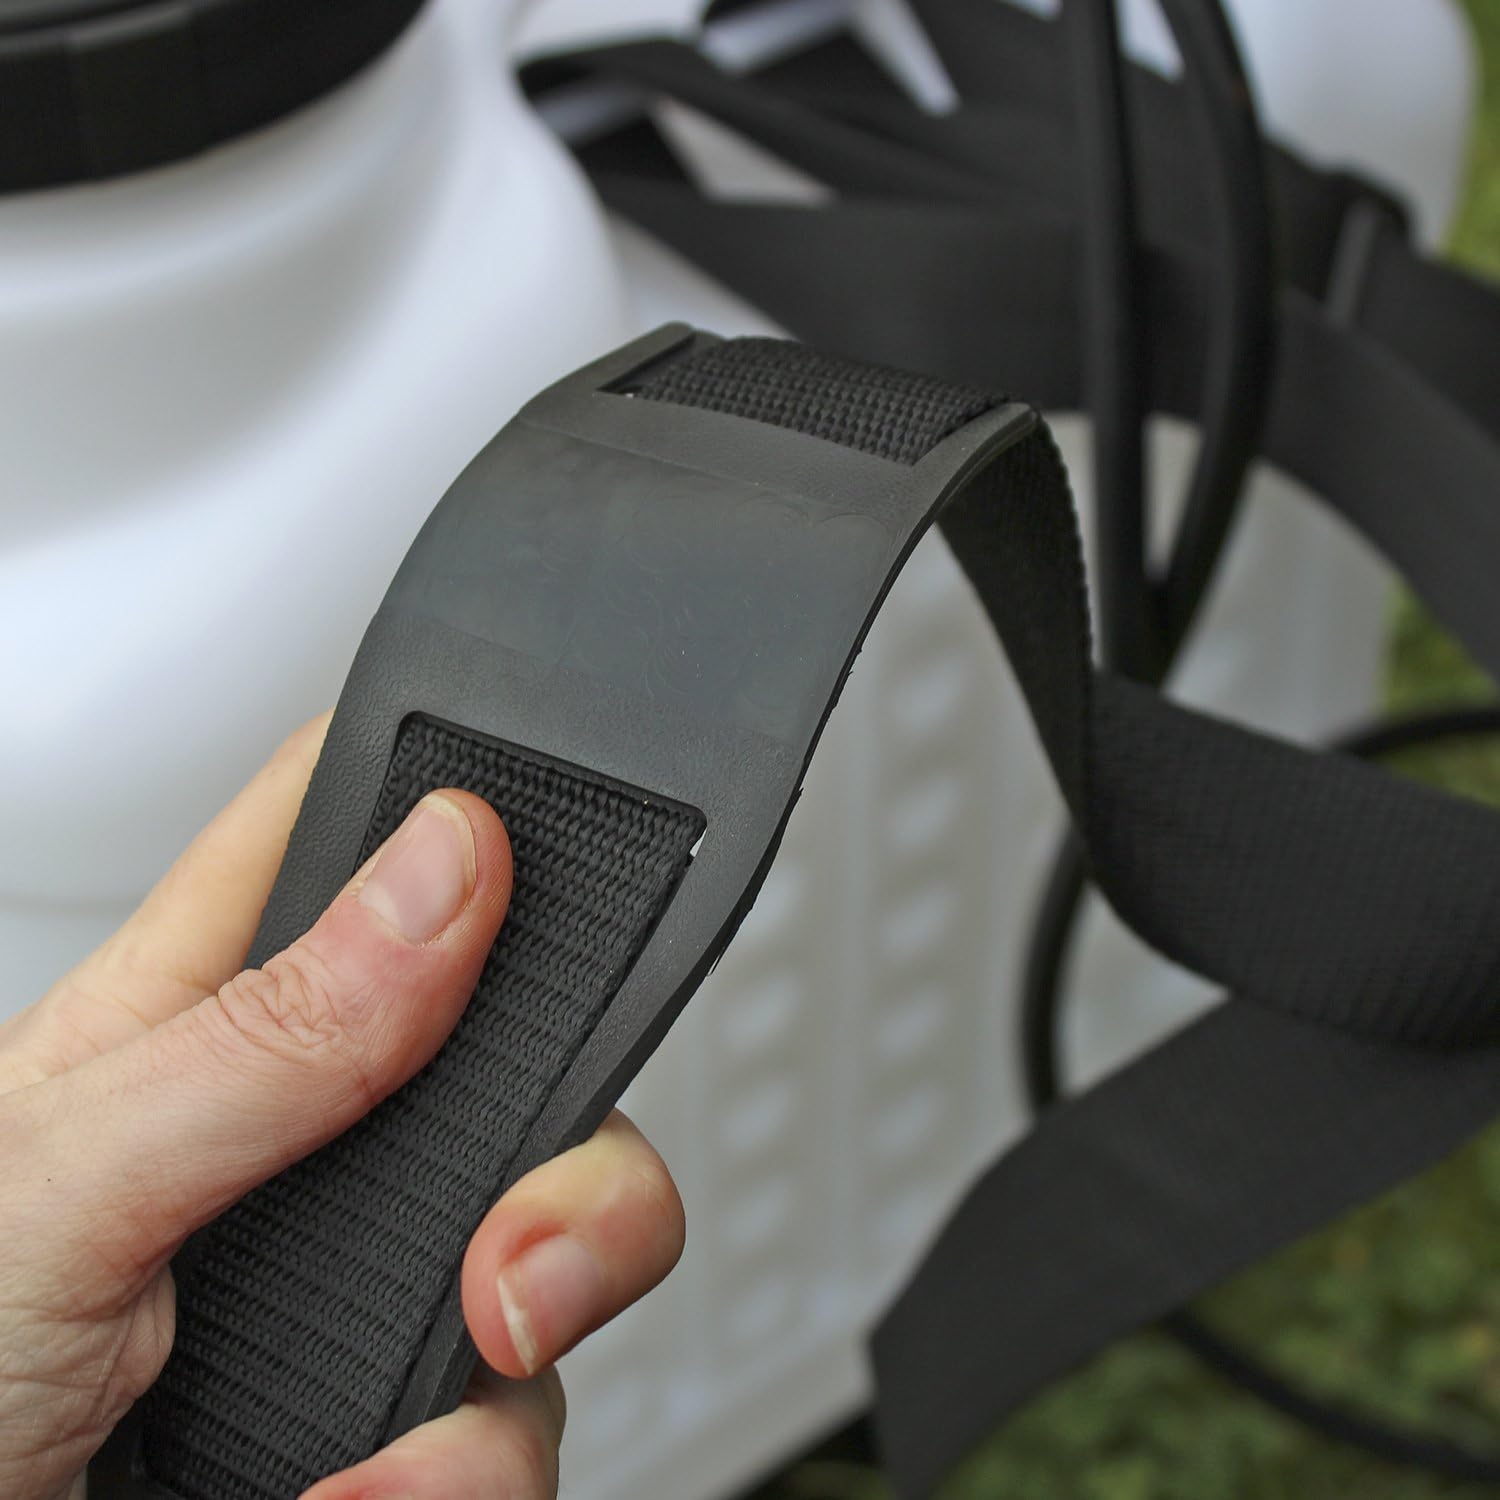
Image: A hand demonstrating the adjustment of the shoulder strap for ergonomic fit.
- Connect Hose and Lance: Securely attach the 140cm hose to the sprayer tank outlet and the 90cm lance to the other end of the hose. Ensure all connections are tight to prevent leaks.
- Select and Attach Nozzle: Choose the appropriate spray nozzle (30-degree twin spray, fan spray, or four-hole spray) for your application and screw it onto the end of the spray lance.
Operating Instructions
- Prepare Solution: Prepare your desired water-based solution according to the chemical manufacturer's instructions.
- Fill Tank: Unscrew the large filling mouth cap. Pour the prepared solution into the 16-litre tank, ensuring not to exceed the maximum fill line. The removable filter helps prevent debris from entering the tank. Securely replace the cap.
- Pressurize Sprayer: Place the sprayer on a stable surface or wear it on your back using the shoulder straps. Operate the 'pump-as-you-go' handle repeatedly to build pressure inside the tank. Continue pumping until resistance is felt, indicating sufficient pressure.
- Begin Spraying: Aim the spray lance at the target area. Squeeze the trigger on the lance to begin spraying. For continuous use, slide the trigger lock forward.
- Adjust Spray Pattern: Rotate the nozzle at the end of the lance to adjust the spray pattern from a fine mist to a targeted stream, or switch between the provided nozzles for different applications.

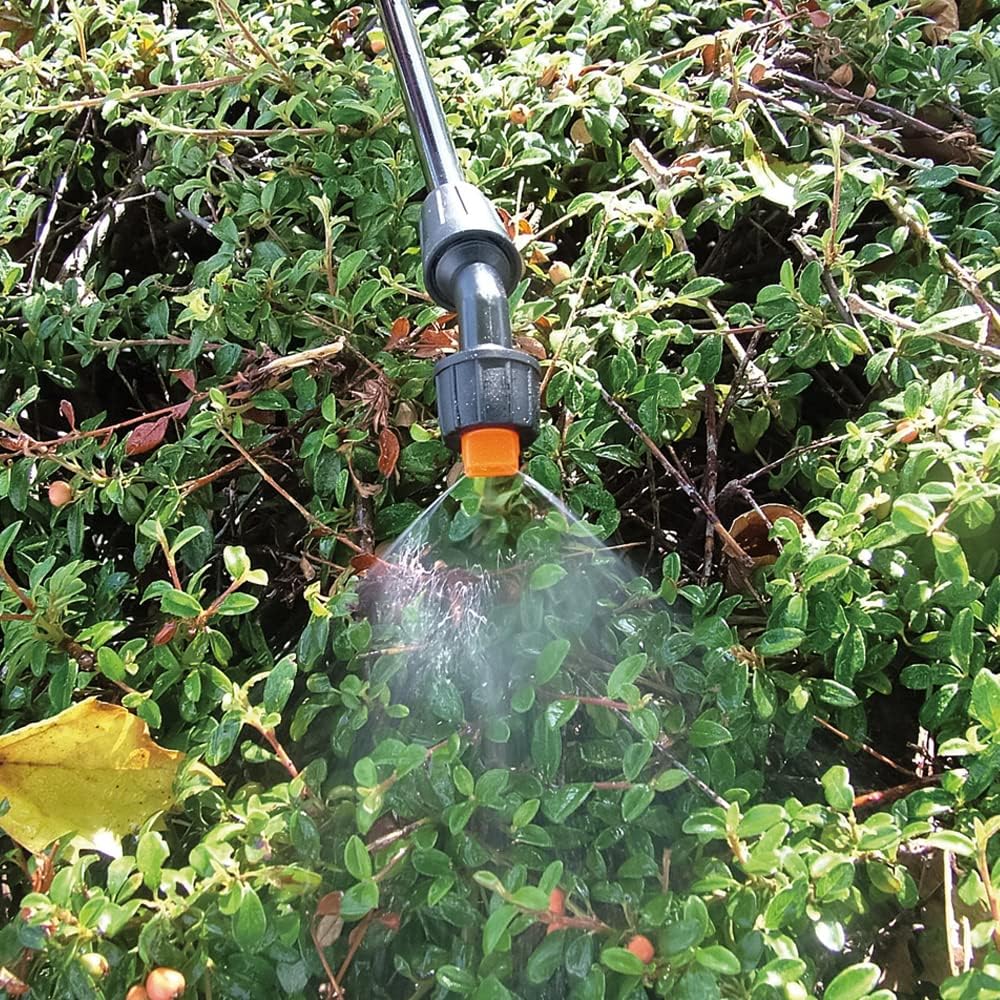

Images: Examples of different spray patterns: fine mist from a single nozzle, wide fan spray, and twin stream spray from the specialized nozzles.
- Maintain Pressure: As you spray, the pressure in the tank will decrease. Continue to pump the handle periodically to maintain consistent spray pressure.
- Release Pressure: After use, or before opening the tank, always release any remaining pressure using the pressure release safety valve.
Maintenance and Storage
- Clean After Use: After each use, empty any remaining solution from the tank. Rinse the tank thoroughly with clean water. Pump clean water through the hose and lance to flush out any chemical residues.
- Clean Filter and Nozzles: Remove and clean the filling mouth filter and all nozzles to prevent clogging. Use the service kit components for replacement if necessary.
- Lubricate Seals: Periodically inspect O-rings and seals for wear. Apply silicone grease to the rims of the cap and pressure valve at the end of the season to help preserve the washer and O-ring.
- Winter Storage: If storing in freezing conditions, ensure the sprayer is completely empty and dry to prevent damage from ice expansion.
- Store Properly: Store the sprayer in a cool, dry place, away from direct sunlight and extreme temperatures.
Troubleshooting
| Problem | Possible Cause | Solution |
|---|---|---|
| No pressure or low pressure |
|
|
| Leaking from connections |
|
|
| Uneven spray pattern or no spray |
|
|
Specifications
- Model: FAISPRAY16
- Brand: Faithfull
- Tank Volume: 16 Litres
- Material: Shatterproof and Frost-Resistant Plastic
- Hose Length: 1.5 Meters (140cm)
- Lance Length: 0.9 Meters (90cm)
- Included Nozzles: 30-degree twin spray, Fan spray, Four-hole spray
- Dimensions (Product): Approximately 23.43 x 16.93 x 8.07 inches (59.5 x 43 x 20.5 cm)
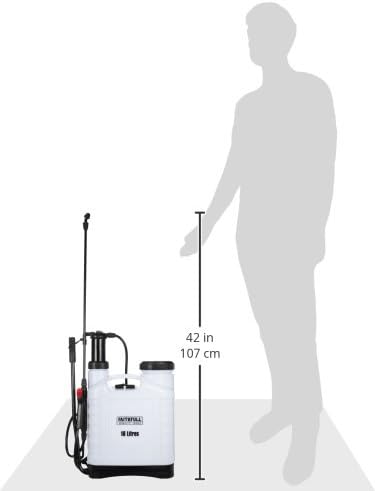
Image: A visual representation of the sprayer's dimensions, indicating its height and overall size.
- Item Weight: Approximately 3143 Grams (6.93 pounds)
- Recommended Uses: Pest Control, Sanitizing, Weed Control
- Country of Origin: China
Warranty and Support
The Faithfull 16 Litre Knapsack Pressure Sprayer comes with a 5-year manufacturer's guarantee. This warranty covers defects in materials and workmanship under normal use.
For warranty claims, spare parts, or technical support, please contact Faithfull customer service. All spares are available for this product.
Please retain your proof of purchase for warranty validation.


