
1. Introduction
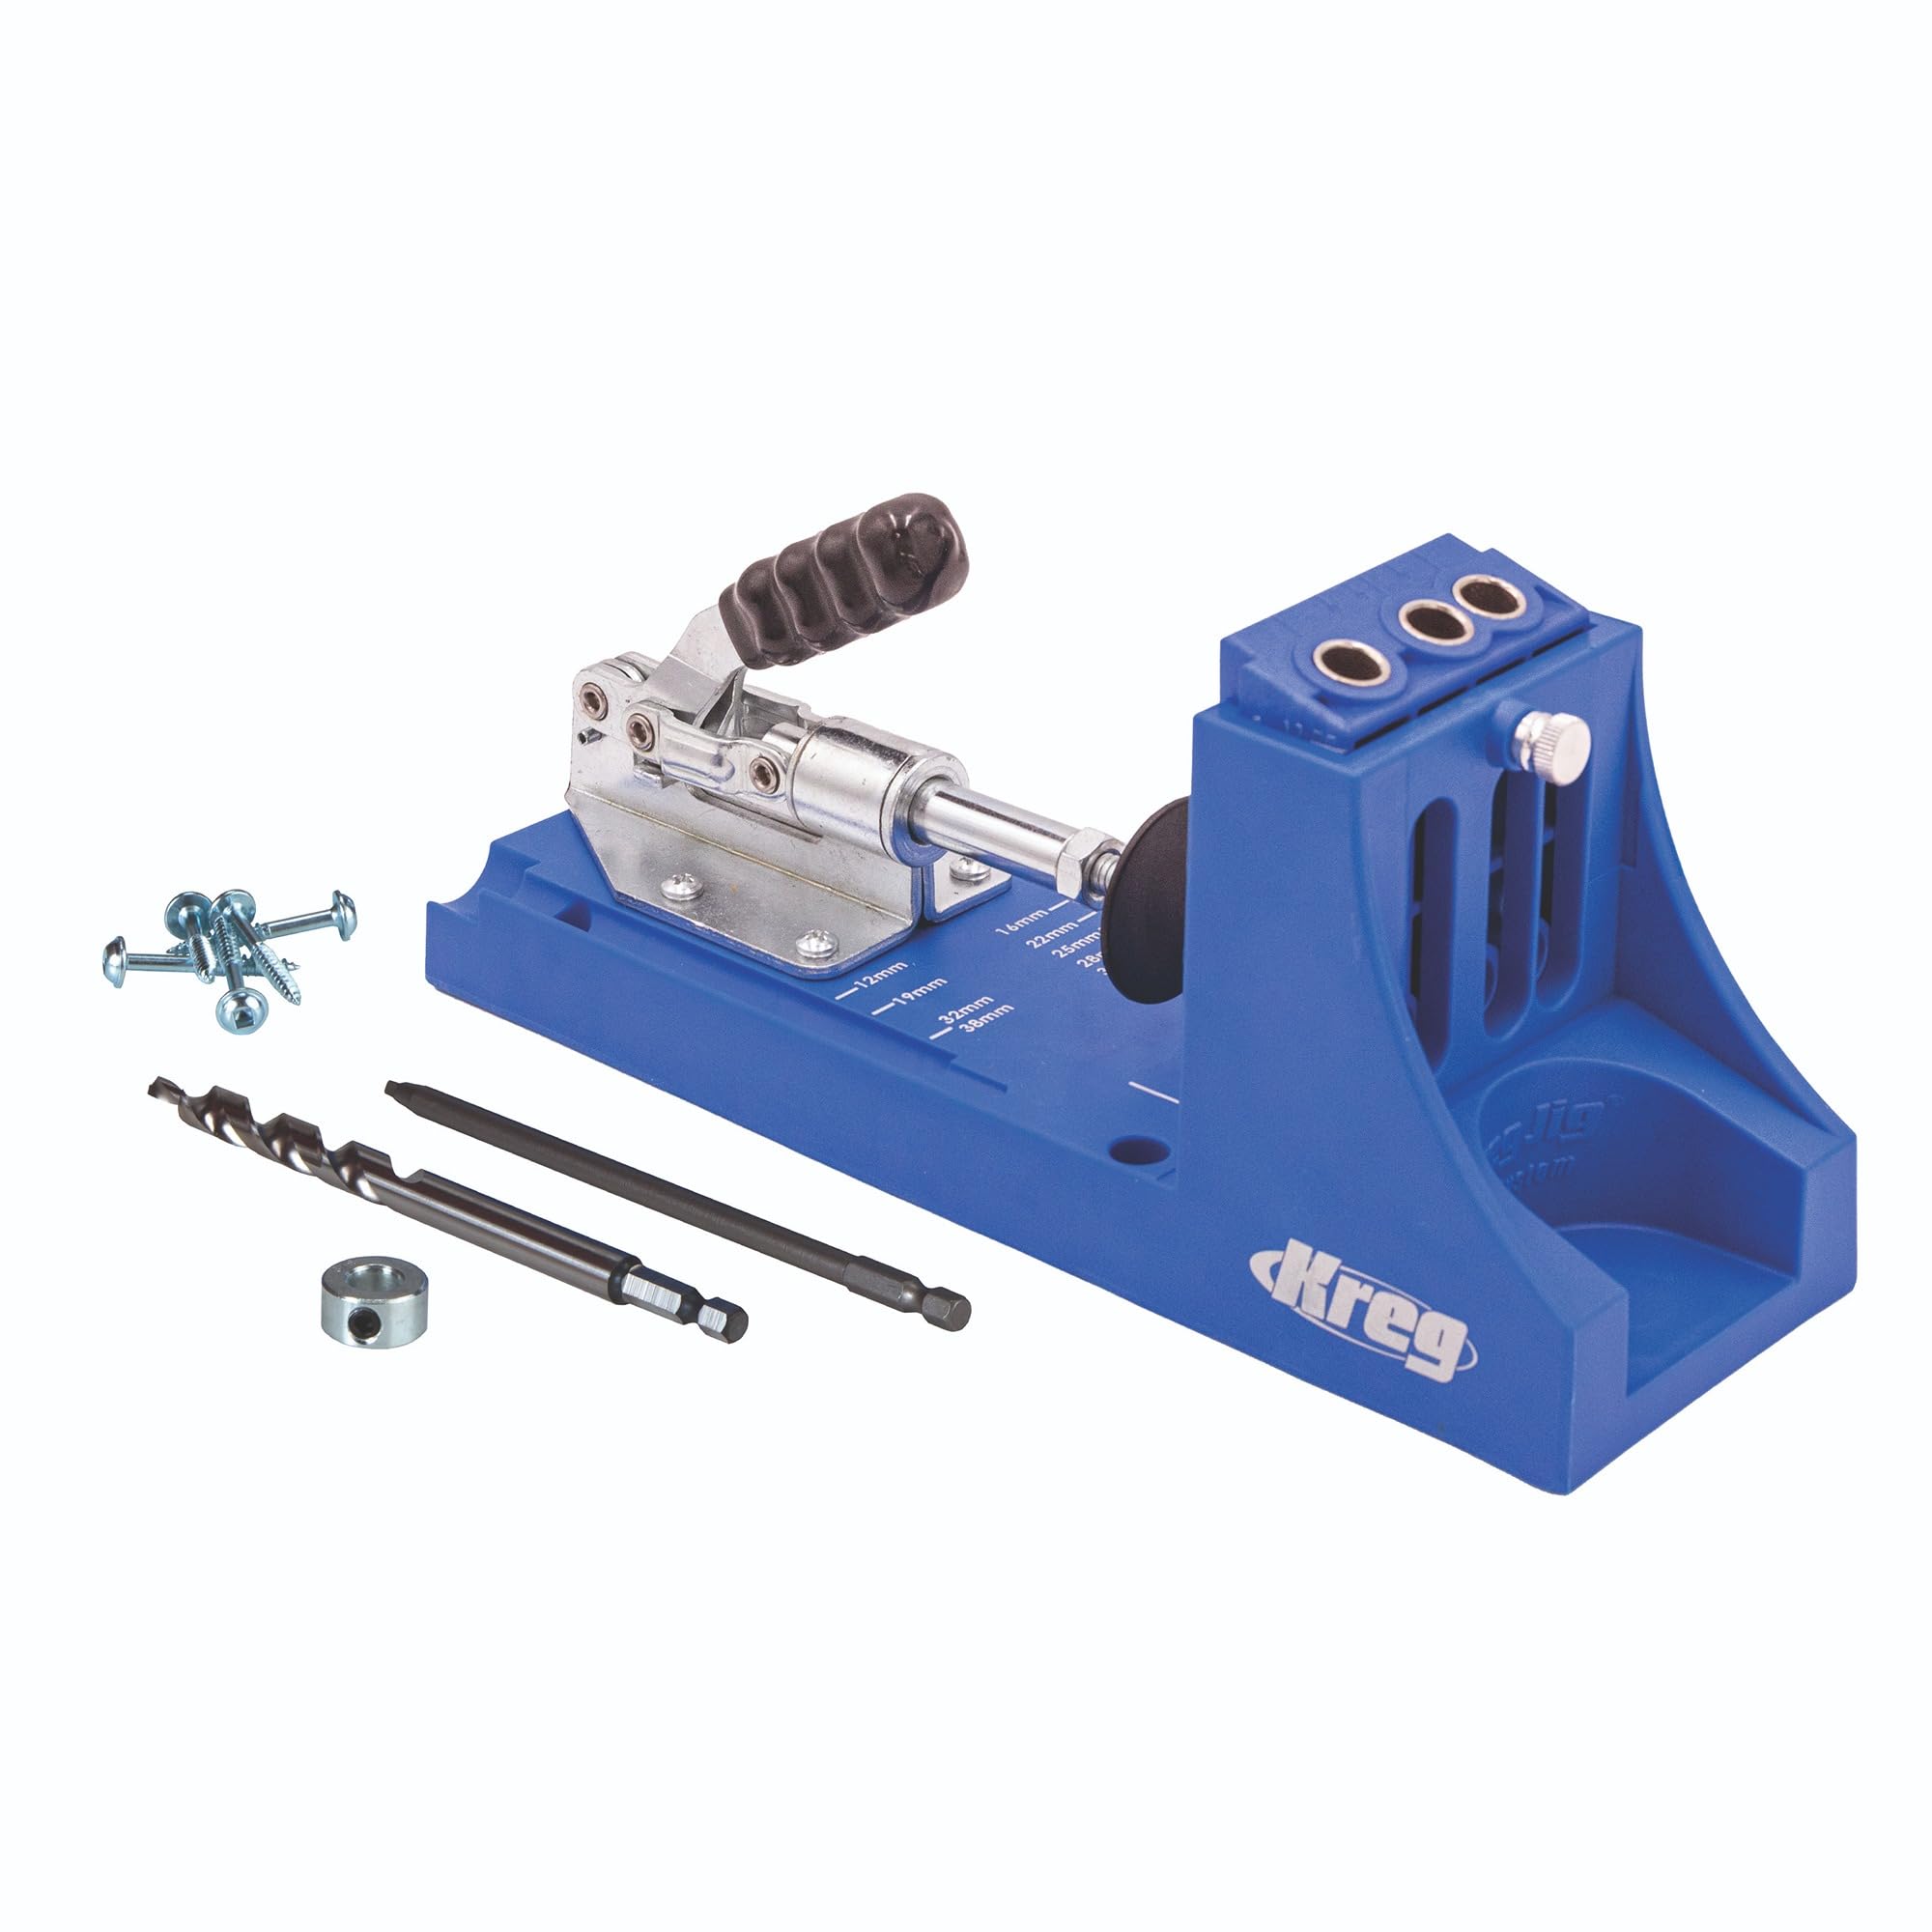
The Kreg Pocket Hole Jig K4 is a woodworking tool designed to create strong, concealed joints quickly and easily. This system allows for precise pocket holes in materials ranging from 1/2" to 1-1/2" thick, making it suitable for various projects from furniture assembly to repairs.
Key features include:
- Adjustable, versatile jig for strong joints.
- 3-hole drill guide for flexible spacing.
- Large clamping recess for secure positioning.
- Removable drill guide for benchtop and portable use.
2. Safety Information
Always follow basic safety precautions when using power tools and woodworking equipment. Failure to do so may result in serious injury.
- Read all instructions: Familiarize yourself with the tool and its operation before use.
- Wear appropriate safety gear: Always wear safety glasses, hearing protection, and a dust mask.
- Secure your workpiece: Ensure the material is firmly clamped before drilling to prevent movement.
- Use sharp drill bits: Dull bits can cause kickback or poor results.
- Keep work area clean: Cluttered areas and benches invite accidents.
- Disconnect power: Always unplug your drill before making adjustments or changing accessories.
3. Package Contents
Verify that all items are present in your Kreg Pocket Hole Jig K4 package:
- Kreg Jig K4 Base
- Drill Guide Block (3-hole)
- Face Clamp
- Stepped Drill Bit
- 6" Square Drive Bit
- Depth Collar with Hex Wrench
- Starter Kreg Screw Set
- Starter Pocket-Hole Plug Set
- Owner's Manual

Video 1: An unboxing of the Kreg K4 Pocket Hole Jig, showing the contents of the package.
4. Setup
Proper setup ensures accurate and strong pocket-hole joints.
- Determine Material Thickness: Measure the thickness of the workpiece you intend to join.
- Adjust Drill Guide: The K4 features an adjustable drill guide. Loosen the thumb screw on the side of the drill guide block and slide it to the desired material thickness setting (1/2" to 1-1/2" in 1/8" increments). Tighten the thumb screw securely.
- Set Depth Collar: Place the stepped drill bit into one of the drill guide holes. Slide the depth collar onto the drill bit until it rests against the top of the drill guide. Tighten the depth collar with the hex wrench. This sets the correct drilling depth for your material.
- Secure the Jig: Position the Kreg Jig K4 on your workbench. Use the built-in clamping recess and a Kreg Face Clamp (or other suitable clamp) to firmly secure the jig to your work surface.


5. Operating Instructions
Follow these steps to create pocket holes using your Kreg Pocket Hole Jig K4:
- Position Workpiece: Place your workpiece against the jig's stop, ensuring the edge where the pocket hole will be drilled is flush against the drill guide block.
- Clamp Workpiece: Use the jig's built-in toggle clamp to firmly secure the workpiece. Ensure it is held tightly to prevent movement during drilling.
- Drill Pocket Holes: Insert the stepped drill bit into your power drill. Align the drill bit with one of the drill guide holes. Start the drill and slowly plunge the bit into the wood until the depth collar makes contact with the drill guide. Allow the drill to reach full speed before entering the wood.
- Clear Chips: The K4 is designed to eject wood chips efficiently. Ensure the chip hole is clear for optimal performance.
- Repeat: For multiple pocket holes, reposition the workpiece and repeat the drilling process.
- Assemble: Once pocket holes are drilled, use Kreg pocket-hole screws and a square drive bit to join your workpieces.

Video 2: A beginner-friendly demonstration of how to use the Kreg Jig Pocket Hole System to drill pocket holes.
Video 3: A demonstration of the pocket hole jig in action, showing the drilling process.
6. Maintenance
Regular maintenance will prolong the life and performance of your Kreg Pocket Hole Jig K4.
- Clean After Use: Remove all wood chips and dust from the jig and drill guide after each use. A shop vacuum or compressed air can be effective.
- Inspect Drill Bit: Regularly check the stepped drill bit for sharpness and wear. Replace dull or damaged bits to ensure clean, accurate holes and prevent strain on your drill.
- Lubricate Moving Parts: Occasionally apply a small amount of dry lubricant to the toggle clamp mechanism to ensure smooth operation.
- Store Properly: Store the jig and its accessories in a clean, dry place to prevent rust and damage.
7. Troubleshooting
Here are some common issues and their solutions:
| Problem | Possible Cause | Solution |
|---|---|---|
| Rough or splintered pocket holes | Dull drill bit; incorrect drilling speed; workpiece not clamped securely. | Replace drill bit; use appropriate drill speed for wood type; ensure workpiece is clamped tightly. |
| Drill bit binding or overheating | Dull drill bit; excessive feed pressure; wood chips not clearing. | Replace drill bit; reduce feed pressure; clear chip hole regularly. |
| Joints are not flush or strong | Incorrect depth collar setting; material thickness setting incorrect; insufficient clamping pressure during assembly. | Verify depth collar and material thickness settings; use a Kreg Face Clamp to hold joint flush during screw insertion. |
8. Specifications
| Feature | Detail |
|---|---|
| Brand | Kreg |
| Model Number | K4 Pocket Hole System |
| Material Compatibility | Wood from 1/2" to 1-1/2" thick |
| Drill Guide Holes | 3 |
| Construction Material | Metal, Plastic (Durable Composite Base, Steel Toggle Clamp) |
| Item Dimensions (L x W x H) | 12"L x 4"W x 9.5"H |
| Item Weight | 1.3 pounds |
| Included Components | Kreg Jig K4 Pocket Hole System (Jig, Drill Bit, Driver Bit, Depth Collar, Hex Wrench, Starter Screws, Starter Plugs) |
9. Warranty and Support
Manufacturer Warranty: The Kreg Pocket Hole Jig K4 comes with a manufacturer's warranty as labeled. Please refer to the packaging or Kreg's official website for specific warranty terms and conditions.
Customer Support: For technical assistance, replacement parts, or further inquiries, please visit the official Kreg website or contact their customer service department. You can often find helpful resources, FAQs, and instructional videos on their website.
Online Resources: