
Introduction
The Sharper Image Play 'N' Roll Digital Piano GU001 is a portable, 49-key electronic keyboard designed for musicians of all skill levels. Its flexible, roll-up design allows for easy transport and storage, making it suitable for use in various locations. This manual provides essential information for setting up, operating, and maintaining your digital piano.
Key features include 100 different instrument tones, 100 rhythm accompaniment styles across 13 musical genres, an integrated speaker with volume control, a headphone jack for private practice, and recording/playback capabilities.
Safety Information
- Do not expose the unit to extreme temperatures, direct sunlight, or high humidity.
- Avoid placing heavy objects on the keyboard.
- Keep the unit away from water and other liquids.
- Use only the specified power source (4 "AA" batteries or a DC 6V, 1A AC adapter).
- Do not attempt to disassemble or modify the unit. Refer all servicing to qualified personnel.
- This product is suitable for ages 3 and up. Adult supervision is recommended for young children.
Package Contents
- Sharper Image Play 'N' Roll Digital Piano GU001
- Carrying Case
- User Manual (this document)
Note: Batteries (4 "AA") and AC adapter (DC 6V, 1A) are not included and must be purchased separately.
Setup
1. Powering the Digital Piano
The Play 'N' Roll Digital Piano can be powered by batteries or an optional AC adapter.
- Battery Installation: Locate the battery compartment on the control panel. Open the cover and insert 4 "AA" batteries, ensuring correct polarity (+/-). Close the cover securely.
- AC Adapter (Optional): If using an AC adapter (DC 6V, 1A, not included), plug it into the DC IN port on the control panel and then into a standard wall outlet. When using an AC adapter, batteries are automatically bypassed.
2. Unrolling the Keyboard
Carefully unroll the flexible keyboard onto a flat, stable surface. Ensure the keys are laid out smoothly without creases or folds to ensure proper function.
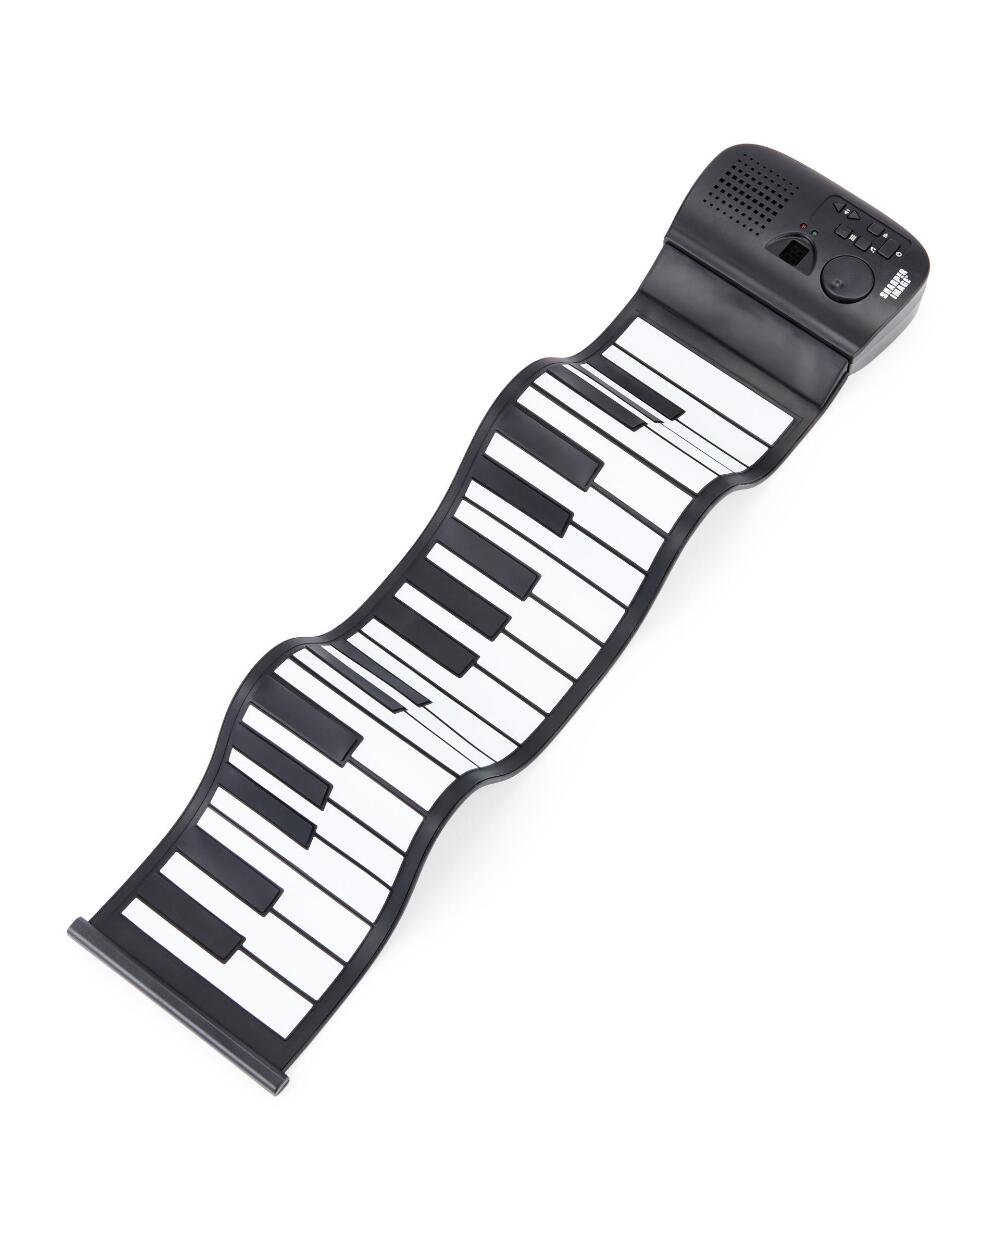
Image: The Sharper Image Play 'N' Roll Digital Piano, partially unrolled, with its control panel visible. This image shows the product as it might appear when first unboxed.
3. Connecting Headphones (Optional)
For private practice, plug standard 3.5mm headphones into the headphone jack located on the control panel. The internal speaker will automatically mute when headphones are connected.
Operating Instructions
1. Power On/Off
Press the Power button (often marked with a circle and a vertical line) on the control panel to turn the unit on or off. An indicator light will illuminate when the piano is powered on.
2. Volume Control
Adjust the master volume using the Volume knob or buttons on the control panel. Rotate the knob clockwise to increase volume and counter-clockwise to decrease it. If buttons are present, press '+' to increase and '-' to decrease.
3. Selecting Instrument Tones
The digital piano offers 100 different instrument tones. Use the Tone selection buttons (e.g., "Tone+", "Tone-", or a dedicated dial) to cycle through the available sounds, such as piano, saxophone, harp, and guitar. The selected tone number may be displayed on a small screen if available.
4. Selecting Rhythm Styles
Choose from 100 rhythm accompaniment styles across 13 musical genres. Use the Rhythm selection buttons (e.g., "Rhythm+", "Rhythm-") to browse and select a desired rhythm. Press the Start/Stop button to begin or end the rhythm playback.
5. Recording and Playback
- Recording: Press the Record button. Play your desired melody on the keyboard. The unit will record your performance.
- Playback: After recording, press the Play button to listen to your recorded performance.
Note: The recording capacity may be limited. Refer to specifications for details if available.
Maintenance
- Cleaning: Wipe the keyboard and control panel with a soft, dry cloth. Do not use abrasive cleaners, solvents, or waxes.
- Storage: When not in use, gently roll up the keyboard and store it in the provided carrying case. Avoid tight rolling or creasing the keys. Store in a cool, dry place away from direct sunlight.
- Battery Care: If the unit will not be used for an extended period, remove the batteries to prevent leakage and damage.
Troubleshooting
| Problem | Possible Cause | Solution |
|---|---|---|
| No sound |
|
|
| Keys not responding |
|
|
| Poor sound quality |
|
|
Specifications
- Model: GU001
- Keys: 49 standard keys
- Instrument Tones: 100
- Rhythm Styles: 100 (across 13 musical styles)
- Features: Integrated speaker, volume control, 3.5mm headphone jack, recording function, playback function.
- Power: 4 x "AA" 1.5V batteries (not included) or DC 6V, 1A AC adapter (not included).
- Portability: Roll-up design, includes carrying case.
- Recommended Age: 3+
Warranty and Support
Sharper Image products are manufactured with high-quality materials and craftsmanship. All Sharper Image products include a limited warranty. For specific warranty details, please refer to the warranty information provided at the time of purchase or contact Sharper Image customer service.
For further assistance, troubleshooting, or to inquire about replacement parts, please visit the official Sharper Image website or contact their customer support department. Please have your model number (GU001) ready when contacting support.
Sharper Image Official Website: www.sharperimage.com