
DYMO LabelManager 210D
DYMO LabelManager 210D All-Purpose Portable Label Maker
Model: S0784480
1. Setup
This section guides you through the initial setup of your DYMO LabelManager 210D, including power options and label cassette installation.
1.1 Powering the Device
The LabelManager 210D can be powered by either AA batteries or an optional AC adapter.
- Batteries: Insert six (6) AA batteries into the battery compartment located on the underside of the device. Ensure correct polarity as indicated inside the compartment.
- AC Adapter: For continuous power, connect an appropriate DYMO AC adapter (not included) to the power port on the side of the label maker.

1.2 Installing a Label Cassette
The LabelManager 210D uses authentic DYMO D1 label tapes. Follow these steps to install a new cassette:
- Open the label cassette compartment cover on the back of the device.
- Insert the label cassette with the tape facing the print head, ensuring it clicks firmly into place.
- Close the compartment cover.
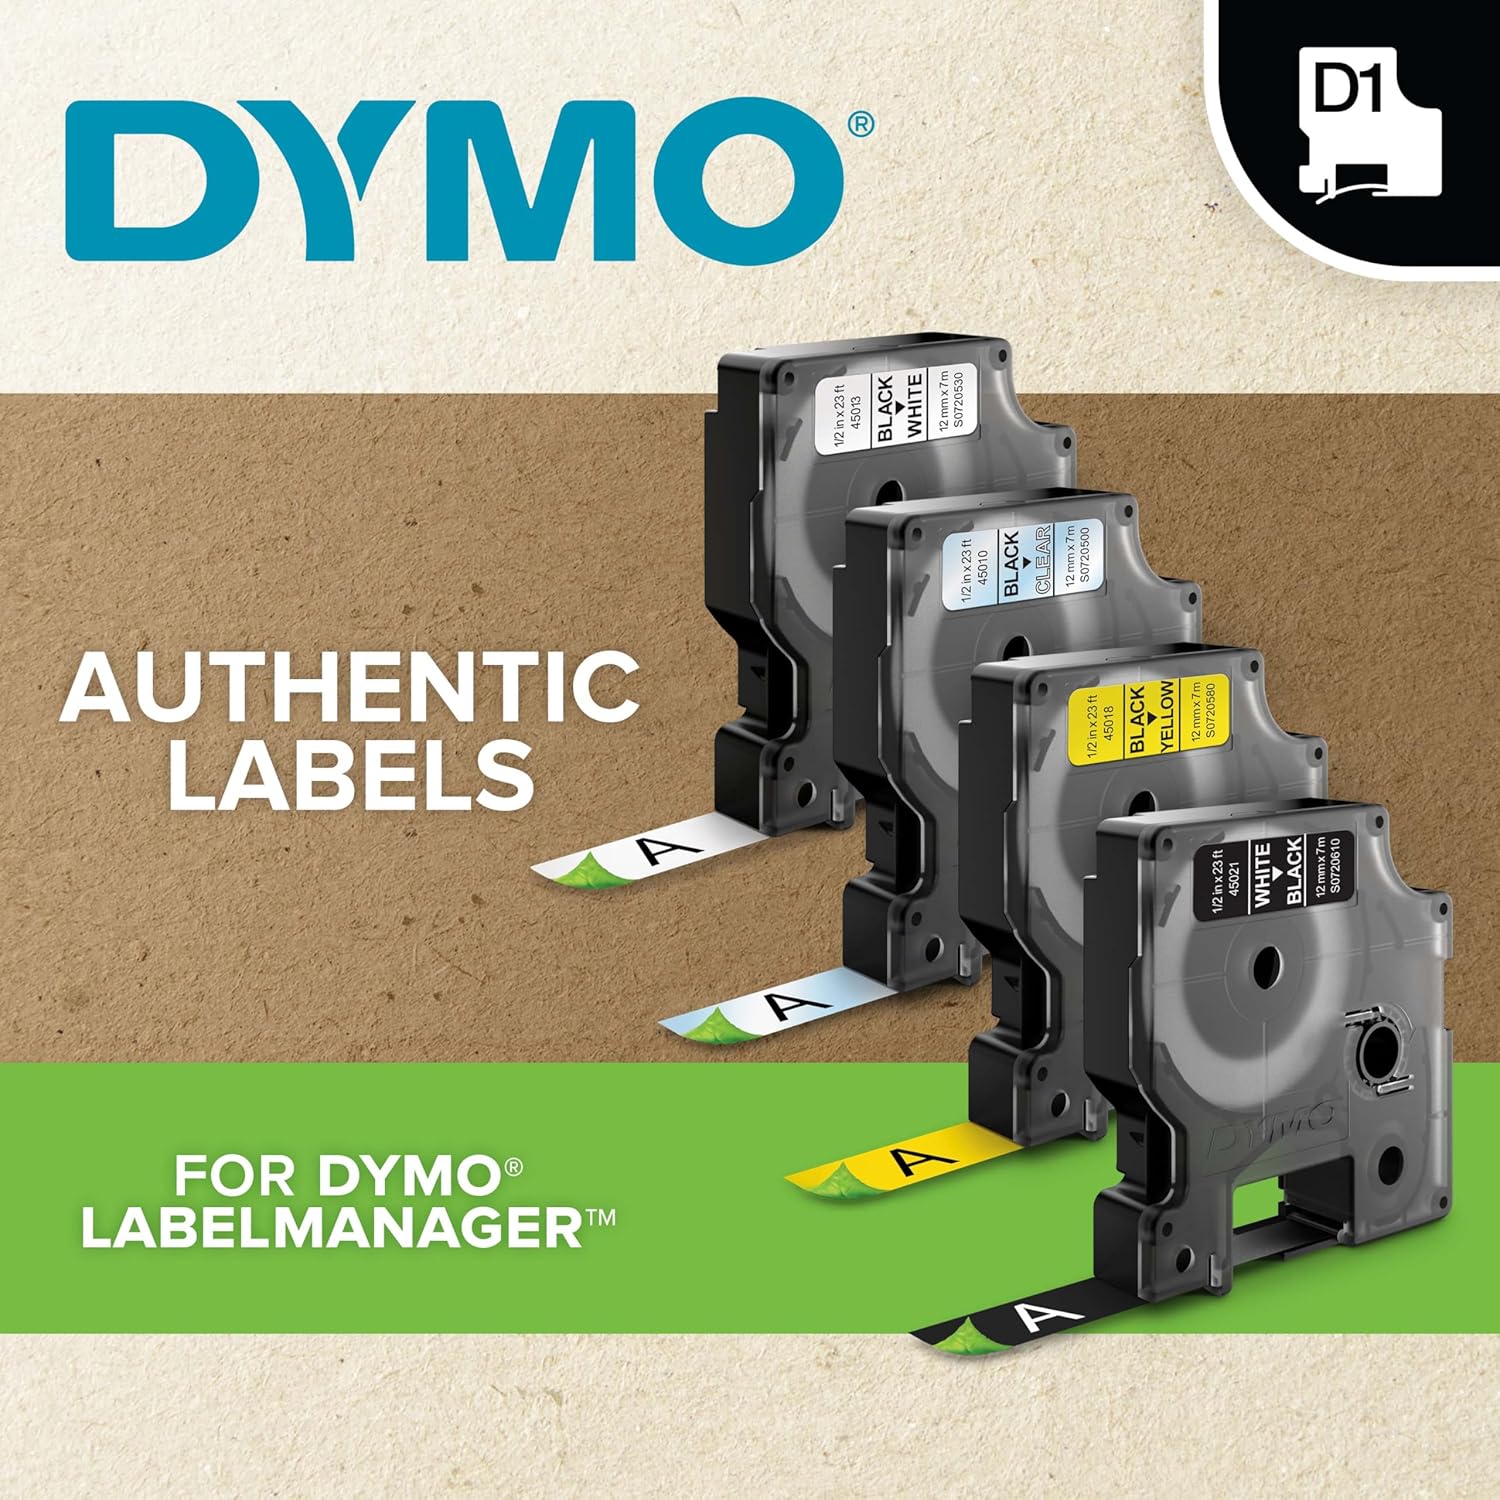
For optimal performance, use authentic DYMO D1 label tapes in 1/4", 3/8", and 1/2" (6 mm, 9 mm, 12 mm) widths.
2. Operating Instructions
Learn how to create, format, and print labels using your LabelManager 210D.
2.1 Creating a Label
- Press the On/Off button to power on the device.
- Use the QWERTY keyboard to type your desired text. The large display shows the text as you type.

2.2 Formatting Text
The LabelManager 210D offers extensive formatting options:
- Font Size: Choose from six font sizes using the dedicated font size buttons.
- Text Styles: Apply one of seven text styles (e.g., bold, italic, outline) using the Format button.
- Symbols & Clip Art: Access over 200 symbols and clip art images to personalize your labels.
- Underline & Boxes: Add emphasis with eight different box styles or underline text.
2.3 Printing Labels
- After typing and formatting your text, press the Print button.
- The display will prompt you to select the number of copies (up to 10). Use the arrow keys to adjust and press OK.
- The label will print from the side slot.
- To cut the label, press the cutter button located on the side of the device.

2.4 Saving and Recalling Labels
The device features a 9-label memory to save frequently used text and prevent repeated work.
- Save: Press the Save button to store the current label text.
- Recall: Press the Open button to browse and select previously saved labels.

For a visual demonstration of the LabelManager 210D's capabilities, watch the official product video below:
Video 1: Official overview of DYMO LabelManager products, showcasing their features and applications in various settings.
3. Maintenance
Proper maintenance ensures the longevity and optimal performance of your label maker.
3.1 Cleaning the Print Head
To maintain print quality, clean the print head regularly, especially if print quality degrades:
- Power off the device and remove the label cassette.
- Gently wipe the print head with a clean, lint-free cloth or a cotton swab lightly dampened with rubbing alcohol.
- Allow to dry completely before reinserting the cassette or powering on.
3.2 Cleaning the Cutter Blade
If labels are not cutting cleanly, the cutter blade may need cleaning:
- Power off the device.
- Locate the cutter blade mechanism near the tape exit slot.
- Carefully remove any adhesive residue or debris using a cotton swab. Do not use sharp objects.
3.3 Battery and Cassette Replacement
- Batteries: Replace all six AA batteries when the low battery indicator appears on the display or when the device fails to power on.
- Label Cassette: Replace the label cassette when the tape runs out or if you wish to change tape color or width. Refer to section 1.2 for installation steps.
4. Troubleshooting
This section addresses common issues you might encounter with your LabelManager 210D.
| Problem | Possible Cause | Solution |
|---|---|---|
| Device does not power on. | Low or dead batteries; incorrect battery installation; AC adapter not connected or faulty. | Replace batteries, ensuring correct polarity. Check AC adapter connection or try new batteries. |
| Poor print quality (faded, incomplete). | Dirty print head; low batteries; incorrect label cassette. | Clean the print head (Section 3.1). Replace batteries. Ensure authentic DYMO D1 label cassette is correctly installed. |
| Labels not feeding or jamming. | Incorrectly installed label cassette; tape jam. | Remove and reinsert the label cassette, ensuring it is seated correctly. Gently pull out any jammed tape. |
| Labels not cutting cleanly. | Dirty or dull cutter blade. | Clean the cutter blade (Section 3.2). If the issue persists, the cutter may need professional servicing. |
| No instructions included with product. | Missing physical manual. | Refer to this digital manual or download the official PDF user guide from the DYMO website: User Guide (PDF). |
5. Specifications
Key technical specifications for the DYMO LabelManager 210D.
- Product Dimensions: 6"D x 6.4"W x 2.5"H
- Item Weight: 15 ounces (0.94 Pounds)
- Printer Media Size Maximum: D1 label tapes in 1/4", 3/8", and 1/2" (6 mm, 9 mm, 12 mm) widths
- Print Resolution: 200-300 dpi
- Power Source: 6 AA batteries or optional AC adapter (both not included)
- Memory Storage Capacity: 64 MB (stores up to 9 labels)
- Keyboard Type: QWERTY
- Display Type: LCD (large semi-graphical display)
- Maximum Copies Per Run: 10
- Text Formatting Options: 20+ ways to format text, 200+ symbols and clip art, 6 font sizes, 7 styles, 8 different boxes or underline.
6. Warranty and Support
Information regarding product warranty and where to find additional support.
6.1 Product Warranty
The DYMO LabelManager 210D typically comes with a one-year limited warranty from the date of purchase. Please retain your proof of purchase for warranty claims. For specific warranty terms and conditions, refer to the documentation included with your product or visit the official DYMO website.
6.2 Additional Support
For further assistance, frequently asked questions, or to download the complete user guide, please visit the official DYMO support page or refer to the PDF user guide:
- Official DYMO Website: Visit the DYMO Store on Amazon
- User Guide (PDF): Download User Guide
Related documentsLabelManager 210D


Ask a question about this manual
Ask about setup, troubleshooting, compatibility, parts, safety, or missing instructions. Manuals+ will review the question and use this page’s manual context to help answer it.