
1. Important Safeguards
When using electrical appliances, basic safety precautions should always be followed to reduce the risk of fire, electrical shock, and injury to persons. Read all instructions before operating this appliance.
- Do not touch hot surfaces. Use handles or knobs.
- To protect against electrical shock, do not immerse cord, plugs, or any part of the main unit in water or other liquids.
- Close supervision is necessary when any appliance is used by or near children.
- Unplug from outlet when not in use and before cleaning. Allow to cool before putting on or taking off parts, and before cleaning the appliance.
- Do not operate any appliance with a damaged cord or plug, or after the appliance malfunctions or has been damaged in any manner. Return the appliance to the nearest authorized service facility for examination, repair, or adjustment.
- The use of accessory attachments not provided by the appliance manufacturer may cause injuries.
- Do not use outdoors.
- Do not let the cord hang over the edge of a table or counter, or touch hot surfaces.
- Do not place on or near a hot gas or electric burner, or in a heated oven.
- Extreme caution must be used when moving an appliance containing hot oil or other hot liquids.
- Do not use the appliance for other than intended use.
- A short power-supply cord is provided to reduce the risk resulting from becoming entangled in or tripping over a long cord.
- This appliance is not intended for use by persons (including children) with reduced physical, sensory, or mental capabilities, or lack of experience and knowledge, unless they have been given supervision or instruction concerning use of the appliance by a person responsible for their safety.
- Children should be supervised to ensure that they do not play with the appliance.
- Important: This appliance requires sugar-based drinks to achieve proper slush consistency. Drinks containing artificial sweeteners or low sugar content may not freeze correctly.
2. Introduction
The Nostalgia RSM650 Retro Series 32-Ounce Slush Drink Maker is designed to create refreshing slush drinks. Its 32-ounce freezing chamber allows for preparation of a substantial quantity of your favorite frozen beverages. The unit features an easy-flow spout for consistent dispensing and a three-way switch for simple operation.
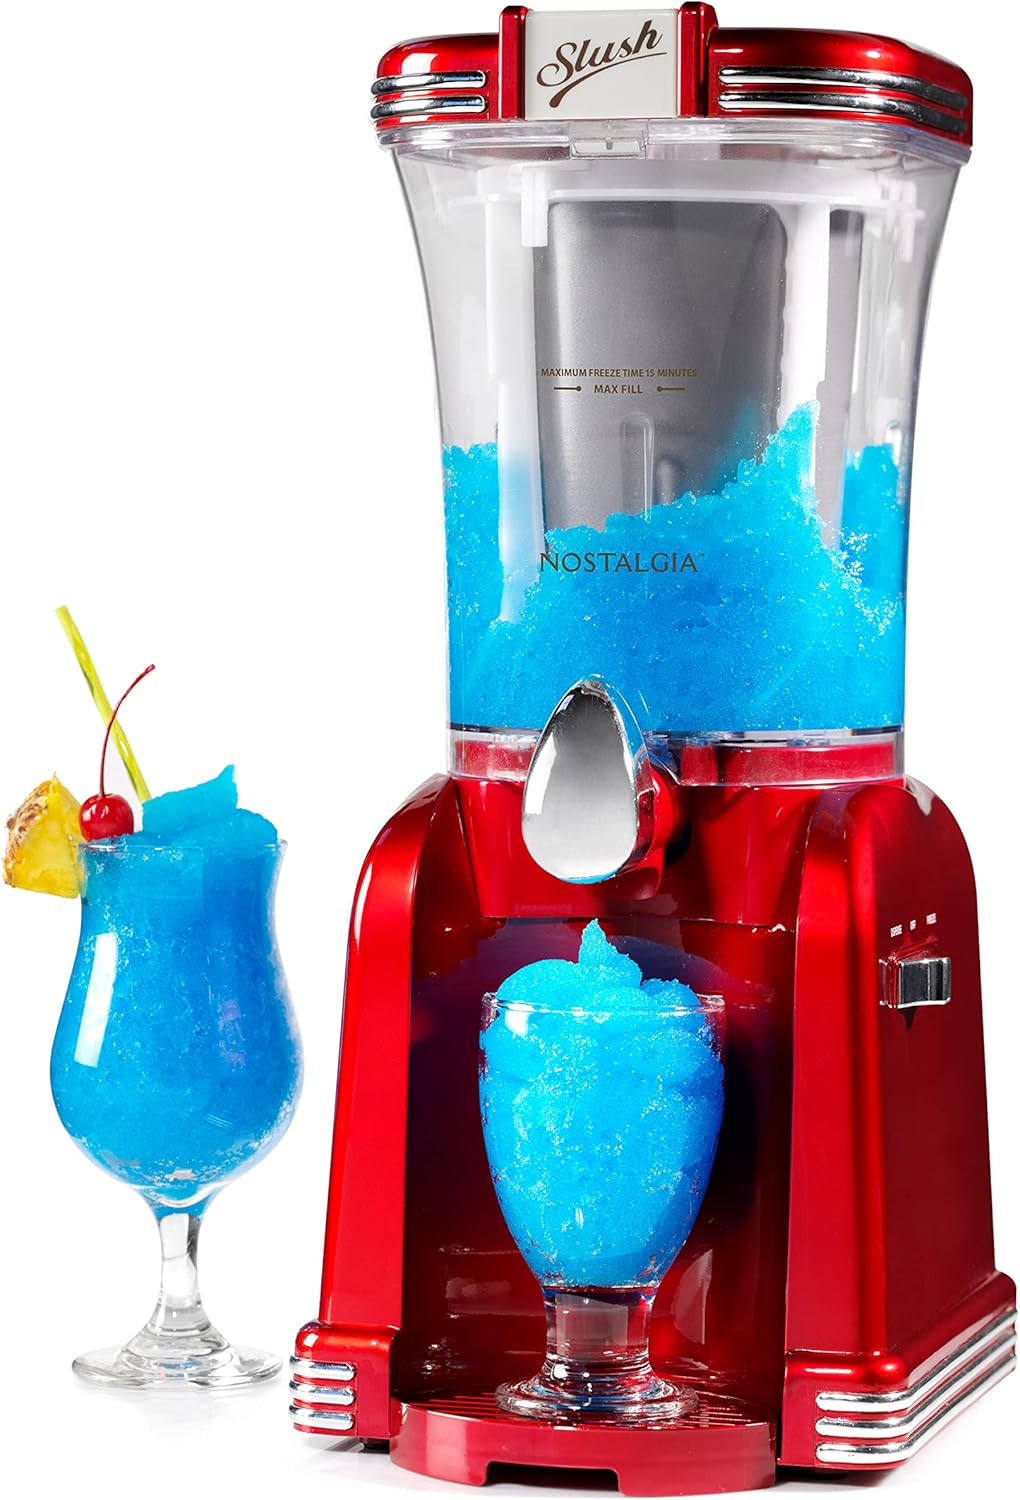
Image: The Nostalgia RSM650 Slush Drink Maker in red, filled with blue slush, with two glasses of blue slush beside it.
3. Parts and Assembly
Components:
- Main Base Unit
- Freezing Chamber (32-ounce capacity)
- Dasher (mixing paddle)
- Lid with openings for ice/salt and beverage
- Easy-Flow Dispensing Spout
- Cup Rest
- Drip Tray
Assembly Steps:
- Place the main base unit on a stable, level surface.
- Insert the dasher into the center of the freezing chamber.
- Carefully place the freezing chamber onto the main base unit, ensuring it is securely seated.
- Place the lid onto the freezing chamber.
- Attach the cup rest and drip tray to the front of the base unit below the dispensing spout.

Image: The Nostalgia RSM650 Slush Maker displaying its 32-ounce capacity, 3-way switch, and easy-flow spout.
4. Setup
Initial Cleaning:
Before first use, wash the freezing chamber, dasher, lid, cup rest, and drip tray in warm, soapy water. Rinse thoroughly and dry. Wipe the main base unit with a damp cloth.
Placement:
Place the assembled unit on a stable, heat-resistant surface, away from water and heat sources. Ensure adequate ventilation around the appliance.
5. Operating Instructions
Follow these steps to create your slush drinks:
- Ensure the unit is assembled correctly and plugged into a suitable electrical outlet.
- Open the designated lid opening for ice and salt. Add crushed ice and rock salt into the central chamber. The ratio and amount will vary based on desired freezing time and slush consistency. Refer to the 'MAX FILL' line on the freezing chamber.
- Open the designated lid opening for beverages. Pour your chosen sugar-based drink into the outer freezing chamber. Do not exceed the 'MAX FILL' line.
- Set the three-way switch to the 'FREEZE' position. The dasher will begin to rotate, mixing the beverage and initiating the freezing process.
- Allow the unit to operate until the desired slush consistency is achieved. This typically takes 15-25 minutes, depending on ingredients and ambient temperature.
- Once the slush is ready, place a cup on the cup rest and move the three-way switch to the 'DISPENSE' position to release the slush.
- When finished, set the switch to 'OFF' and unplug the unit.

Image: A metal scoop adding crushed ice into the ice and salt chamber of the slush maker.

Image: A measuring cup pouring blue liquid into the beverage chamber of the slush maker.

Image: The Nostalgia Slush Maker dispensing blue slush into a clear glass.
Official Product Video:
Video: An official demonstration of the Nostalgia RSM650 Slush Drink Maker in operation, showing the freezing process and dispensing of slush.
6. Cleaning and Maintenance
Regular cleaning ensures optimal performance and longevity of your slush maker.
- Ensure the unit is unplugged and cooled down before cleaning.
- Remove the lid, dasher, freezing chamber, cup rest, and drip tray.
- Wash all removable parts in warm, soapy water. Use a soft brush if necessary to remove any residue.
- Rinse all parts thoroughly with clean water.
- Dry all parts completely before reassembly or storage.
- Wipe the exterior of the main base unit with a damp cloth. Do not immerse the base unit in water or any other liquid.
- Reassemble the unit once all parts are dry.
7. Troubleshooting
- Unit Not Turning On:
Ensure the power cord is securely plugged into a working electrical outlet. Check the three-way switch is in the 'FREEZE' or 'DISPENSE' position. If the unit still does not operate, contact customer support. - Slush Not Freezing or Too Watery:
Verify that you are using a sugar-based drink. Drinks with low sugar content will not freeze properly. Ensure the correct amount of crushed ice and rock salt is used in the central chamber. The ice and salt create the freezing environment. - Unit is Excessively Noisy:
Ensure the rock salt used is finely crushed. Large pieces of rock salt can get stuck and cause increased noise. Start the unit immediately after adding the ice and salt mixture to prevent premature freezing and gear strain. - Slush Not Dispensing:
Check that the dispensing spout is not blocked. Ensure the slush has reached a consistency that allows it to flow through the spout. If the slush is too thick, allow it to soften slightly or add a small amount of liquid. - Slush Freezes Too Solid:
This may indicate an imbalance in the ice/salt ratio or the freezing time. Reduce the amount of salt or shorten the operating time.
8. Specifications
| Feature | Detail |
|---|---|
| Model Number | RSM650 |
| Product Dimensions | 6.9 x 14 x 22.8 inches |
| Item Weight | 5.54 pounds |
| Capacity | 32-Ounce Freezing Chamber |
| Power Source | Corded Electric |
9. Warranty and Support
This product comes with a limited warranty. For detailed warranty information, please refer to the documentation included with your purchase or visit the manufacturer's official website.
For technical support, replacement parts, or any inquiries regarding your Nostalgia RSM650 Slush Drink Maker, please contact Nostalgia customer service. Contact information can typically be found on the manufacturer's website or in your product packaging.